


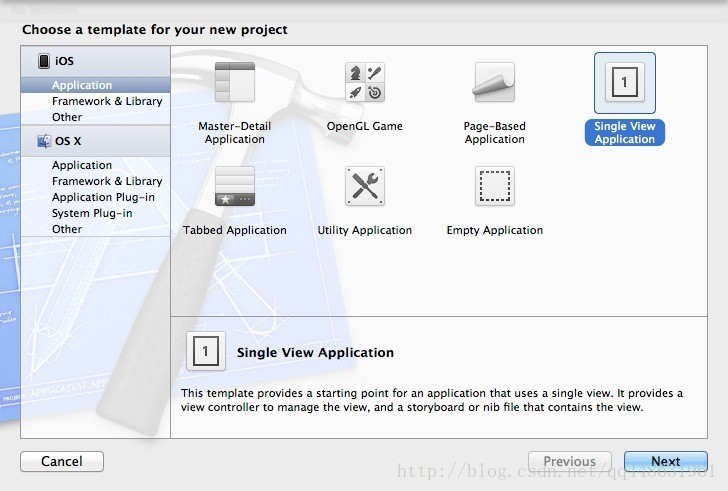
建立一个新的工程,以Single View Application为模板
删除storyboard中的View Controller,拖入一个Table View Controller
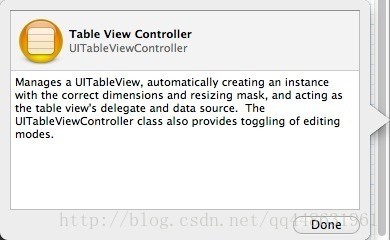
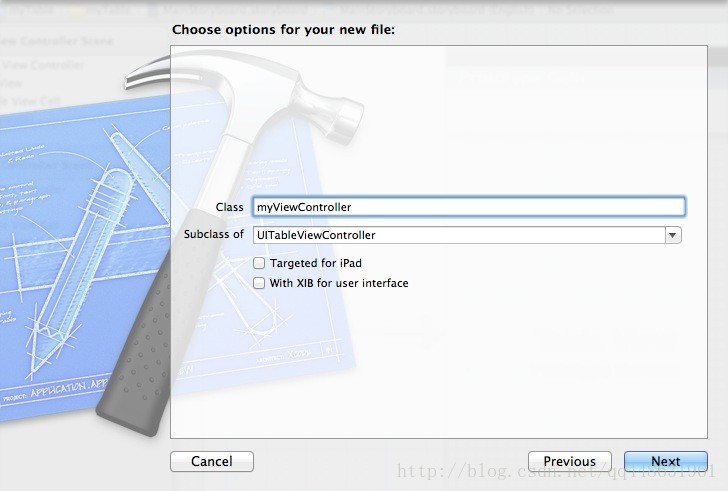
创建一个新的Class继承于UITableViewController
将视图控制器和Class建立关联

按住Ctr键将Table View拖入代码
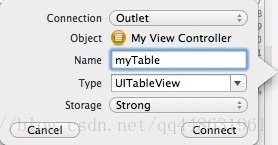
建立委托
@interface myViewController : UITableViewController<UITableViewDataSource,UITableViewDelegate> self.myTable.delegate = self;
self.myTable.dataSource = self;下面我们在视图控制器中实现一下这些方法。首先,我们告诉Table View 我们显示3个sections:
- (NSInteger)numberOfSectionsInTableView:(UITableView *)tableView
{
    NSInteger result = 0;
    if ([tableView isEqual:self.myTable])
    {
        result = 3;
    }
    return result;
}
然后我们告诉表视图需要它在每个Section显示多少行我们要求Table View首先呈现3 个Section,第一个Section3 行;第二个Section5行,第三个Section8行
- (NSInteger)tableView:(UITableView *)tableView
numberOfRowsInSection:(NSInteger)section
{
NSInteger result = 0;
if ([tableView isEqual:self.myTable])
{
switch (section)
{
case 0:
result = 3;
break;
case 1:
result = 5;
break;
case 2:
result = 8;
break;
}
}
return result;
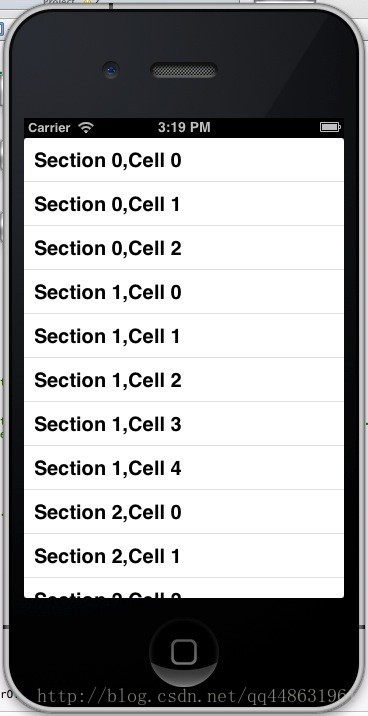
}最后返回Table View cell的静态实例给tableview,我们想要tablview呈现的cells如下
- (UITableViewCell *)tableView:(UITableView *)tableView cellForRowAtIndexPath:(NSIndexPath *)indexPath
{
    UITableViewCell *result = nil;
    if ([tableView isEqual:self.myTable]) {
        static NSString *TableViewCellIdentifier = @"MyCells";
        result = [tableView dequeueReusableCellWithIdentifier:TableViewCellIdentifier];
        if (result == nil) {
            result = [[UITableViewCell alloc]initWithStyle:UITableViewCellStyleDefault reuseIdentifier:TableViewCellIdentifier];
        }
        result.textLabel.text = [NSString stringWithFormat:@"Section %ld,Cell %ld",(long)indexPath.section,(long)indexPath.row];
    }
    return result;
}
我们还可以设置每个Cell的高度
- (CGFloat) tableView:(UITableView *)tableView heightForRowAtIndexPath:(NSIndexPath *)indexPath
{
    CGFloat result = 20.0f;
    if ([tableView isEqual:self.myTable]) {
        result = 20.0f;
    }
    return result;
}
运行效果如下


 1180
1180

 被折叠的 条评论
为什么被折叠?
被折叠的 条评论
为什么被折叠?
 到【灌水乐园】发言


