


用esp8266点亮led arduinoIDE
1.装好arduino和CH340
略
2.esp8266的安装
把链接填在 【文件】》【首选项】》
https://arduino.esp8266.com/stable/package_esp8266com_index.json
然后点击【工具】》【开发板】》【开发板管理器】搜 esp8266
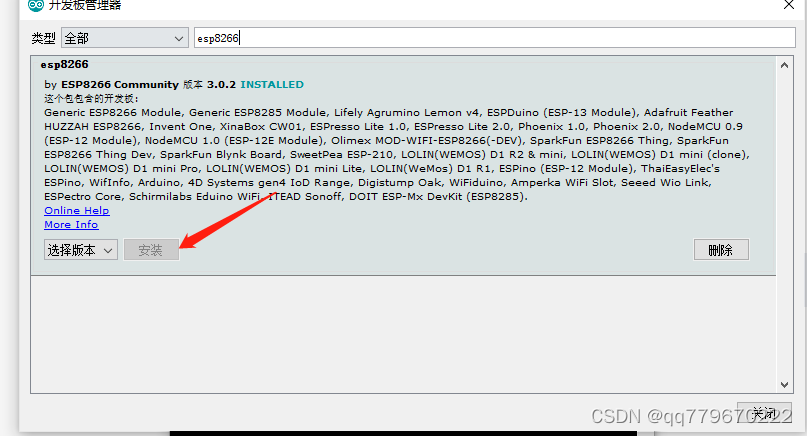
点击安装
等待完成
安装失败
途中可能会失败 如果失败一般是访问不了github了 -》github打不开怎么办 自己去找答案
解决了github打不开的问题之后 就可以直接下载了 这个时候如果还失败的话 就退出重新点一次安装就ok了
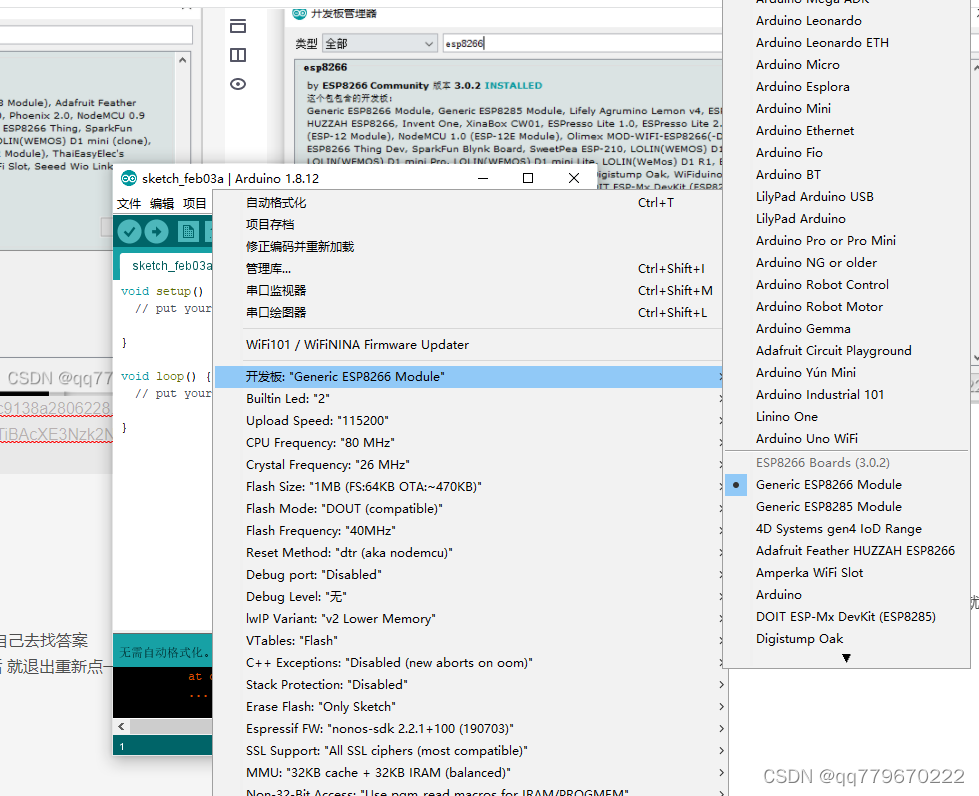
3.选择开发板
工具》开发板》
现在可以在这里看到我们刚刚下载的开发板啦
选中之后 选好端口 COM7 你那边的不知道是COM几 你自己试试
4.编译上传空程序
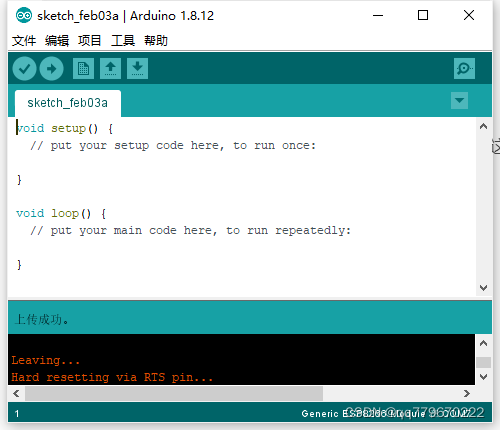
成功。
5.点亮LED灯
脚位对应表
| 实际上的脚位符号 | arduino中的pin |
|---|---|
| D0 | 16 |
| D1 | 5 |
| D2 | 4 |
| D3 | 0 |
| D4 | 2 |
| D5 | 14 |
| D6 | 12 |
| D7 | 13 |
| D8 | 15 |
把LED接好在3V和GND上测试一下有没有坏先
void setup() {
  pinMode(16, OUTPUT);     // Initialize the LED_BUILTIN pin as an output
}

// the loop function runs over and over again forever
void loop() {
  digitalWrite(16, LOW);   // Turn the LED on (Note that LOW is the voltage level
  // but actually the LED is on; this is because
  // it is active low on the ESP-01)
  delay(1000);                      // Wait for a second
  digitalWrite(16, HIGH);  // Turn the LED off by making the voltage HIGH
  delay(2000);                      // Wait for two seconds (to demonstrate the active low LED)
}
上传 成功
6.示例程序
文件》示例多了几个esp8266的例子 自己捣鼓一下


 3495
3495


 被折叠的 条评论
为什么被折叠?
被折叠的 条评论
为什么被折叠?
 到【灌水乐园】发言


