


原文作者:我辈李想
版权声明:文章原创,转载时请务必加上原文超链接、作者信息和本声明。
Cartopy基础入门
【Cartopy】库的安装和瓦片加载(天地图、高德等)
【Cartopy】如何更好的确定边界显示
【Cartopy】如何丝滑的加载Geojson数据
前言
Cartopy的官方文档还是太难读了,来来回回找了很多资料,还是有很多东西无法使用,网络上教程大多比较官方。作为程序员,很多时候还是根据源码来使用各种库来的实在。官网链接可参考:https://scitools.org.uk/cartopy/docs/latest/installing.html#required-dependencies。
现在是2023年8月11日,在python3.8环境下,安装Cartopy==0.20.2
一、python版本

二、环境依赖
在windows系统,可通过安装OSGeo4W,完成gdal、geos、proj的安装。
在linux可以参考链接:https://blog.csdn.net/qq_15028721/article/details/129244588
下载GDAL文件,地址
百度的网盘链接: https://pan.baidu.com/s/1mvls3DA9-_41j52CkuT0wQ?pwd=vied 提取码: vied

安装命令如下
pip install .\GDAL-3.4.3-cp38-cp38-win_amd64.whl
三、库依赖
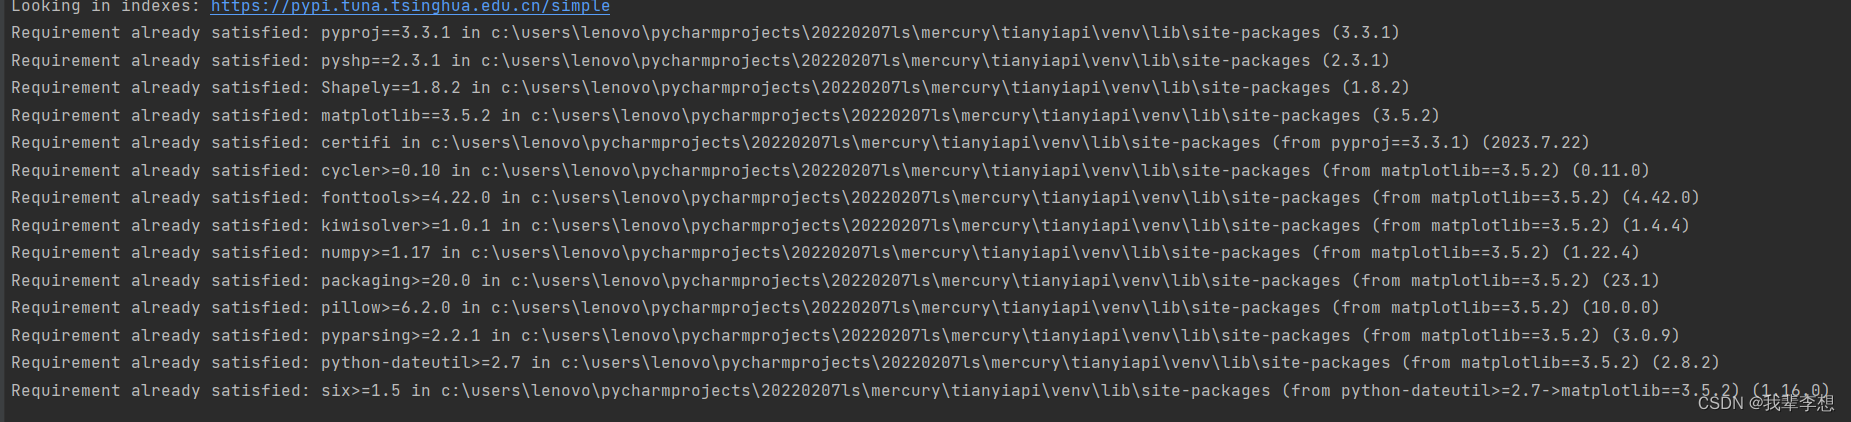
官网一直在更新版本,我们这里是以python3.8来安装,需要的库依赖包括Matplotlib 、Shapely 、pyshp 、pyproj 。安装命令如下:
pip install -i https://pypi.tuna.tsinghua.edu.cn/simple pyproj==3.3.1 pyshp==2.3.1 Shapely==1.8.2 matplotlib==3.
5.2
四、下载Cartopy的whl文件
百度网盘链接: https://pan.baidu.com/s/1cJyRL6KzoyPLWyITLNtZIA?pwd=7i86 提取码: 7i86

pip install .\Cartopy-0.20.2-cp38-cp38-win_amd64.whl
五、天地图瓦片加载
import datetime
import random
import os
import json
import zipfile
import shutil
from xml.etree import ElementTree
from pathlib import Path

from docxtpl import DocxTemplate, InlineImage
from docx.shared import Mm

import cartopy.crs as ccrs
import matplotlib.pyplot as plt
import cartopy.io.img_tiles as cimgt


# 高德地图底图
class GaodeMap(cimgt.GoogleWTS):
    def _image_url(self, tile):
        x, y, z = tile
        url = 'http://webrd02.is.autonavi.com/appmaptile?lang=zh_cn&size=1&scale=1&style=8&x=%s&y=%s&z=%s' % (
            x, y, z)
        return url

# 天地图底图
class TDT(cimgt.GoogleWTS):
    def _image_url(self, tile):
        x, y, z = tile
        url = 'http://t%s.tianditu.gov.cn/DataServer?T=vec_w&x=%s&y=%s&l=%s&tk=dbf3e0f3ac8d0162ae0a4bbd0fcbd09b'% (random.randint(1, 7),x, y, z)
        return url
class TDT_ter(cimgt.GoogleWTS):
    def _image_url(self, tile):
        x, y, z = tile
        url = 'http://t3.tianditu.gov.cn/DataServer?T=ter_w&x=%s&y=%s&l=%s&tk=dbf3e0f3ac8d0162ae0a4bbd0fcbd09b'% (x, y, z)
        return url
class TDT_img(cimgt.GoogleWTS):
    def _image_url(self, tile):
        x, y, z = tile
        url = 'http://t3.tianditu.gov.cn/DataServer?T=img_w&x=%s&y=%s&l=%s&tk=dbf3e0f3ac8d0162ae0a4bbd0fcbd09b'% (x, y, z)
        return url
# 谷歌底图
class GuGeMap(cimgt.GoogleWTS):
    def _image_url(self, tile):
        x, y, z = tile
        url =  f'http://mt2.google.com/vt/lyrs=m&scale=2&hl=zh-CN&gl=cn&x={x}&y={y}&z={z}'
        return url

# openstreetmap底图
class OpenStreetMap(cimgt.GoogleWTS):
    def _image_url(self, tile):
        x, y, z = tile
        url =  f'https://tile.openstreetmap.org/{z}/{x}/{y}.png'
        return url


# 地图
proj = ccrs.PlateCarree()
plt.figure(figsize=[10, 10], dpi=300, edgecolor='coral')
geo_axes = plt.axes(projection=proj)
# 网格线
geo_axes.gridlines(draw_labels=True, x_inline=False, y_inline=False)

# 底图:天地图
geo_axes.add_image(TDT(), 8)

# 正方形图片
plt.axis('square')

plt.savefig(plt_img, dpi=300)
六、保存io图片
img_buf = io.BytesIO()
plt.savefig(img_buf, dpi=300)
img_buf.seek(0)
七、保存多图效率问题
plt.savefig(plt_img, dpi=300)
plt.clf()


 1413
1413

 被折叠的 条评论
为什么被折叠?
被折叠的 条评论
为什么被折叠?
 到【灌水乐园】发言


