


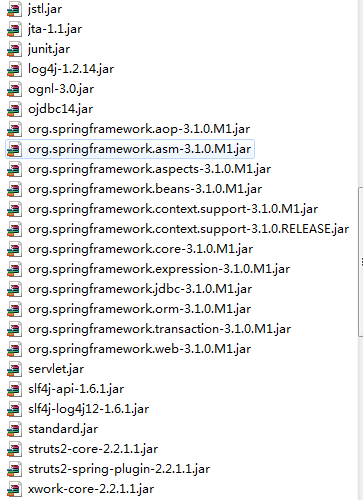
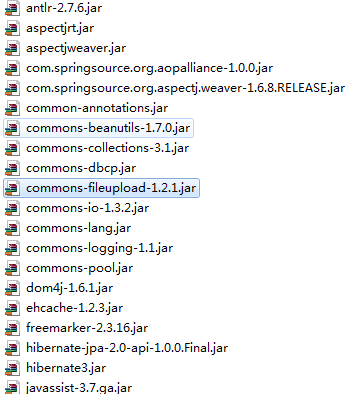
1、导入相关的包:(对于包的作用我就不一一做解释了,不懂的自己去网上查)
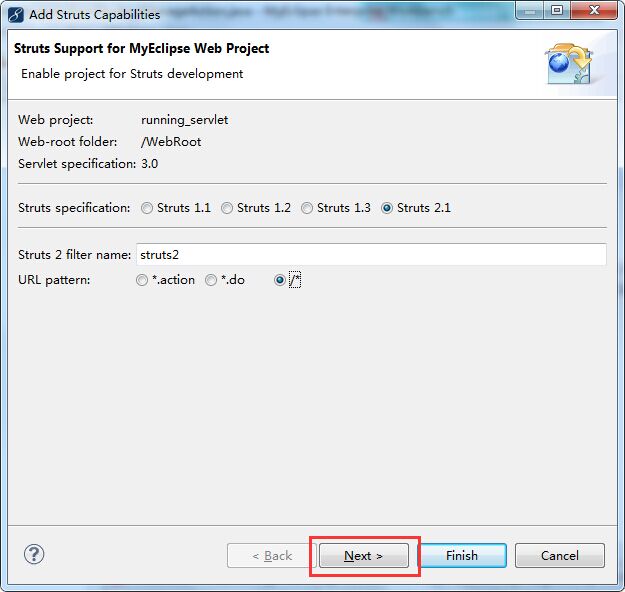
2、添加Struts2容器:
单击右键工作区,找到MyEclipse------>Add Struts Capabilities------>点下一步(Next)------>点完成(Finish)
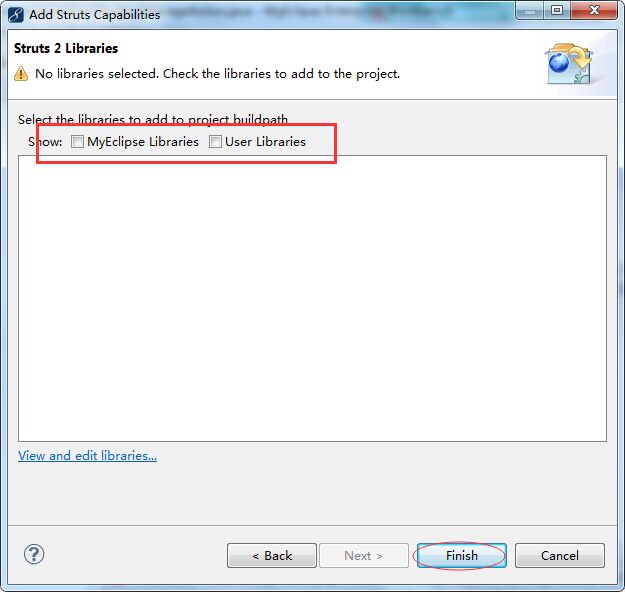
3、添加spring容器
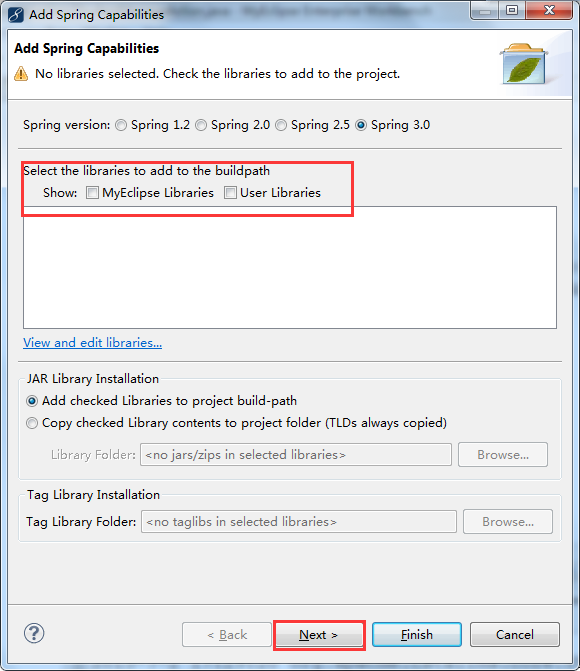
我们刚刚已经把包导进来了,所以不需要使用MyEclipse自带的包,不要打钩
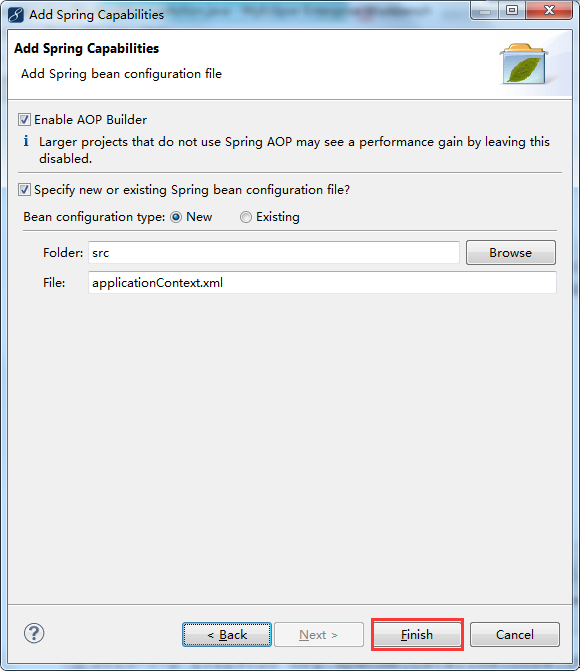
点击finish 完成。
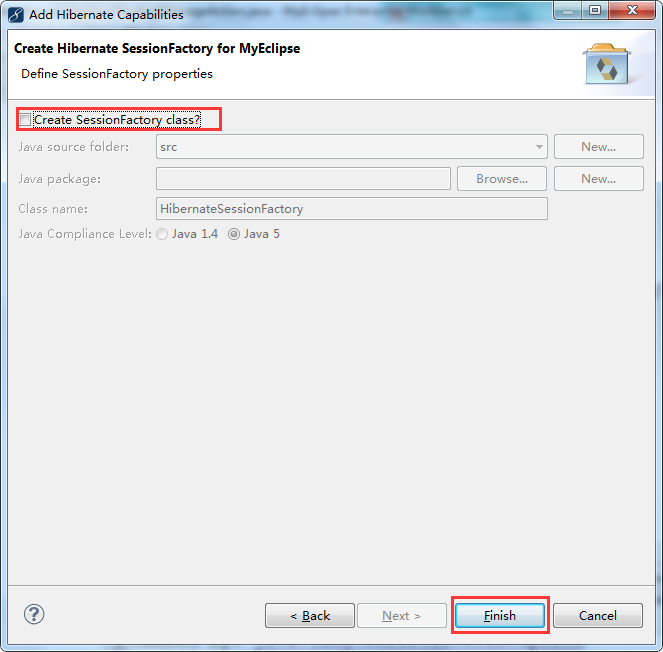
4、添加hibernate容器:
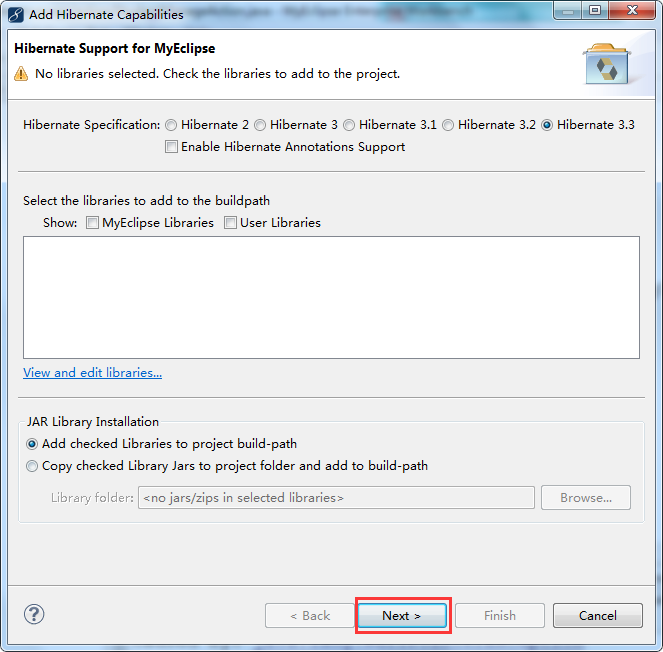
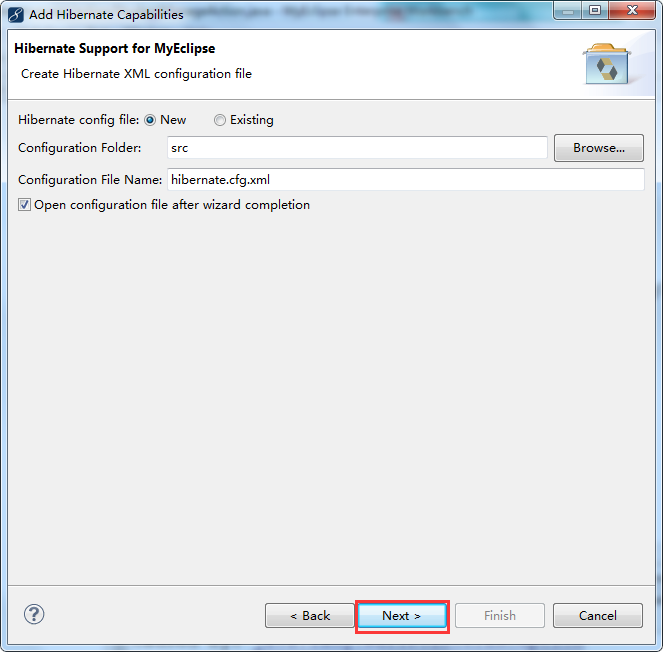
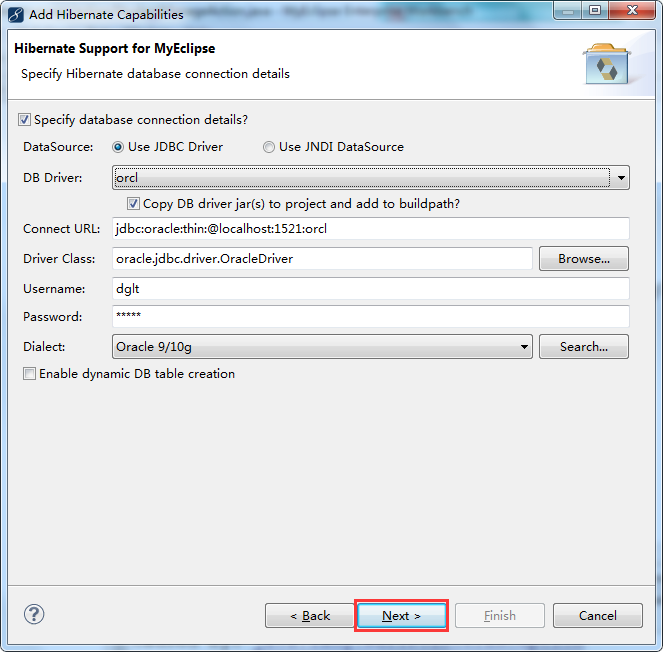
这一步如果你之前没有配置过,你就新建一个。
5、配置web.xml:
<?xml version="1.0" encoding="UTF-8"?>
<web-app version="3.0"
	xmlns="http://java.sun.com/xml/ns/javaee"
	xmlns:xsi="http://www.w3.org/2001/XMLSchema-instance"
	xsi:schemaLocation="http://java.sun.com/xml/ns/javaee
	http://java.sun.com/xml/ns/javaee/web-app_3_0.xsd">
  <display-name></display-name>
  <welcome-file-list>
    <welcome-file>index.jsp</welcome-file>
  </welcome-file-list>

  <!--	配置监听器-->
  	<listener>
	      <listener-class>org.springframework.web.context.ContextLoaderListener</listener-class>
	</listener>

  <!--	配置spring文件-->
  	<context-param>
	   <param-name>contextConfigLocation</param-name>
	   <param-value>classpath:applicationContext.xml</param-value>
	</context-param>

  <filter>
  	<filter-name>struts2</filter-name>
  	<filter-class>
  		org.apache.struts2.dispatcher.ng.filter.StrutsPrepareAndExecuteFilter
  	</filter-class>
  </filter>
  <filter-mapping>
  	<filter-name>struts2</filter-name>
  	<url-pattern>/*</url-pattern>
  </filter-mapping></web-app>
6、配置struts.xml:
<?xml version="1.0" encoding="UTF-8" ?>
<!DOCTYPE struts PUBLIC "-//Apache Software Foundation//DTD Struts Configuration 2.1//EN" "http://struts.apache.org/dtds/struts-2.1.dtd">
<struts>
	<constant name="struts.devMode" value="true" />
	<constant name="struts.i18n.encoding" value="UTF-8"></constant>
	<!--下述语句是将struts2交给spring管理 -->
	<constant name="struts.objectFactory" value="spring" />

	<package name="running" extends="struts-default" namespace="/">
		<action name="student_*" class="studentaction" method="{1}">
			<result name="query">/show.jsp</result>
		</action>
	</package>
</struts>
7、配置hibernate.cfg.xml:
<?xml version="1.0" encoding="UTF-8"?>
<beans xmlns="http://www.springframework.org/schema/beans"
	xmlns:xsi="http://www.w3.org/2001/XMLSchema-instance" xmlns:aop="http://www.springframework.org/schema/aop"
	xmlns:context="http://www.springframework.org/schema/context" xmlns:tx="http://www.springframework.org/schema/tx"
	xsi:schemaLocation="http://www.springframework.org/schema/beans http://www.springframework.org/schema/beans/spring-beans.xsd
		http://www.springframework.org/schema/aop http://www.springframework.org/schema/aop/spring-aop.xsd
		http://www.springframework.org/schema/context http://www.springframework.org/schema/context/spring-context.xsd
		http://www.springframework.org/schema/tx http://www.springframework.org/schema/tx/spring-tx.xsd">


	<bean id="sessionFactory"
		class="org.springframework.orm.hibernate3.annotation.AnnotationSessionFactoryBean">
		<property name="configLocation" value="classpath:hibernate.cfg.xml">
		</property>
	</bean>
	<!-- 定义事务管理器 -->
	<bean id="txManager"
		class="org.springframework.orm.hibernate3.HibernateTransactionManager">
		<property name="sessionFactory" ref="sessionFactory" />
	</bean>
	<!-- 开启事务注解驱动 -->
	<tx:annotation-driven transaction-manager="txManager"/>
	<!-- 启用Bean 的自动扫描功能 -->
	<context:component-scan base-package="com.ck.studentmanage.action"></context:component-scan>
	<context:component-scan base-package="com.ck.studentmanage.impl"></context:component-scan>


</beans>
8、配置hibernate.cfg.xml:
<?xml version='1.0' encoding='UTF-8'?>
<!DOCTYPE hibernate-configuration PUBLIC
          "-//Hibernate/Hibernate Configuration DTD 3.0//EN"
          "http://hibernate.sourceforge.net/hibernate-configuration-3.0.dtd">

<!-- Generated by MyEclipse Hibernate Tools.                   -->
<hibernate-configuration>

<session-factory>
	<property name="dialect">
		org.hibernate.dialect.Oracle9Dialect
	</property>
	<property name="connection.url">
		jdbc:oracle:thin:@localhost:1521:orcl
	</property>
	<property name="connection.username">plsql_test</property>
	<property name="connection.password">12345</property>
	<property name="connection.driver_class">
		oracle.jdbc.driver.OracleDriver
	</property>
	<property name="javax.persistence.validation.mode">none</property>
	<property name="myeclipse.connection.profile">orcl</property>
	<property name="show_sql">true</property>
	<property name="hbm2ddl.auto">update</property>
	<mapping class="com.ck.studentmanage.impl.StudentVo" />

</session-factory>

</hibernate-configuration>
框架已搭建成功。


 1096
1096

 被折叠的 条评论
为什么被折叠?
被折叠的 条评论
为什么被折叠?
 到【灌水乐园】发言


