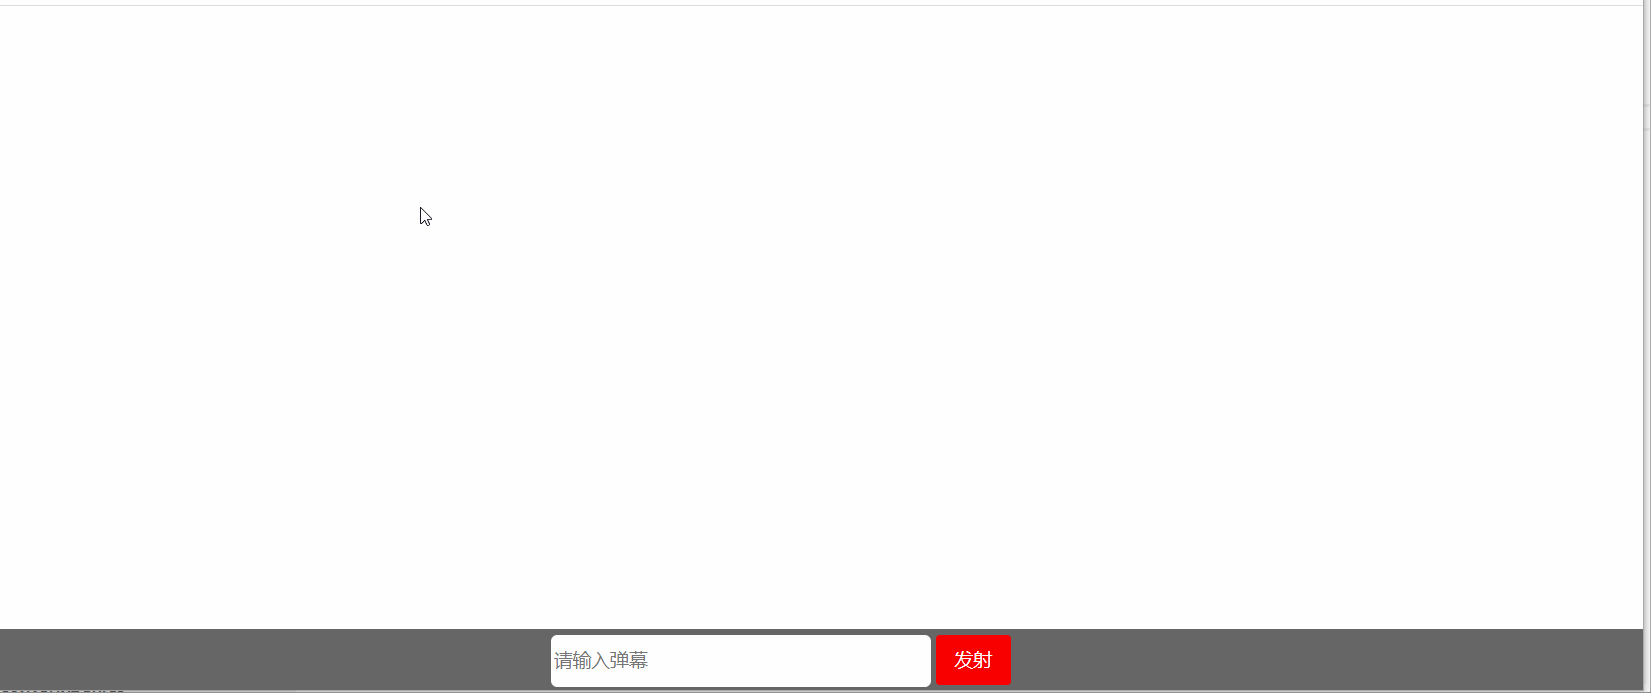
一、效果演示
二、代码
1、html代码
<!DOCTYPE html>
<html lang="en">
<head>
<meta charset="UTF-8">
<meta name="viewport" content="width=device-width, initial-scale=1.0">
<link rel="stylesheet" href="./弹幕.css">
<script src="https://apps.bdimg.com/libs/jquery/2.1.4/jquery.min.js"></script>
<title>弹幕案例</title>
</head>
<body>
<div class="boxDom" id="boxDom">
<div class="idDom" id="idDom">
<div class="content">
<p class="title">弹幕:</p>
<input type="text" class="text" id="text" placeholder="请输入弹幕"/>
<button type="button" class="btn" id="btn">发射</button>
</div>
</div>
</div>
</body>
</html>
2、css代码
html,
body {
    margin: 0px;
    padding: 0px;
    width: 100%;
    height: 100%;
    font-family: "微软雅黑";
    font-size: 62.5%;
}
.boxDom {
    width: 100%;
    height: 100%;
    position: relative;
    overflow: hidden;
}
.idDom {
    width: 100%;
    height: 50px;
    background: #666;
    position: fixed;
    bottom: 0px;
}
.content {
    display: inline-block;
    width: 430px;
    height: 40px;
    position: absolute;
    left: 0px;
    right: 0px;
    top: 0px;
    bottom: 0px;
    margin: auto;
}
.title {
    display: inline;
    font-size: 4em;
    vertical-align: bottom;
    color: #fff;
    vertical-align: middle;
}
.text {
    border: none;
    width: 300px;
    height: 40px;
    border-radius: 5px;
    font-size: 2.4em;
}
.btn {
    width: 60px;
    height: 40px;
    background: #f90000;
    border: none;
    color: #fff;
    font-size: 2.4em;
    line-height: 40px;
    border-radius: 3px;
}
span {
    width: 300px;
    height: 40px;
    position: absolute;
    overflow: hidden;
    color: #000;
    font-size: 4em;
    line-height: 1.5em;
    cursor: pointer;
    white-space: nowrap;
}
3、jQuery代码
<script>
$(function(){
$("#text").keyup(function(e){
if(e.keyCode == 13){
send();
}
});
$("#btn").click(function(){
send();
});
})
function send(){
var page_width = window.document.body.offsetWidth;
var page_height = window.document.body.offsetHeight;
var colors = ['pink','red','green','orange','black','blue','#660000','#9966CC','#FF9900','#0099CC','#CC3366','#999933'];
var randomColorIndex = parseInt(Math.random() * colors.length);
var randomY = parseFloat(Math.random() * page_height * 0.6)
console.log(parseInt(Math.random() * colors.length))
console.log(colors[randomColorIndex])
var span = $("<span></span>")
.text($("#text").val())
.css('color',colors[randomColorIndex])
.css('top',randomY)
.css('left',page_width)
.animate({left:'-100px'}
,15000,'linear'
,function(){
$(this).remove()
}
)
$("#boxDom").append(span);
$("#text").val("")
}
</script>
4、完整代码
4.1 弹幕.html文件
<!DOCTYPE html>
<html lang="en">
<head>
<meta charset="UTF-8">
<meta name="viewport" content="width=device-width, initial-scale=1.0">
<link rel="stylesheet" href="./弹幕.css">
<script src="https://apps.bdimg.com/libs/jquery/2.1.4/jquery.min.js"></script>
<title>弹幕案例</title>
</head>
<script>
$(function(){
$("#text").keyup(function(e){
if(e.keyCode == 13){
send();
}
});
$("#btn").click(function(){
send();
});
})
function send(){
var page_width = window.document.body.offsetWidth;
var page_height = window.document.body.offsetHeight;
var colors = ['pink','red','green','orange','black','blue','#660000','#9966CC','#FF9900','#0099CC','#CC3366','#999933'];
var randomColorIndex = parseInt(Math.random() * colors.length);
var randomY = parseFloat(Math.random() * page_height * 0.6)
console.log(parseInt(Math.random() * colors.length))
console.log(colors[randomColorIndex])
var span = $("<span></span>")
.text($("#text").val())
.css('color',colors[randomColorIndex])
.css('top',randomY)
.css('left',page_width)
.animate({left:'-100px'}
,15000,'linear'
,function(){
$(this).remove()
}
)
$("#boxDom").append(span);
$("#text").val("")
}
</script>
<body>
<div class="boxDom" id="boxDom">
<div class="idDom" id="idDom">
<div class="content">
<p class="title">弹幕:</p>
<input type="text" class="text" id="text" placeholder="请输入弹幕"/>
<button type="button" class="btn" id="btn">发射</button>
</div>
</div>
</div>
</body>
</html>
4.2 弹幕.css文件
html,
body {
    margin: 0px;
    padding: 0px;
    width: 100%;
    height: 100%;
    font-family: "微软雅黑";
    font-size: 62.5%;
}
.boxDom {
    width: 100%;
    height: 100%;
    position: relative;
    overflow: hidden;
}
.idDom {
    width: 100%;
    height: 50px;
    background: #666;
    position: fixed;
    bottom: 0px;
}
.content {
    display: inline-block;
    width: 430px;
    height: 40px;
    position: absolute;
    left: 0px;
    right: 0px;
    top: 0px;
    bottom: 0px;
    margin: auto;
}
.title {
    display: inline;
    font-size: 4em;
    vertical-align: bottom;
    color: #fff;
    vertical-align: middle;
}
.text {
    border: none;
    width: 300px;
    height: 40px;
    border-radius: 5px;
    font-size: 2.4em;
}
.btn {
    width: 60px;
    height: 40px;
    background: #f90000;
    border: none;
    color: #fff;
    font-size: 2.4em;
    line-height: 40px;
    border-radius: 3px;
}
span {
    width: 300px;
    height: 40px;
    position: absolute;
    overflow: hidden;
    color: #000;
    font-size: 4em;
    line-height: 1.5em;
    cursor: pointer;
    white-space: nowrap;
}
三、注意事项
- 回车键 和 发送按钮均可以发送弹幕
- jquery样式采用网络引入的形式
- 弹幕.html和弹幕.css文件需要在同级目录下,否则需要更改html中引入的样式路径
四、参考知识


 271
271


 被折叠的 条评论
为什么被折叠?
被折叠的 条评论
为什么被折叠?
 到【灌水乐园】发言


