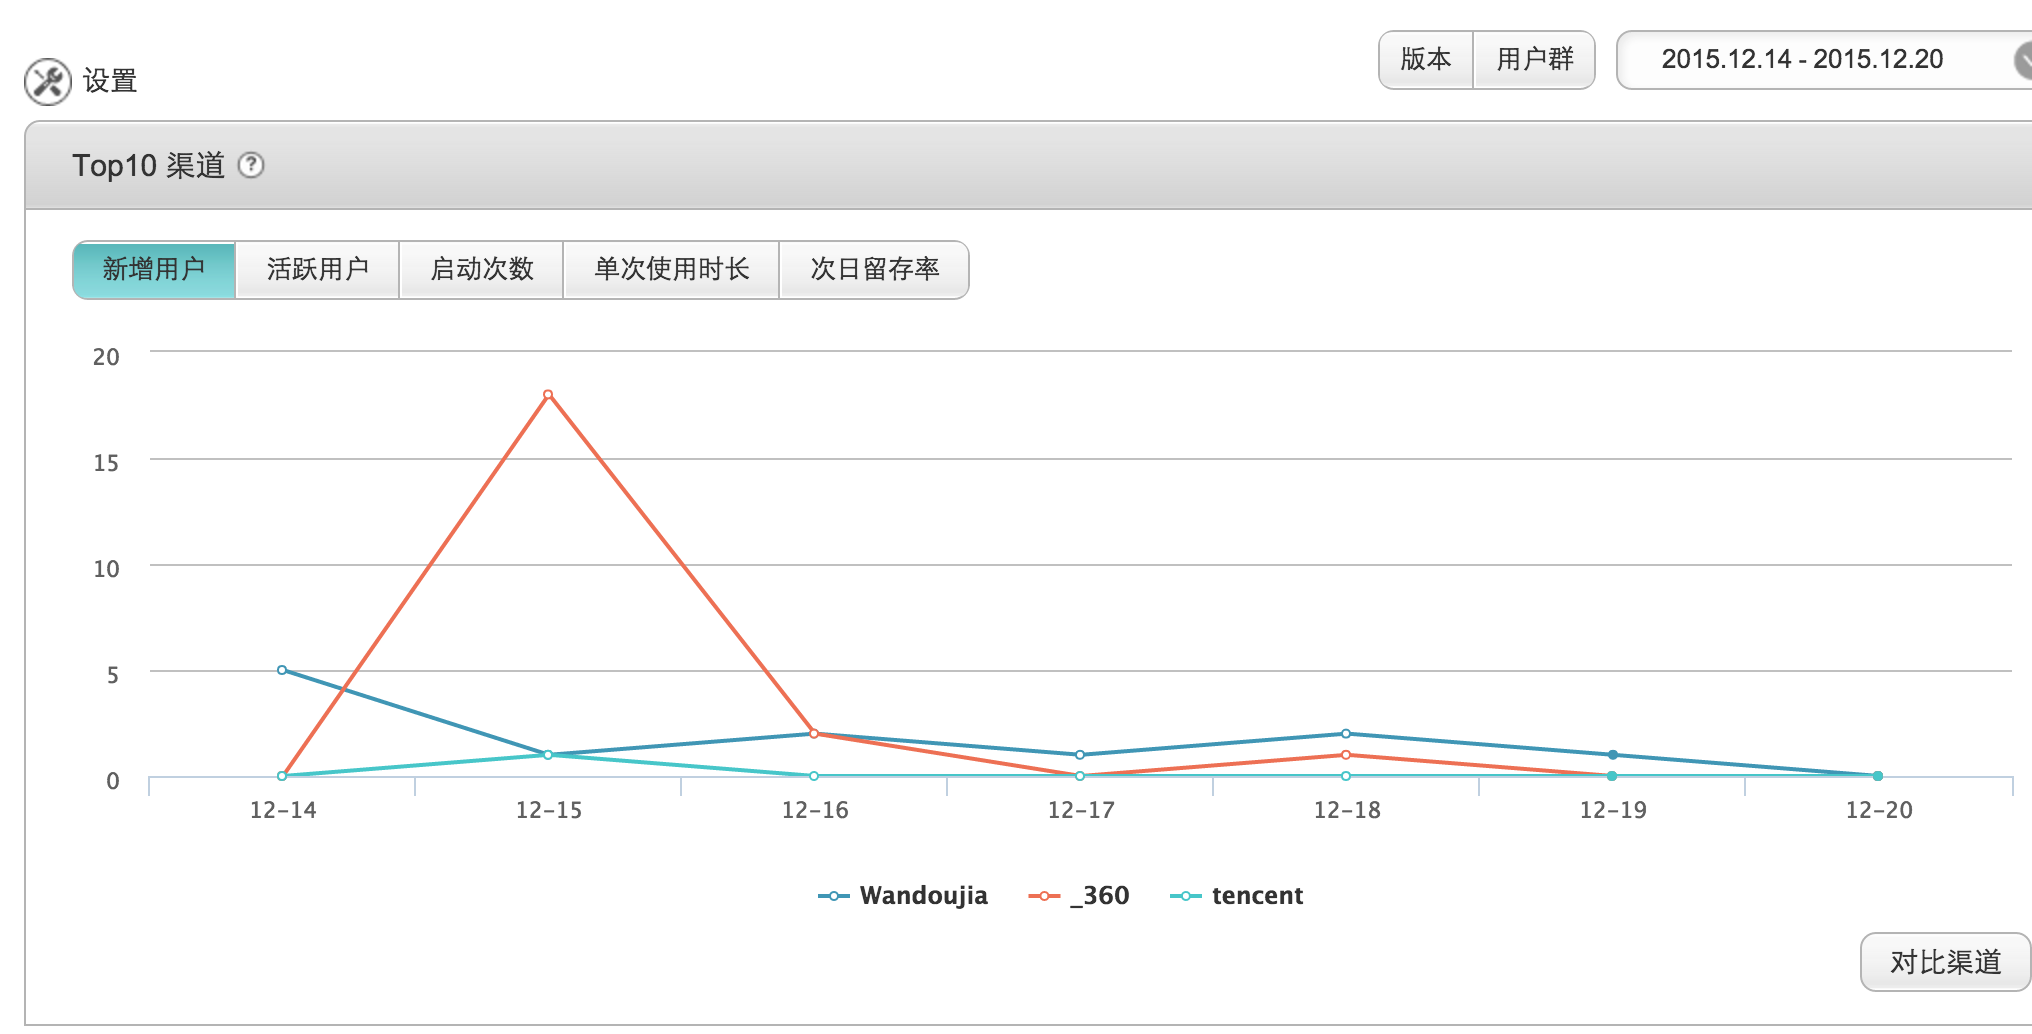
看本篇博文你需要掌握:
- Android Studio IDE 的使用
- Gradle 语法脚本的基本了解
eclipse 时代已经过去 Google 已经明确宣布在 15 年底停止对 eclipse 开发 Android ADT 等相关插件的支持和维护 , 意味着 Google 的亲儿子 Android Studio 和 gradle 打包的上位! 你还在用 eclipse ? 还在用 ant 打包? 那你就 out 了赶紧跟我来看看吧
一:
manifest 的配置 (此处以友盟为例)
        <meta-data
            android:name="UMENG_APPKEY"
            android:value="your umeng key"></meta-data>

        <meta-data
            android:name="UMENG_CHANNEL"
            android:value="${UMENG_CHANNEL_VALUE}" />

    </application>

</manifest>
上面一段的 meta-data 是友盟官方给出的,我们拷贝过来即可,下面第二段的 meta-data 是自己定义的 但是最终需要和 build.gradle 文件中能对应上即可(另外需要注意层级关系,和四大组件平级,在 application 内)
二:
构建脚本:
apply plugin: 'com.android.application'

def releaseTime() {
    return new Date().format("yyyy-MM-dd", TimeZone.getTimeZone("UTC"))
}

android {
    compileSdkVersion 21
    buildToolsVersion "23.0.1"

    defaultConfig {
        applicationId "com.rongseal"
        minSdkVersion 14
        targetSdkVersion 21
        versionCode 1
        versionName "1.0"

        // dex突破65535的限制
        multiDexEnabled true
        // 默认是umeng的渠道
        manifestPlaceholders = [UMENG_CHANNEL_VALUE: "umeng"]
    }

    signingConfigs {
        debug {
            // No debug config
        }

        release {
            storeFile file("/Users/zhouxuming/SeaStar.jks")
            storePassword "123456"
            keyAlias "SeaSatrKey"
            keyPassword "123456"
        }
    }

    //lint检查
    lintOptions {
        abortOnError false
    }

    buildTypes {

        debug {
            versionNameSuffix "-debug"
            minifyEnabled false
            zipAlignEnabled false
            shrinkResources false
            signingConfig signingConfigs.debug
        }

        release {
            //混淆
            minifyEnabled true
            //是否压缩对齐
            zipAlignEnabled true
            //清除不用的资源
            shrinkResources true
            //混淆脚本路径
            proguardFiles getDefaultProguardFile('proguard-android.txt'), 'proguard-rules.pro'

            signingConfig signingConfigs.release

            applicationVariants.all { variant ->
                variant.outputs.each { output ->
                    def outputFile = output.outputFile
                    if (outputFile != null && outputFile.name.endsWith('.apk')) {
                        // 输出apk名称为SeaStar_v1.0_2015-12-14_wandoujia.apk
                        def fileName = "SeaStar_v${defaultConfig.versionName}_${releaseTime()}_${variant.productFlavors[0].name}.apk"
                        output.outputFile = new File(outputFile.parent, fileName)
                    }
                }
            }
        }
    }


    productFlavors {
        xiaomi {}
        _360 {}
        baidu {}
        Wandoujia {}
        tencent {}
        huawei {}
        jifeng {}
    }

    productFlavors.all {
        flavor -> flavor.manifestPlaceholders = [UMENG_CHANNEL_VALUE: name]
    }
}

dependencies {
    compile fileTree(dir: 'libs', include: ['*.jar'])
    compile 'com.android.support:appcompat-v7:22.2.0'
    compile project(':IMKit')
    compile 'com.bugtags.library:bugtags-lib:1.0.6'
    // BuaTags
    compile 'com.umeng.analytics:analytics:latest.integration'
    // umeng 统计
    compile 'com.squareup.picasso:picasso:2.5.2'
    // picasso 相册图片加载
    compile project(':oneCore')
    compile 'de.greenrobot:greendao:2.1.0'
    compile 'com.nostra13.universalimageloader:universal-image-loader:1.9.4'
}
这是个完整的构建脚本 大部分可以 copy 到自己的脚本里面 dependencies 我们不用理会, 我们看到 defaultConfig 里面的这句话:
manifestPlaceholders = [UMENG_CHANNEL_VALUE: "umeng"]这里就和我们上面的 manifest 的配置对应上了,其他基本有注释都比较易懂,但是需要一提的 脚本顺序不能随意调换 例如 signingConfigs 的配置 我放在 buildTypes 底部就会报 找不到 signingConfigs 的错误
productFlavors {
        xiaomi {}
        _360 {}
        baidu {}
        Wandoujia {}
        tencent {}
        huawei {}
        jifeng {}
    }
此处的应用市场渠道包为:
- 小米
- 360 (前面必须加东西,直接以数字开头.编译不通过。此处加的下划线)
- 百度
- 豌豆荚
- 腾讯应用宝
- 华为
- 机锋市场
示例中的 7 大应用市场如果还不能满足需求 , 你直接可以在上面代码中 productFlavors {} 括号内做添加即可
未完待续 请参考笔者 blog Android Studio 多渠道打包(二)


 182
182

 被折叠的 条评论
为什么被折叠?


