


一、zabbix-server端
修改主机名
在zabbix-server服务器执行: hostnamectl set-hostname zabbix-server

1.关闭防火墙
systemctl stop firewalld systemctl disable firewalld setenforce 0
sed -i "s/enforcing/permissive/g" /etc/selinux/config

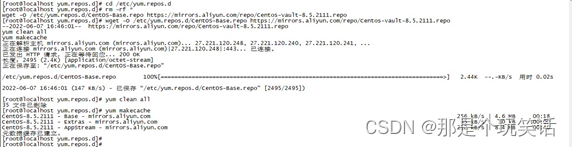
2.更换yum源
cd /etc/yum.repos.d rm -rf *
wget -O /etc/yum.repos.d/CentOS-Base.repo https://mirrors.aliyun.com/repo/Centos-vault-
8.5.2111.repo yum clean all yum makecache
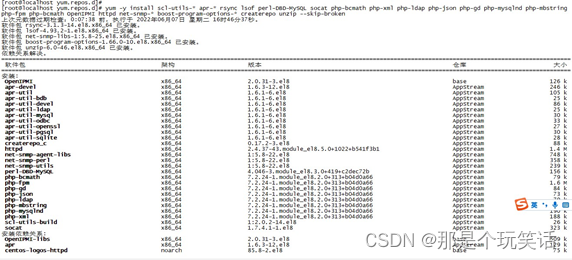
3.安装依赖包
yum install scl-utils-* apr-* rsync lsof perl-DBD-MySQL socat php-bcmath php-xml php-ldap phpjson php-gd php-mysqlnd php-mbstring php-fpm php-bcmath OpenIPMI httpd net-snmp-* boostprogram-options-* createrepo unzip -y --skip-broken
4.安装Zabbix存储库
rpm -Uvh https://repo.zabbix.com/zabbix/6.0/rhel/8/x86_64/zabbix-release-6.0-1.el8.noarch.rpm
dnf clean all

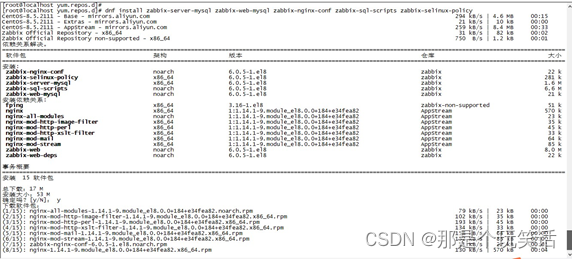
5.安装Zabbix-server与web前端
dnf install zabbix-server-mysql zabbix-web-mysql zabbix-nginx-conf zabbix-sql-scripts zabbixselinux-policy
5.配置数据库
- 引入mariadb源
cat <<EOF > /etc/yum.repos.d/mariadb.repo
# https://mariadb.org/download/
[mariadb] name = MariaDB
baseurl = https://mirrors.cloud.tencent.com/mariadb/yum/10.6/centos8-amd64 module_hotfixes=1
gpgkey=https://mirrors.cloud.tencent.com/mariadb/yum/RPM-GPG-KEY-MariaDB gpgcheck=1
EOF

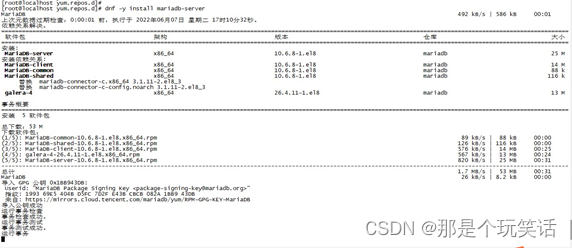
- 安装数据库
dnf -y install mariadb-server
- 启动数据库并设置开机启动
systemctl start mariadb && systemctl enable mariadb

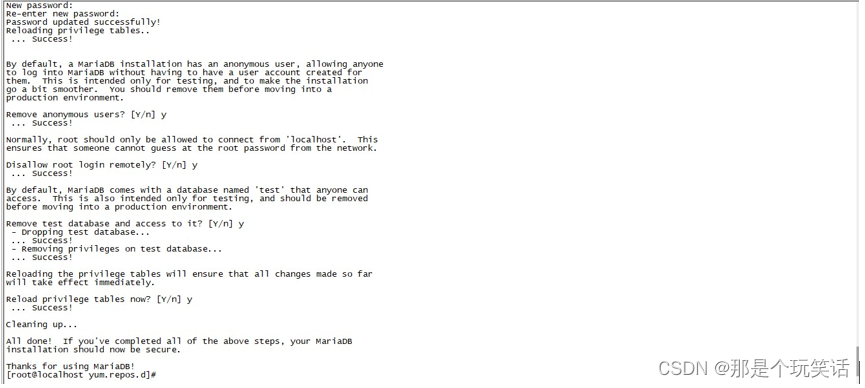
- 初始化数据库
|
mariadb-secure-installation |
|
说明: |
|
Enter current password for root (enter for none |
|
): |
|
#初次直接回 |
|
车 |
|
Set root password? [Y/n] #设置root |
|
的密码 Y回车 |
|
New password: #设置root的密码回车 |
|
Re-enter new password: #再次输入 |
|
确认回车 |
|
Remove anonymous users? [Y/n] #是否移 |
|
除匿名用户 Y回车 |
|
Disallow root login remotely? [Y/n] #不允许root用户远程 |
|
登录 Y回车 |
|
Remove test database and access to it? [Y/n] # 移除test测试数 |
|
据库 |
|
Y回车 |
|
Reload privilege tables now? [Y/n] # 是否重新加载权限表 Y回车 |
- 授权数据库
[root@localhost ~]# mysql -uroot -p Enter password:
Welcome to the MariaDB monitor. Commands end with ; or \g.
Your MariaDB connection id is 17
Server version: 10.6.8-MariaDB MariaDB Server
Copyright (c) 2000, 2018, Oracle, MariaDB Corporation Ab and others.
Type 'help;' or '\h' for help. Type '\c' to clear the current input statement.
MariaDB [(none)]>
MariaDB [(none)]> create database zabbix character set utf8mb4 collate utf8mb4_bin; Query OK, 1 row affected (0.380 sec)
MariaDB [(none)]> create user zabbix@localhost identified by '123456'; Query OK, 0 rows affected (0.440 sec)
MariaDB [(none)]> grant all privileges on zabbix.* to zabbix@localhost;
Query OK, 0 rows affected (0.001 sec)
MariaDB [(none)]> quit;
Bye
[root@localhost ~]#
- 导入初始数据
zcat /usr/share/doc/zabbix-sql-scripts/mysql/server.sql.gz | mysql -uzabbix -p zabbix
#输入密码:123456
![]()
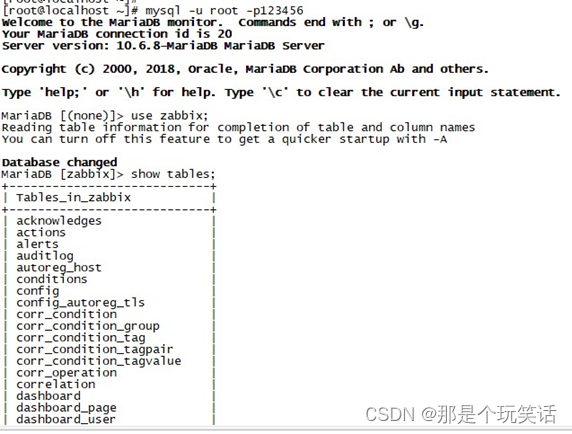
上述操作完成, 此时执行下述命令查看数据库数据是否导入
mysql -u root -p123456 use zabbix; show tables;
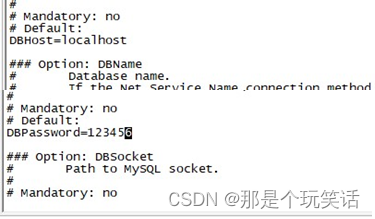
- zabber-server配置数据库
vim /etc/zabbix/zabbix_server.conf
DBHost=localhost #去掉注释
DBPassword=123456 #去掉注释并填入123456 根据实际情况填写
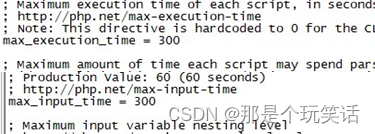
- 配置PHP
vim /etc/php.ini
post_max_size = 16M #由8M改为16M max_execution_time = 300 #由30改为300 max_input_time = 300 #由60改为300

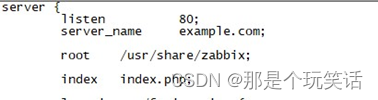
- 配置Nginx
vim /etc/nginx/conf.d/zabbix.conf
listen 80; #去掉注释 server_name example.com; #去掉注释
cp -r /usr/share/zabbix/ /usr/share/nginx/html/ #复制主目录
![]()
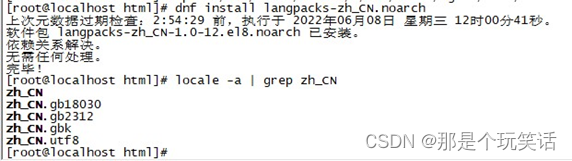
- 安装中文包
dnf install langpacks-zh_CN.noarch # 安装zh_CN语言包
dnf -y install glibc-common # 安装glibc-common实现对语言包的识别
# locale -a | grep zh_CN zh_CN zh_CN.gb18030 zh_CN.gbk zh_CN.utf8

- 启动服务并设置开机启动
systemctl restart zabbix-server nginx php-fpm systemctl enable zabbix-server nginx php-fpm
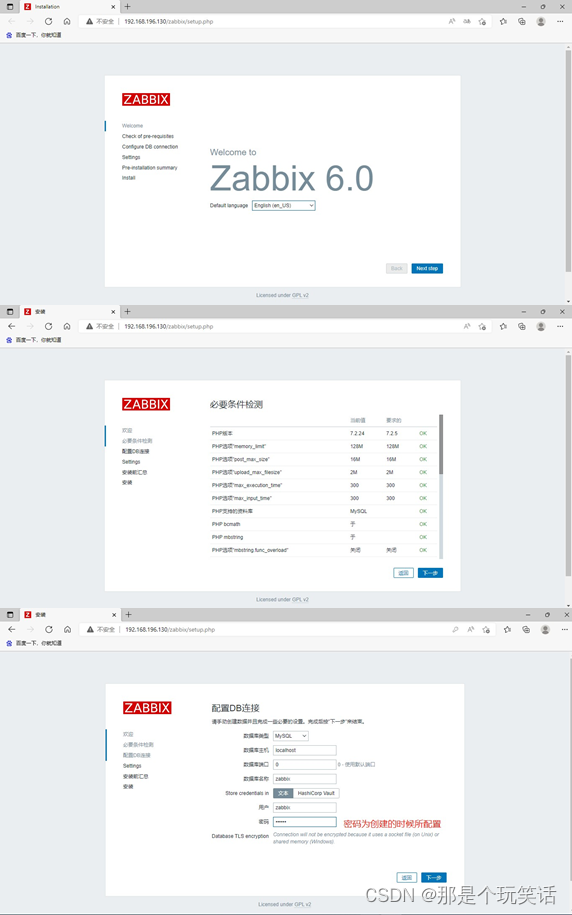
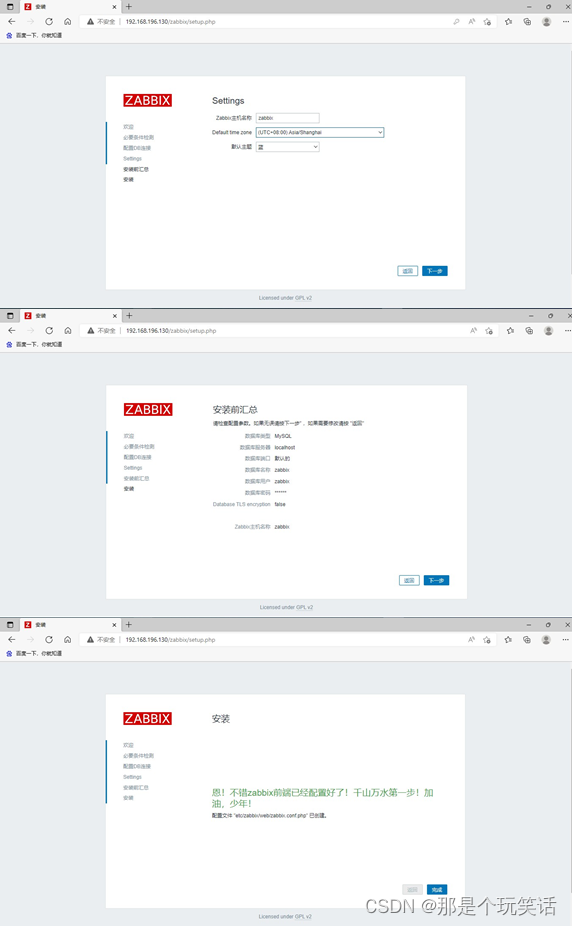
- 访问页面
http://IP/zabbix
|
账号密码:Admin/zabbix |
|
账号密码:Admin/zabbix |
二、zabbix-agent端
11、zabbix-agent服务器配置 a、修改主机名
在zabbix-agent服务器执行: hostnamectl set-hostname zabbix-agent

- 关闭防火墙
systemctl stop firewalld systemctl disable firewalld setenforce 0
sed -i "s/enforcing/permissive/g" /etc/selinux/config

- 更换yum源
cd /etc/yum.repos.d rm -rf *
wget -O /etc/yum.repos.d/CentOS-Base.repo https://mirrors.aliyun.com/repo/Centos-vault-
8.5.2111.repo yum clean all yum makecache

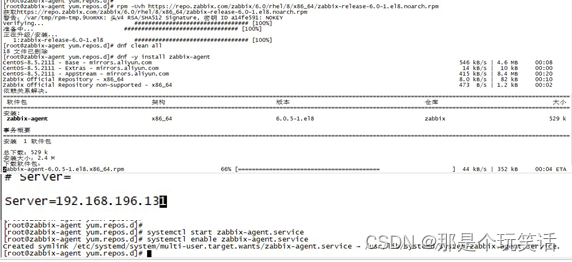
- 安装zabbix存储库
rpm -Uvh https://repo.zabbix.com/zabbix/6.0/rhel/8/x86_64/zabbix-release-6.0-1.el8.noarch.rpm dnf clean all

- 安装zabbix-agent
dnf -y install zabbix-agent vim /etc/zabbix/zabbix_agentd.conf
> Server=192.168.196.130 # 更改为zabbix-server端IP > ServerActive=192.168.196.130 # 更改为zabbix-server端IP > Hostname=zabbix-agent # 更改为zabbix-agent服务器主机名
systemctl start zabbix-agent.service
systemctl enable zabbix-agent.service
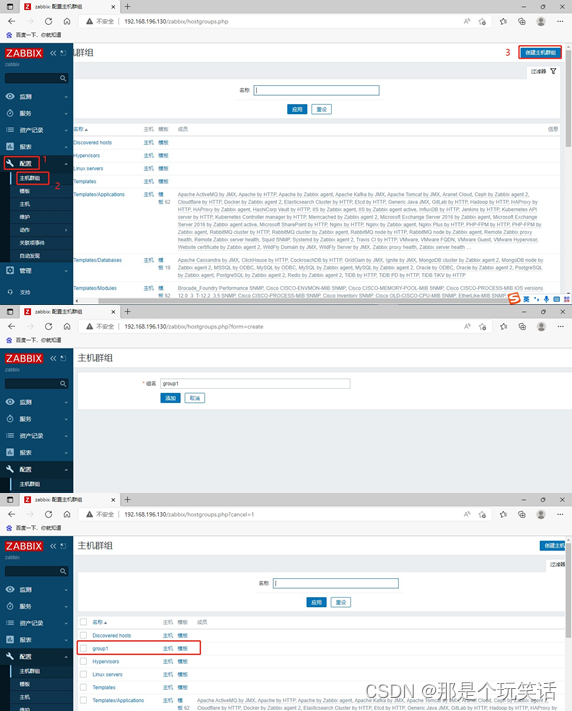
12、在zabbix-server端配置zabbix-agent a、添加主机群组配置--》主机群组--》创建主机群组
- 添加新的模板配置--》模板--》创建模板

- 添加主机配置--》主机--》创建主机

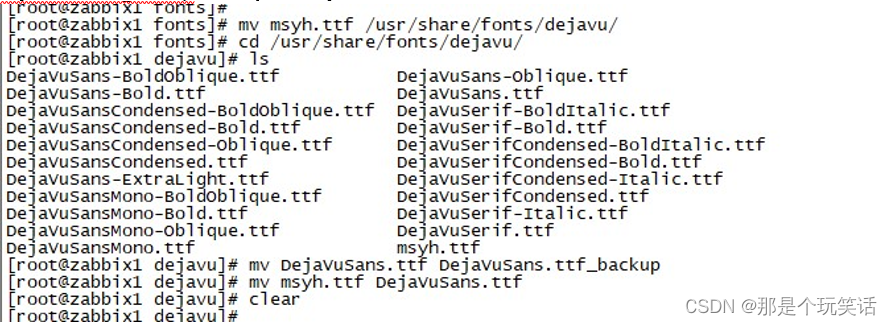
监控图形乱码问题解决:下载更新字体:
cd /usr/share/fonts/dejavu/
wget https://www.xxshell.com/download/sh/zabbix/ttf/msy mv DejaVuSans.ttf DejaVuSans.ttf_backup mv msyh.ttf DejaVuSans.ttf
|
刷新界面: |
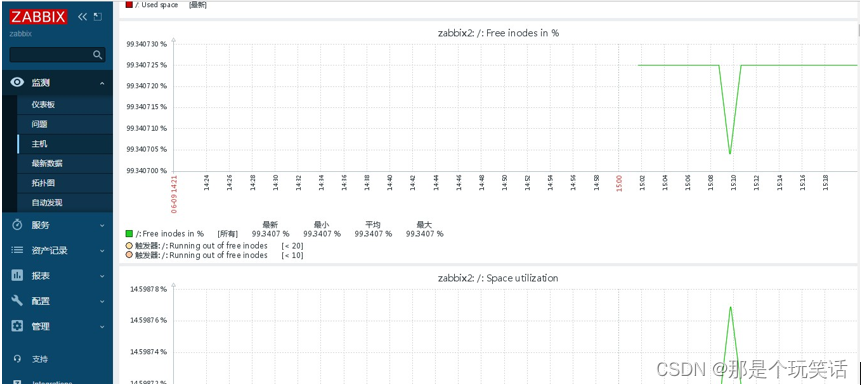
字体已不会乱码


 2439
2439

 被折叠的 条评论
为什么被折叠?
被折叠的 条评论
为什么被折叠?
 到【灌水乐园】发言


