


【写在前面的一句话】如果需要详细的技术指导,可以私信我,或者直接评论,欢迎技术交流。
【写在前面的两句话】还需要哪方面的程序效果,可以给我留言。无偿进行程序设计,演示效果,为广大科研爱好者,提供便捷。
【写在前面的三句话】需要代码请私信。
以下是一个基于Python的三维地质数值模拟程序示例。代码包含完整的地质建模、边界条件设置和数值求解过程,并附有详细剖析。
```python
import numpy as np
import matplotlib.pyplot as plt
from mpl_toolkits.mplot3d import Axes3D
from dolfin import *
# 1. 三维地质模型构建
class GeologicalModel:
def __init__(self, size=(1000, 1000, 500), resolution=(20, 20, 10)):
"""
初始化三维地质模型
:param size: 模型尺寸(x,y,z) 单位:米
:param resolution: 网格分辨率(nx,ny,nz)
"""
self.mesh = BoxMesh(Point(0, 0, 0),
Point(size[0], size[1], size[2]),
resolution[0], resolution[1], resolution[2])
# 定义材料参数函数空间
self.V = FunctionSpace(self.mesh, 'P', 1)
def add_stratigraphy(self, layers):
"""
添加地层信息
:param layers: 地层参数列表,每个元素为(depth, permeability, porosity)
"""
self.k = Function(self.V) # 渗透率场
self.phi = Function(self.V) # 孔隙度场
# 通过深度定义材料属性
x = SpatialCoordinate(self.mesh)
for i, (depth, perm, poro) in enumerate(layers):
if i == 0:
# 最上层
condition = x[2] >= depth
else:
# 中间层
condition = And(x[2] < layers[i-1][0], x[2] >= depth)
self.k.assign(project(conditional(condition, Constant(perm), self.k), self.V))
self.phi.assign(project(conditional(condition, Constant(poro), self.phi), self.V))
# 最底层
condition = x[2] < layers[-1][0]
self.k.assign(project(conditional(condition, Constant(layers[-1][1]), self.V))
self.phi.assign(project(conditional(condition, Constant(layers[-1][2])), self.V))
# 2. 地下水流模拟
class GroundwaterFlowSimulator:
def __init__(self, model):
self.model = model
self.u = TrialFunction(model.V)
self.v = TestFunction(model.V)
def set_boundary_conditions(self, bc_values):
"""
设置边界条件
:param bc_values: 字典,包含边界类型和值
{'top': value, 'bottom': value, 'sides': value}
"""
# 定义边界条件
boundaries = MeshFunction("size_t", self.model.mesh, self.model.mesh.topology().dim()-1)
# 标记不同边界
class TopBoundary(SubDomain):
def inside(self, x, on_boundary):
return on_boundary and near(x[2], self.model.mesh.coordinates()[:,2].max())
class BottomBoundary(SubDomain):
def inside(self, x, on_boundary):
return on_boundary and near(x[2], self.model.mesh.coordinates()[:,2].min())
# 标记边界
top = TopBoundary()
bottom = BottomBoundary()
top.mark(boundaries, 1)
bottom.mark(boundaries, 2)
# 创建边界条件
self.bcs = [
DirichletBC(self.model.V, bc_values['top'], boundaries, 1),
DirichletBC(self.model.V, bc_values['bottom'], boundaries, 2)
]
def solve(self, source_term=0):
"""求解地下水流动方程"""
# 达西流控制方程
a = inner(self.model.k * grad(self.u), grad(self.v)) * dx
L = Constant(source_term) * self.v * dx
# 求解
self.solution = Function(self.model.V)
solve(a == L, self.solution, self.bcs)
return self.solution
# 3. 可视化模块
class Visualizer:
@staticmethod
def plot_3d_slice(solution, model):
"""绘制3D切片图"""
fig = plt.figure(figsize=(12, 8))
ax = fig.add_subplot(111, projection='3d')
# 获取网格坐标和值
coords = model.mesh.coordinates()
values = solution.compute_vertex_values(model.mesh)
# 绘制散点图
sc = ax.scatter(coords[:,0], coords[:,1], coords[:,2],
c=values, cmap='viridis', alpha=0.6)
plt.colorbar(sc, label='Hydraulic Head (m)')
ax.set_xlabel('X (m)')
ax.set_ylabel('Y (m)')
ax.set_zlabel('Depth (m)')
plt.title('3D Groundwater Flow Simulation')
plt.show()
# 主程序
if __name__ == "__main__":
# 1. 创建地质模型
model = GeologicalModel(size=(800, 800, 400), resolution=(15, 15, 10))
# 2. 定义地层参数 (深度(m), 渗透率(m/s), 孔隙度)
layers = [
(100, 1e-4, 0.25), # 表层土
(200, 5e-5, 0.20), # 砂层
(300, 1e-6, 0.15), # 黏土层
(400, 1e-7, 0.10) # 基岩
]
model.add_stratigraphy(layers)
# 3. 设置模拟器
simulator = GroundwaterFlowSimulator(model)
simulator.set_boundary_conditions({
'top': 100.0, # 地表水头
'bottom': 150.0 # 底部水头
})
# 4. 运行模拟
solution = simulator.solve(source_term=0)
# 5. 可视化结果
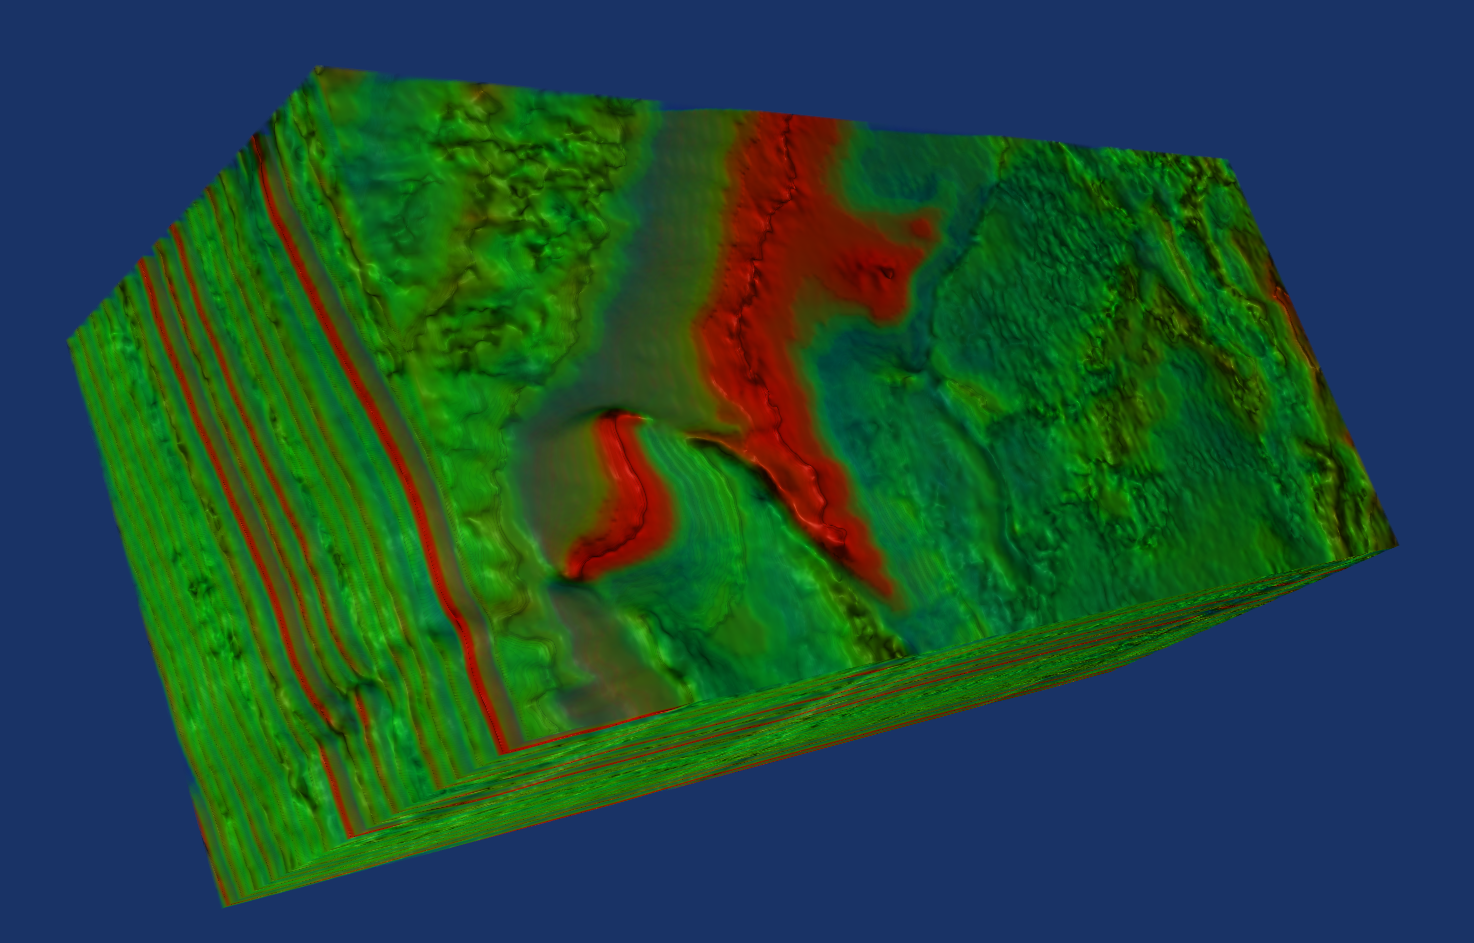
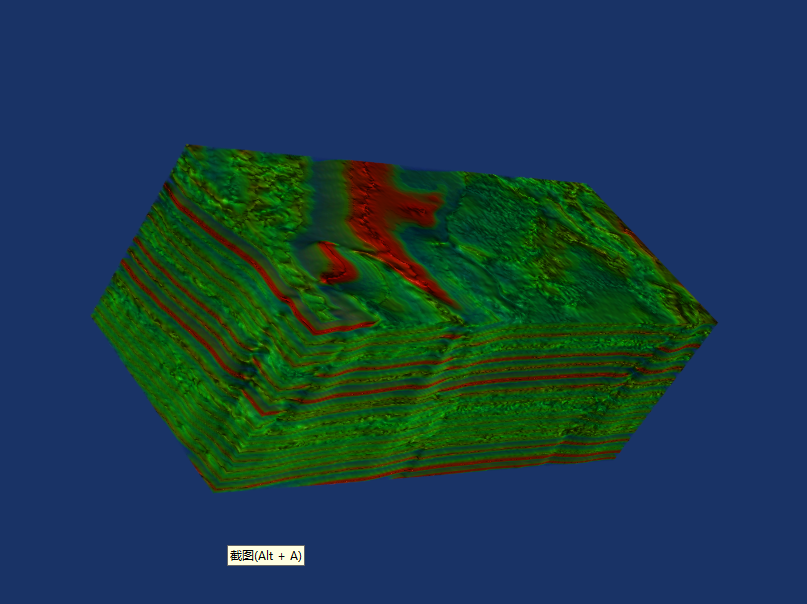
Visualizer.plot_3d_slice(solution, model)
```
如下为部分运行效果:


 548
548

 被折叠的 条评论
为什么被折叠?
被折叠的 条评论
为什么被折叠?
 到【灌水乐园】发言


