


1.下载镜像
docker pull centos:7
或者在控制面板下
2.运行centos7镜像的容器,edncenos7 是新生成的容器名称
## --name 新名字
docker run -it --name edncenos7 c9a1fdca3387 /bin/bash
3.在容器内下载php5.4等插件,以便提交成为新镜像
wget --no-check-certificate https://www.php.net/distributions/php-5.4.45.tar.gz
运行报错,找不到wget,先使用yum install 安装一下,然后重新运行第3步

 4.下载完成,您可以使用以下命令解压源码:
tar -xf php-5.4.45.tar.gz
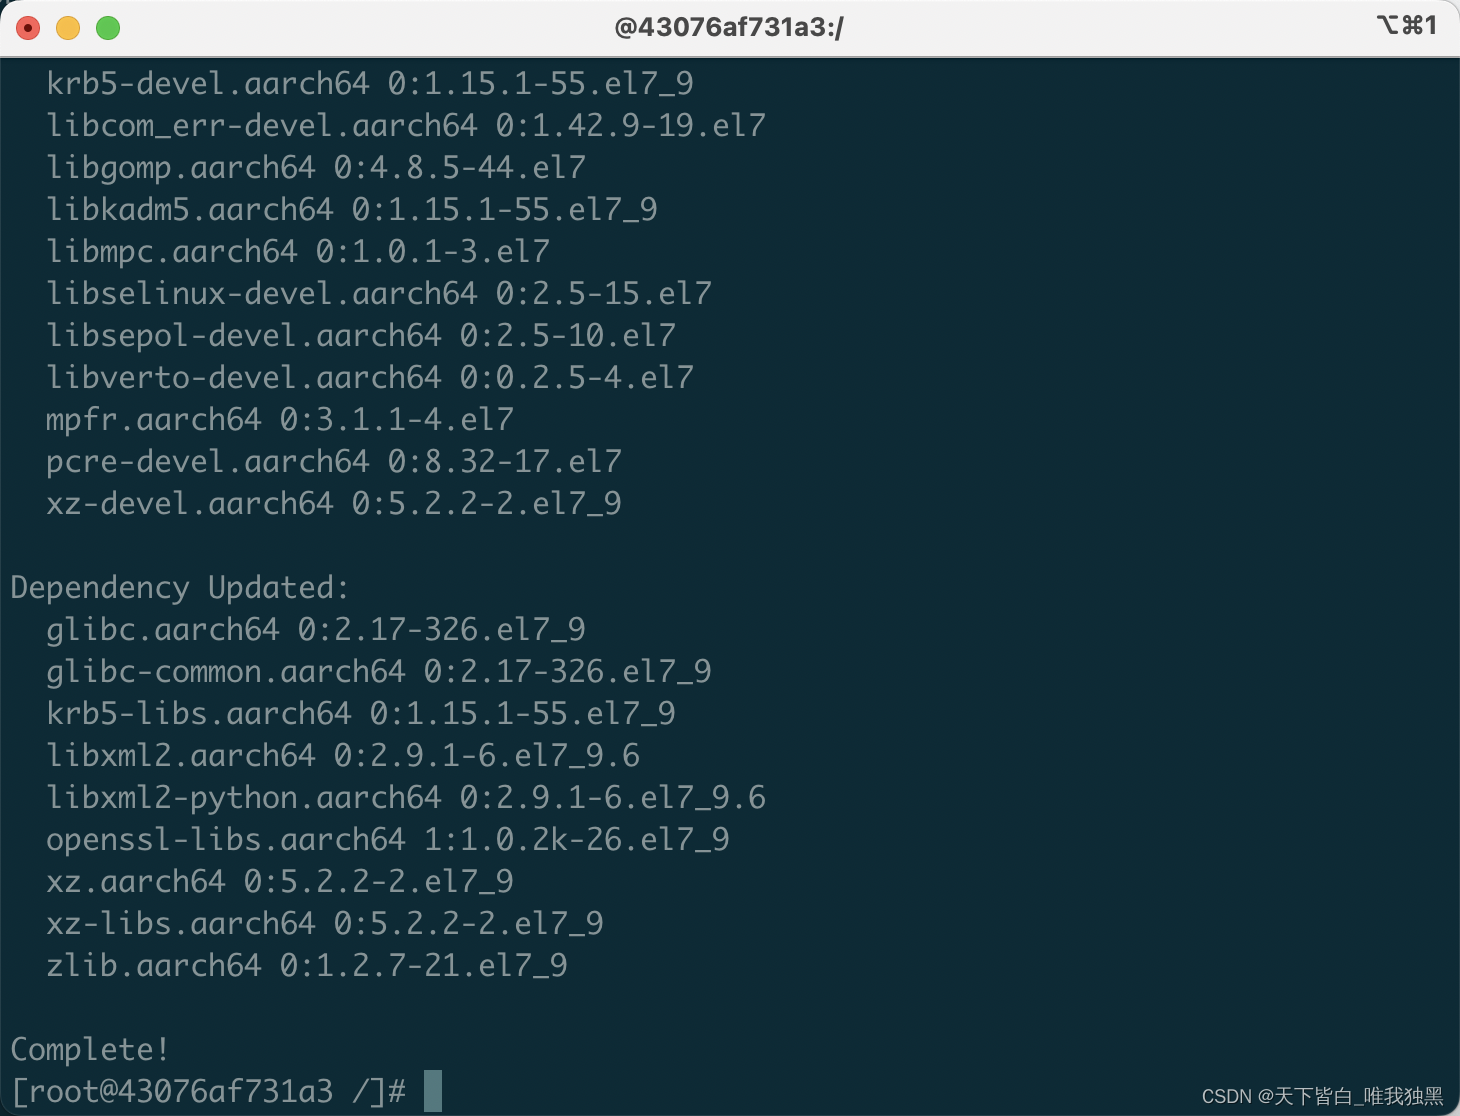
5.安装编译PHP所需的依赖项。在CentOS 7上,您可以使用以下命令来安装这些依赖项
yum install -y gcc make zlib-devel libxml2-devel openssl-devel bzip2-devel
6.进入解压后的PHP源码目录,并执行以下命令来配置编译选项:
#进入目录
cd php-5.4.45
#编译安装
./configure --prefix=/usr/local/php --with-config-file-path=/etc/php --enable-fpm --with-fpm-user=www-data --with-fpm-group=www-data --with-mysql --with-mysqli --with-pdo-mysql --with-openssl --enable-mbstring --enable-zip --enable-gd-native-ttf --enable-ftp --enable-gd-native-ttf --with-curl --with-xmlrpc --enable-sockets --enable-intl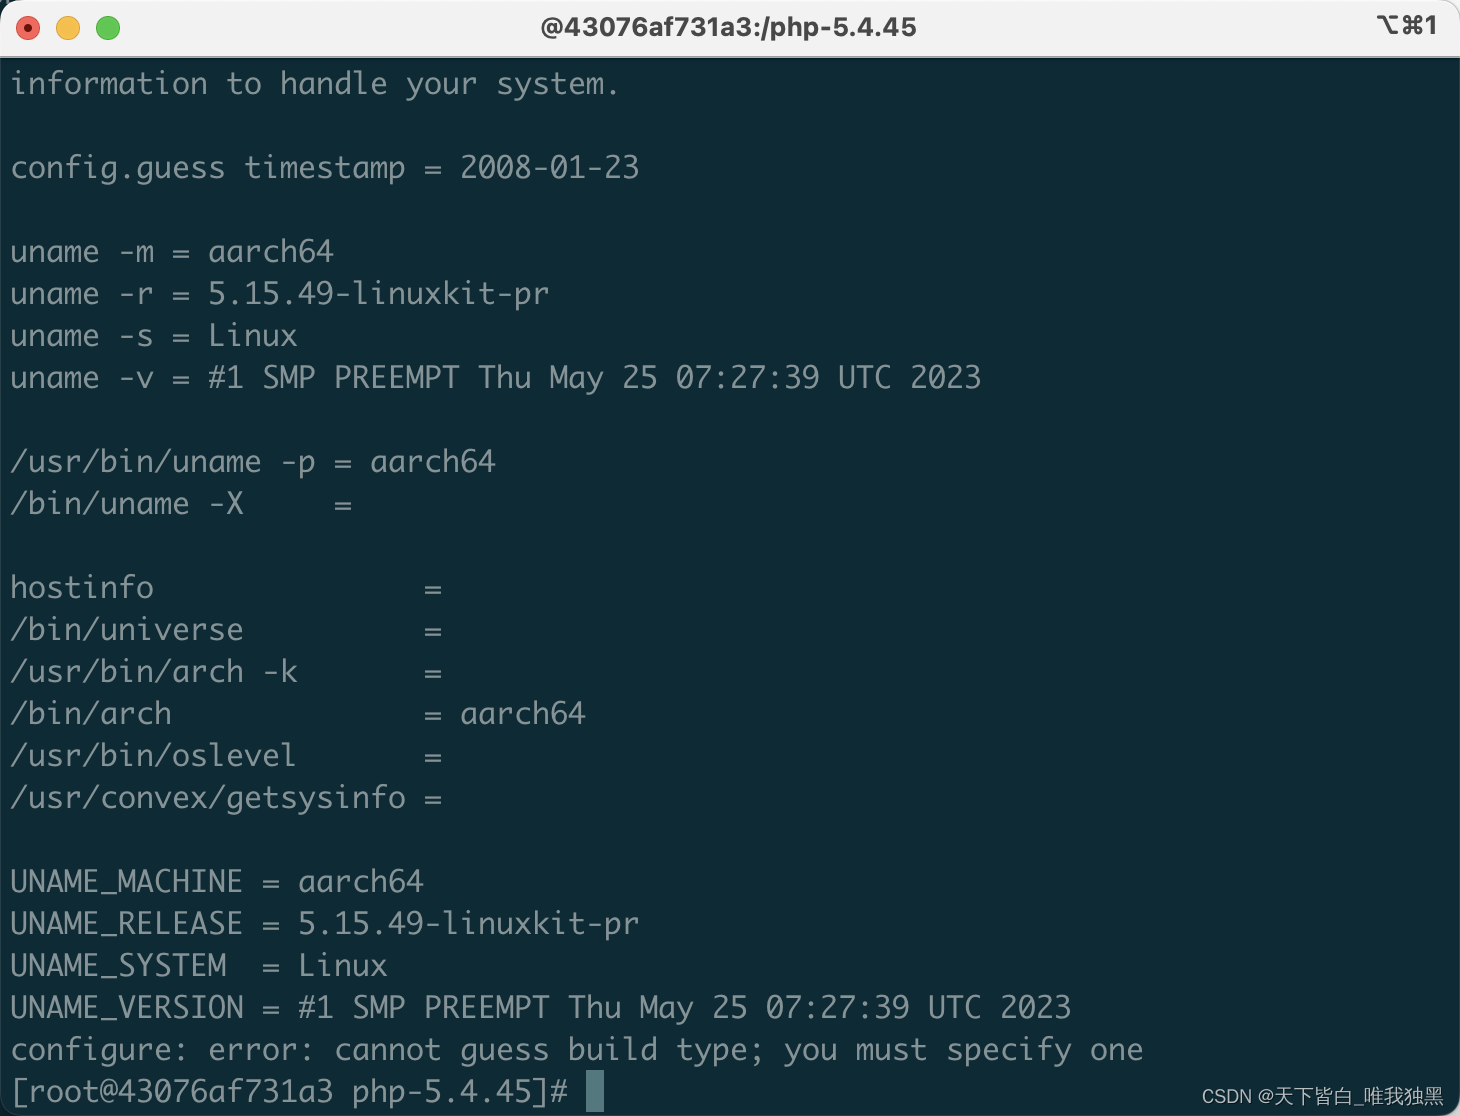 configure: error: cannot guess build type; you must specify one
解决方案我们指定一下build值,在上面的命令中加入下面的代码 --build=arm-linux 重新执行
##error: Please reinstall the libcurl distribution - easy.h should be in /include/curl/
yum -y install curl-devel

##error: Unable to detect ICU prefix or no failed.  Please verify ICU install prefix and make sure icu-config works.
yum install libicu-devel

##error: C++ preprocessor "/lib/cpp" fails sanity check
yum install glibc-headers
yum install gcc-c++
其他错误从下面的地址里找答案,或者百度下都能解决本文不做过多说明
php源代码安装常见错误与解决办法分享_php技巧_脚本之家
linux编译安装时常见错误解决办法_icu-config-CSDN博客
看到这个提示就代表配置成功了

7.使用以下命令进行编译和安装:
make
make install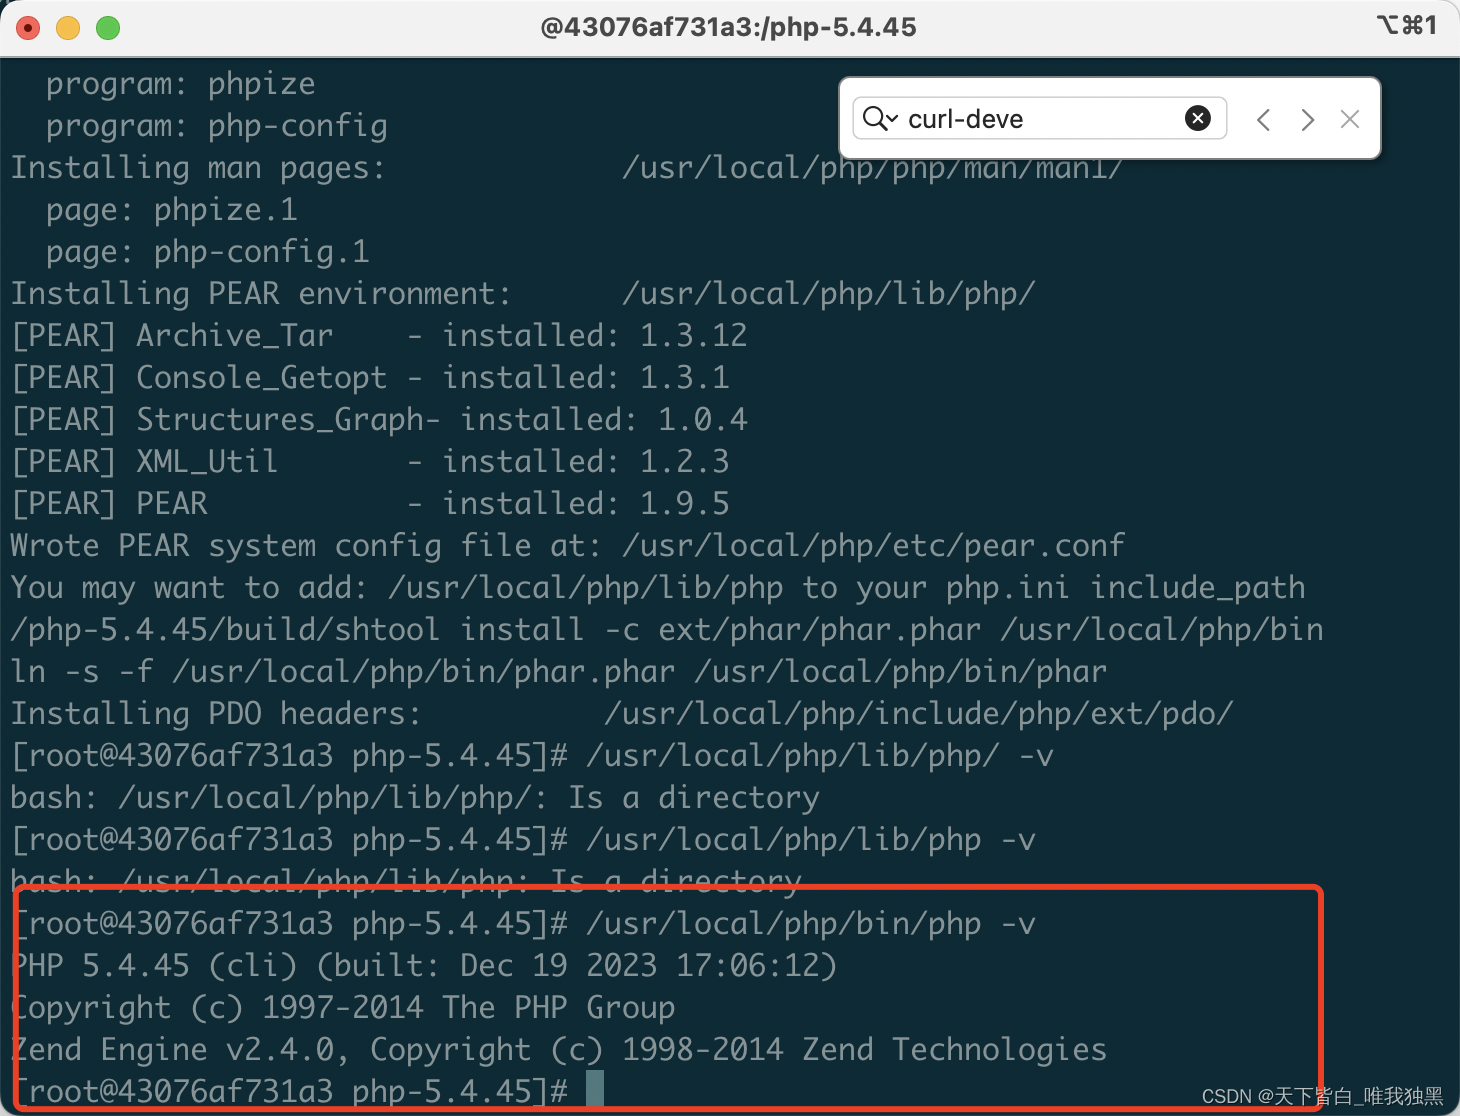
二、安装nginx
#nginx 依赖的一些 lib 库:
yum install gcc-c++
yum install pcre pcre-devel
yum install zlib zlib-devel
yum install openssl openssl--devel

#检查一下安装已有的 nginx
find -name nginx

#如果系统安装了Nginx,那么卸载
yum remove nginx

#然后开始安装,首先进入 /usr/local 目录
cd /usr/local

#下载安装包
wget -c http://nginx.org/download/nginx-1.12.1.tar.gz

#解压
tar -zxvf nginx-1.12.1.tar.gz
2.使用 --prefix 参数指定 nginx 安装的目录,make、make install 安装
wget --no-check-certificate https://github.com/cfsego/file-md5/archive/master.zip
像我就没法直接下载
 修改一下hosts文件
vi /etc/hosts

20.205.243.166 github.com
如果不能安装,文件我放到文章最后了可以自己去下然后传到自己的镜像里
3.解压文件
unzip file-md5-master.zip4.编译配置项
#创建nginx用户
#设置shell不能登陆,不创建家目录
useradd -s /bin/nologin -M nginx

#编译配置
./configure --prefix=/usr/local/nginx --conf-path=/etc/nginx/nginx.conf --user=nginx --group=nginx --error-log-path=/var/log/nginx/error.log --http-log-path=/var/log/nginx/access.log --pid-path=/var/run/nginx/nginx.pid --lock-path=/var/lock/nginx.lock --with-http_ssl_module --with-http_stub_status_module --with-http_gzip_static_module --http-client-body-temp-path=/var/tmp/nginx/client --http-proxy-temp-path=/var/tmp/nginx/proxy --http-fastcgi-temp-path=/var/tmp/nginx/fastcgi --with-http_ssl_module --add-module=file-md5-master --with-debug
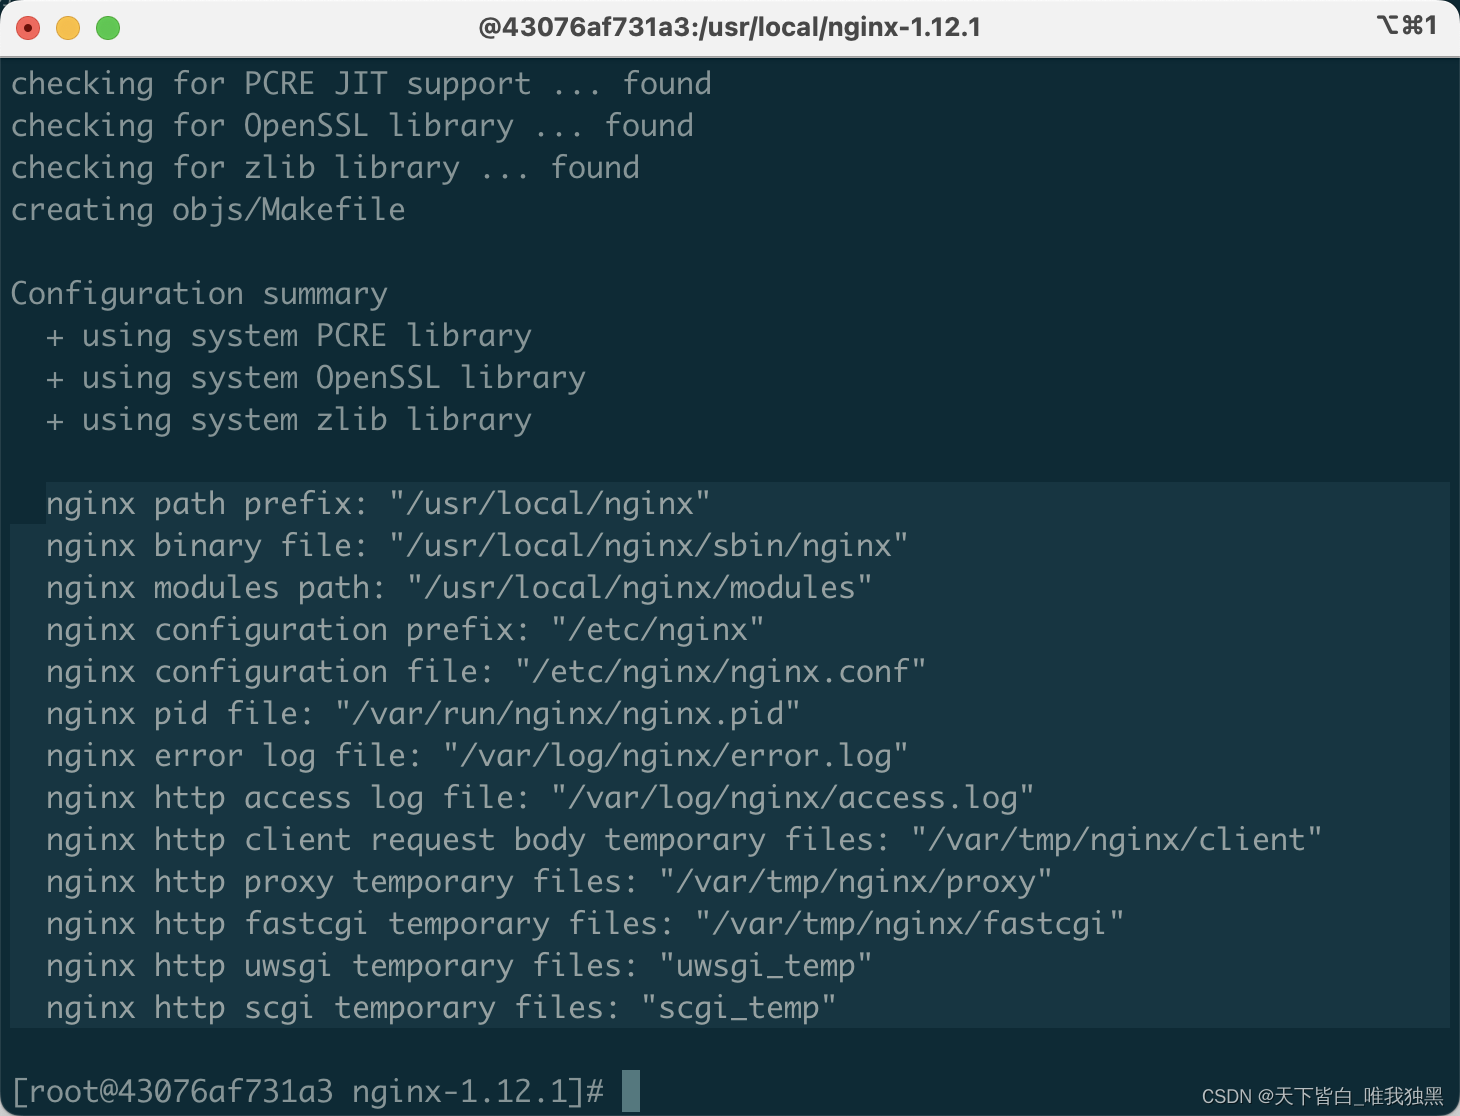
nginx path prefix: "/usr/local/nginx"
nginx binary file: "/usr/local/nginx/sbin/nginx"
nginx modules path: "/usr/local/nginx/modules"
nginx configuration prefix: "/etc/nginx"
nginx configuration file: "/etc/nginx/nginx.conf"
nginx pid file: "/var/run/nginx/nginx.pid"
nginx error log file: "/var/log/nginx/error.log"
nginx http access log file: "/var/log/nginx/access.log"
nginx http client request body temporary files: "/var/tmp/nginx/client"
nginx http proxy temporary files: "/var/tmp/nginx/proxy"
nginx http fastcgi temporary files: "/var/tmp/nginx/fastcgi"
nginx http uwsgi temporary files: "uwsgi_temp"
nginx http scgi temporary files: "scgi_temp"
5. 编译安装
make
make install
启动和停止 nginx
cd /usr/local/nginx/sbin
./nginx
./nginx -s stop
 ./nginx -s quit
./nginx -s reload
./nginx -s quit
成功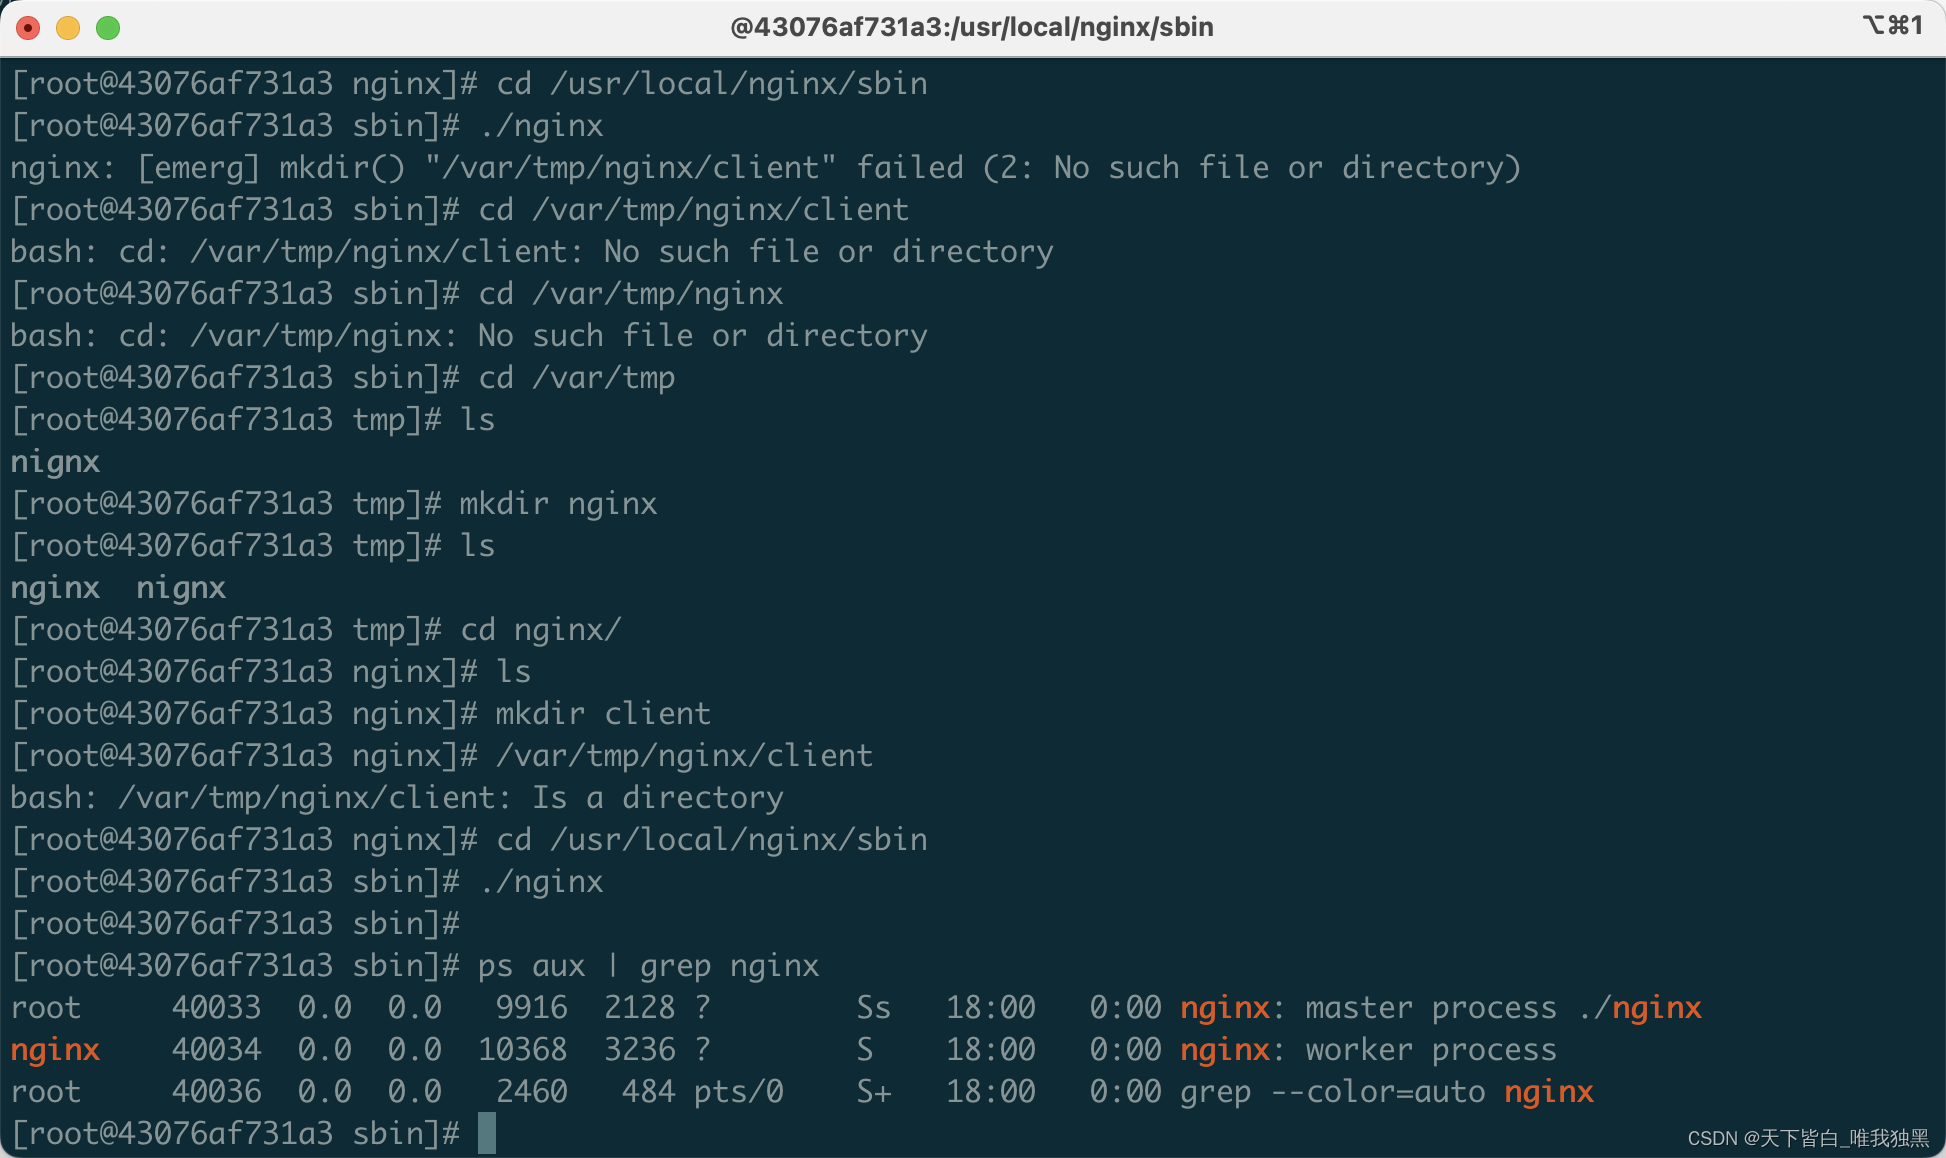


 335
335


 被折叠的 条评论
为什么被折叠?
被折叠的 条评论
为什么被折叠?
 到【灌水乐园】发言


