


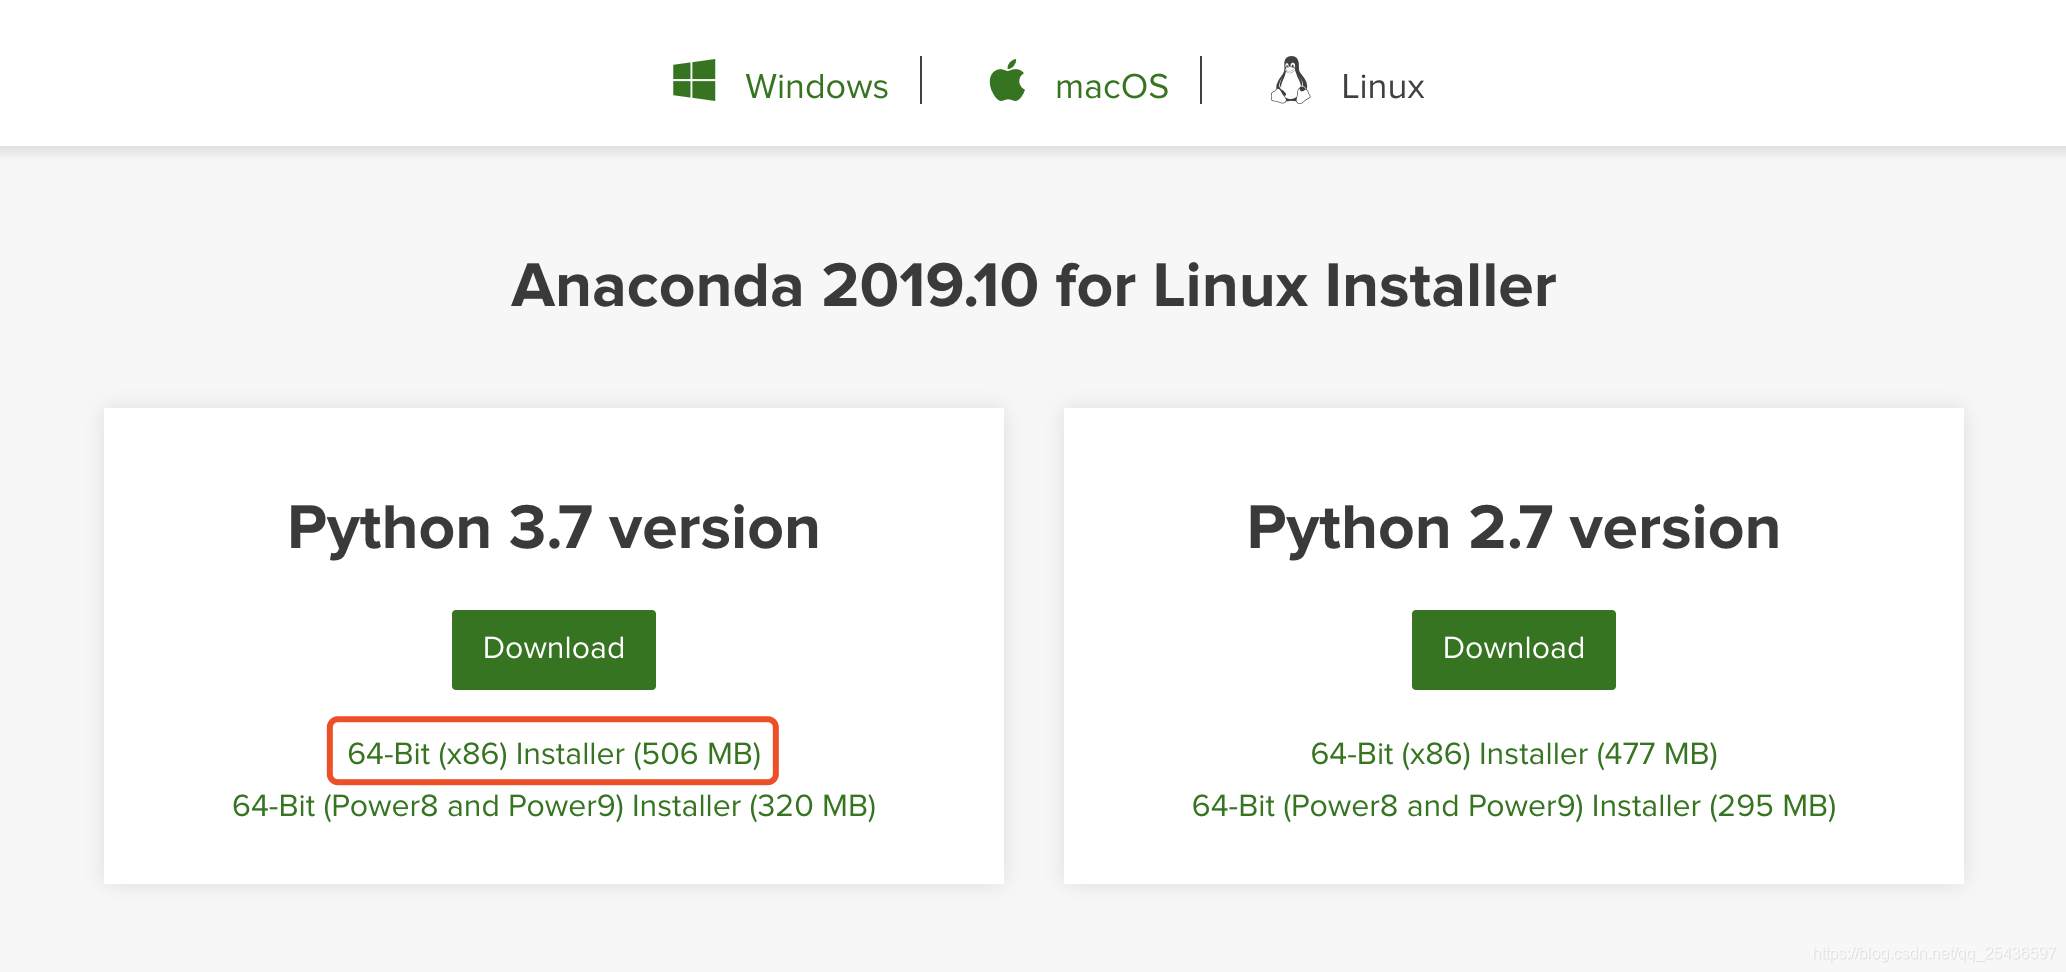
安装 Anaconda
- 在官网下载安装文件。
- 选择所需的python版本(我的是python3.7)
- 选择合适的系统(linux 64)
- 下载后的文件名为:Anaconda3-2019.07-Linux-x86_64.sh
-
在终端或命令行中输入安装命令,按提示安装
bash Anaconda3-2019.07-Linux-x86_64.sh -
设置环境变量
- 打开配置文件
vim ~/.bashrc - 在最后一行添加
export PATH=/home/XXX/anaconda3/bin:$PATH(注意改成自己的路径) - 更新配置文件
source ~/.bashrc
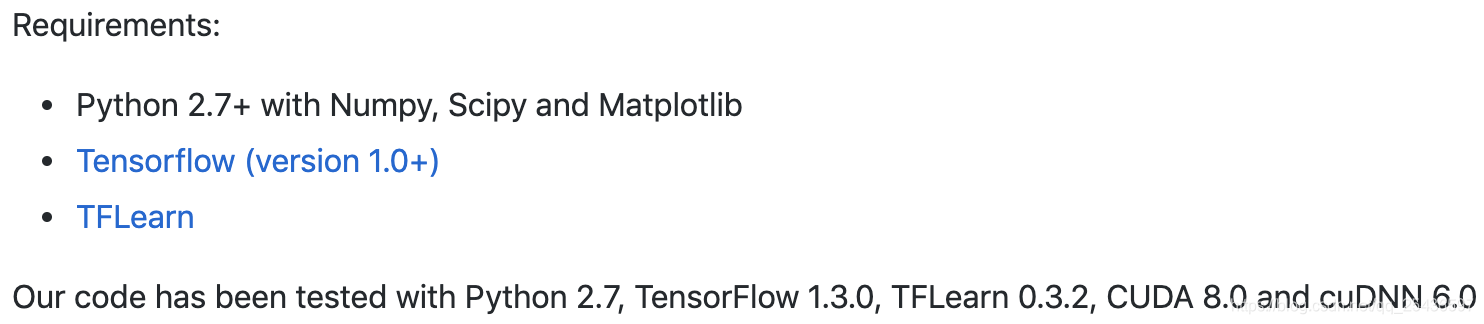
安装latent_3d_points所需的库
-
添加conda国内镜像
conda config --add channels https://mirrors.tuna.tsinghua.edu.cn/anaconda/pkgs/free/ conda config --add channels https://mirrors.tuna.tsinghua.edu.cn/anaconda/pkgs/main/ conda config --add channels https://mirrors.tuna.tsinghua.edu.cn/anaconda/cloud/pytorch/ conda config --set show_channel_urls yes -
新建环境 latent_3d_points
conda activate -n latent_3d_points python=2.7 tensorflow=1.3.0 -
激活环境
conda activate latent_3d_points可以进入python环境,检验tensorflow是否成功安装了,输入:python
>>>import tensorflow as tf若未提示错误则成功安装
-
安装numpy, scipy, matplotlib, notebook
conda install numpy scipy matplotlib notebook -
安装cuda, cudnn
conda install cudatoolkit=8.0 -c https://mirrors.tuna.tsinghua.edu.cn/anaconda/pkgs/free/linux-64/ conda install cudnn=6.0 -c https://mirrors.tuna.tsinghua.edu.cn/anaconda/pkgs/main/linux-64/ -
安装tflearn
conda install -c contango tflearn同样,进入python环境,检验tflearn是否成功安装。输入:python
>>>import tflearn若未提示错误则成功安装
latent_3d_points前期准备
-
下载latent_3d_points源码
git clone https://github.com/optas/latent_3d_points -
官网指示,进入latent_3d_points/external/structural_losses目录,修改makefile文件的前三行,改为自己的目录。
with your editor modify the first three lines of the makefile to point to
your nvcc, cudalib and tensorflow library.但这样修改在之后运行中会出现问题,所以这里我们先不修改。
NameError: global name ‘nn_distance’ is not defined
-
先确定自己的tensorflow路径
新建find.py文件:vim find.py
find.py文件内容:from __future__ import print_function import tensorflow as tf print(tf.sysconfig.get_compile_flags(),'\n') print(tf.sysconfig.get_link_flags())输出结果:
['-I/home/xxj/.local/lib/python2.7/site-packages/tensorflow/include', '-D_GLIBCXX_USE_CXX11_ABI=0'] ['-L/home/xxj/.local/lib/python2.7/site-packages/tensorflow', '-l:libtensorflow_framework.so.1'] -
根据上个步骤的输出结果,修改makefile文件,-I之后的内容为TF_INC,-L之后的内容为TF_LIB。
注意makefile中的D_GLIBCXX_USE_CXX11_ABI等于0还是1,以及-l:libtensorflow_framework.so.1,这两部分都需对应自己上一步的输出。vim makefilenvcc=/usr/local/cuda-8.0/bin/nvcc cudalib=/usr/local/cuda-8.0/lib64 nsync=/home/xxj/.local/lib/python2.7/site-packages/tensorflow/include/external/nsync/public TF_INC=/home/xxj/.local/lib/python2.7/site-packages/tensorflow/include TF_LIB=/home/xxj/.local/lib/python2.7/site-packages/tensorflow all: tf_approxmatch_so.so tf_approxmatch_g.cu.o tf_nndistance_so.so tf_nndistance_g.cu.o tf_approxmatch_so.so: tf_approxmatch_g.cu.o tf_approxmatch.cpp g++ -std=c++11 tf_approxmatch.cpp tf_approxmatch_g.cu.o -o tf_approxmatch_so.so -shared -fPIC -I $(TF_INC) -I $(nsync) -lcudart -L $(cudalib) -L $(TF_LIB) -l:libtensorflow_framework.so.1 -O2 -D_GLIBCXX_USE_CXX11_ABI=0 tf_approxmatch_g.cu.o: tf_approxmatch_g.cu $(nvcc) -std=c++11 -c -o tf_approxmatch_g.cu.o tf_approxmatch_g.cu -I $(TF_INC) -I $(nsync) -DGOOGLE_CUDA=1 -x cu -Xcompiler -fPIC -O2 -D_GLIBCXX_USE_CXX11_ABI=0 tf_nndistance_so.so: tf_nndistance_g.cu.o tf_nndistance.cpp g++ -std=c++11 tf_nndistance.cpp tf_nndistance_g.cu.o -o tf_nndistance_so.so -shared -fPIC -I $(TF_INC) -I $(nsync) -lcudart -L $(cudalib) -L $(TF_LIB) -l:libtensorflow_framework.so.1 -O2 -D_GLIBCXX_USE_CXX11_ABI=0 tf_nndistance_g.cu.o: tf_nndistance_g.cu $(nvcc) -std=c++11 -c -o tf_nndistance_g.cu.o tf_nndistance_g.cu -I $(TF_INC) -I $(nsync) -DGOOGLE_CUDA=1 -x cu -Xcompiler -fPIC -O2 -D_GLIBCXX_USE_CXX11_ABI=0 clean: rm tf_approxmatch_so.so rm tf_nndistance_so.so rm *.cu.o修改完之后重新
make
如果修改过程中出了错,先make clean,再make。 -
新建test.py文件验证
vim test.py文件内容如下
import tensorflow as tf
nn_distance_module = tf.load_op_library('./tf_nndistance_so.so')
没问题就可以继续往下了
-
下载训练集,进入latent_3d_points/目录,运行.sh文件
cd latent_3d_points/
./download_data.sh
-
亲测,数据集网站需要科学上网。服务器没法翻墙的,可以在本地先下好文件。数据集网址
-
将数据集文件上传到服务器上
scp shape_net_core_uniform_samples_2048.zip username@serverIP:~/yourdir/ -
随后在服务器上进行一系列操作
unzip shape_net_core_uniform_samples_2048.zip
rm shape_net_core_uniform_samples_2048.zip
mkdir -p data
mv shape_net_core_uniform_samples_2048 data
train_single_class_ae.ipynb
终于可以运行AE啦
-
进入latent_3d_points/notebook目录,在远程服务器上,启动jupyter notebook
jupyter notebook --no-browser --port=8889 -
在本地终端中启动ssh,-N告诉ssh没有命令要被远程执行;-f高速ssh在后台执行;-L是制定port forwarding的配置,远程端口是8889,本地端口是8888,username和serverIP改为自己服务器的IP和用户名。
ssh -N -f -L localhost:8888:localhost:8889 username@serverIP -
修改第一个代码块的前三行
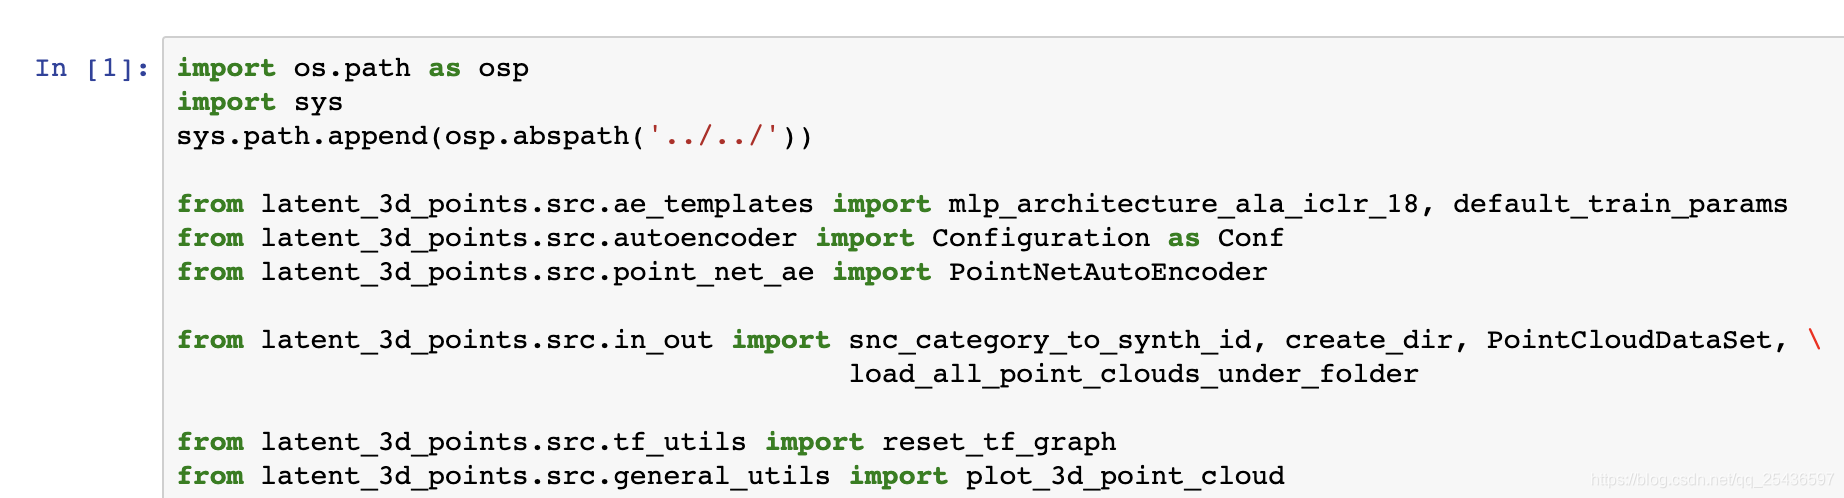
import os.path as osp import sys sys.path.append(osp.abspath('../../')) -
一步一步运行代码块,完成训练
('Epoch:', '0001', 'training time (minutes)=', '3.7933', 'loss=', '0.003890567')
('Epoch:', '0002', 'training time (minutes)=', '3.7374', 'loss=', '0.001670681')
('Epoch:', '0003', 'training time (minutes)=', '3.7908', 'loss=', '0.001491568')
('Epoch:', '0004', 'training time (minutes)=', '3.7857', 'loss=', '0.001336398')
('Epoch:', '0005', 'training time (minutes)=', '3.7789', 'loss=', '0.001254967')
('Epoch:', '0006', 'training time (minutes)=', '3.7355', 'loss=', '0.001193760')
('Epoch:', '0007', 'training time (minutes)=', '3.7446', 'loss=', '0.001187483')
('Epoch:', '0008', 'training time (minutes)=', '3.7677', 'loss=', '0.001118673')
('Epoch:', '0009', 'training time (minutes)=', '3.7224', 'loss=', '0.001070869')
('Epoch:', '0010', 'training time (minutes)=', '3.6812', 'loss=', '0.001053343')
参考:
ubuntu利用conda创建虚拟环境,并安装cuda,cudnn,pytorch
latent_3d_points代碼復現:train_single_class_ae.ipynb
远程访问服务器Jupyter Notebook的两种方法


 297
297


 被折叠的 条评论
为什么被折叠?
被折叠的 条评论
为什么被折叠?
 到【灌水乐园】发言


