<!DOCTYPE html>
<html>
<head includeDefault="true">
<meta name="viewport" content="width=device-width, user-scalable=no, minimum-scale=1.0, maximum-scale=1.0">
<meta http-equiv="Content-Type" content="text/html;charset=utf-8" />
<title>位置移动</title>
<script src="./ThreeJs/js/three.js"></script>
<script src="./ThreeJs/js/OrbitControls.js"></script>
</head>
<body>
<div class="text"></div>
<div id="container"></div>
<script>
var camera, scene, renderer, controls;
var mixer;
init();
// 初始化场景
function initScene() {
scene = new THREE.Scene();
scene.background = new THREE.Color( 0xf0f0f0 );
scene.fog = new THREE.Fog(scene.background, 3000, 5000);
}
// 初始化相机
function initCamera() {
camera = new THREE.PerspectiveCamera(45, window.innerWidth / window.innerHeight, 0.1, 10000);
camera.position.set(150, 150, 150);
camera.lookAt(new THREE.Vector3(0, 0, 0));
}
// 初始化灯光
function initLight() {
var directionalLight = new THREE.DirectionalLight(0xffffff, 0.3); //模拟远处类似太阳的光源
directionalLight.color.setHSL(0.1, 1, 0.95);
directionalLight.position.set(0, 200, 0).normalize();
scene.add(directionalLight);
var ambient = new THREE.AmbientLight(0xffffff, 1); //AmbientLight,影响整个场景的光源
ambient.position.set(0, 0, 0);
scene.add(ambient);
}
//创建模型以及实现动画效果
function initCube(){
clock = new THREE.Clock();
cubeGeo = new THREE.BoxBufferGeometry( 50, 50, 50 );
cubeMaterial = new THREE.MeshLambertMaterial( { color: 0xfeb74c, map: new THREE.TextureLoader().load( './ThreeJs/images/box.png' ) } );
var mesh = new THREE.Mesh( cubeGeo, cubeMaterial );;
scene.add( mesh );
mesh.name = "Box";
//创建时间轴,并配置第一个动画效果,改变模型位置
const times = [0, 3, 6]; //时间轴上,设置三个时刻0、3、6秒
const values = [0, 0, 0, 100, 0, 0, 0, 100, 100];// times中三个不同时间点,物体分别对应values中的三个xyz坐标
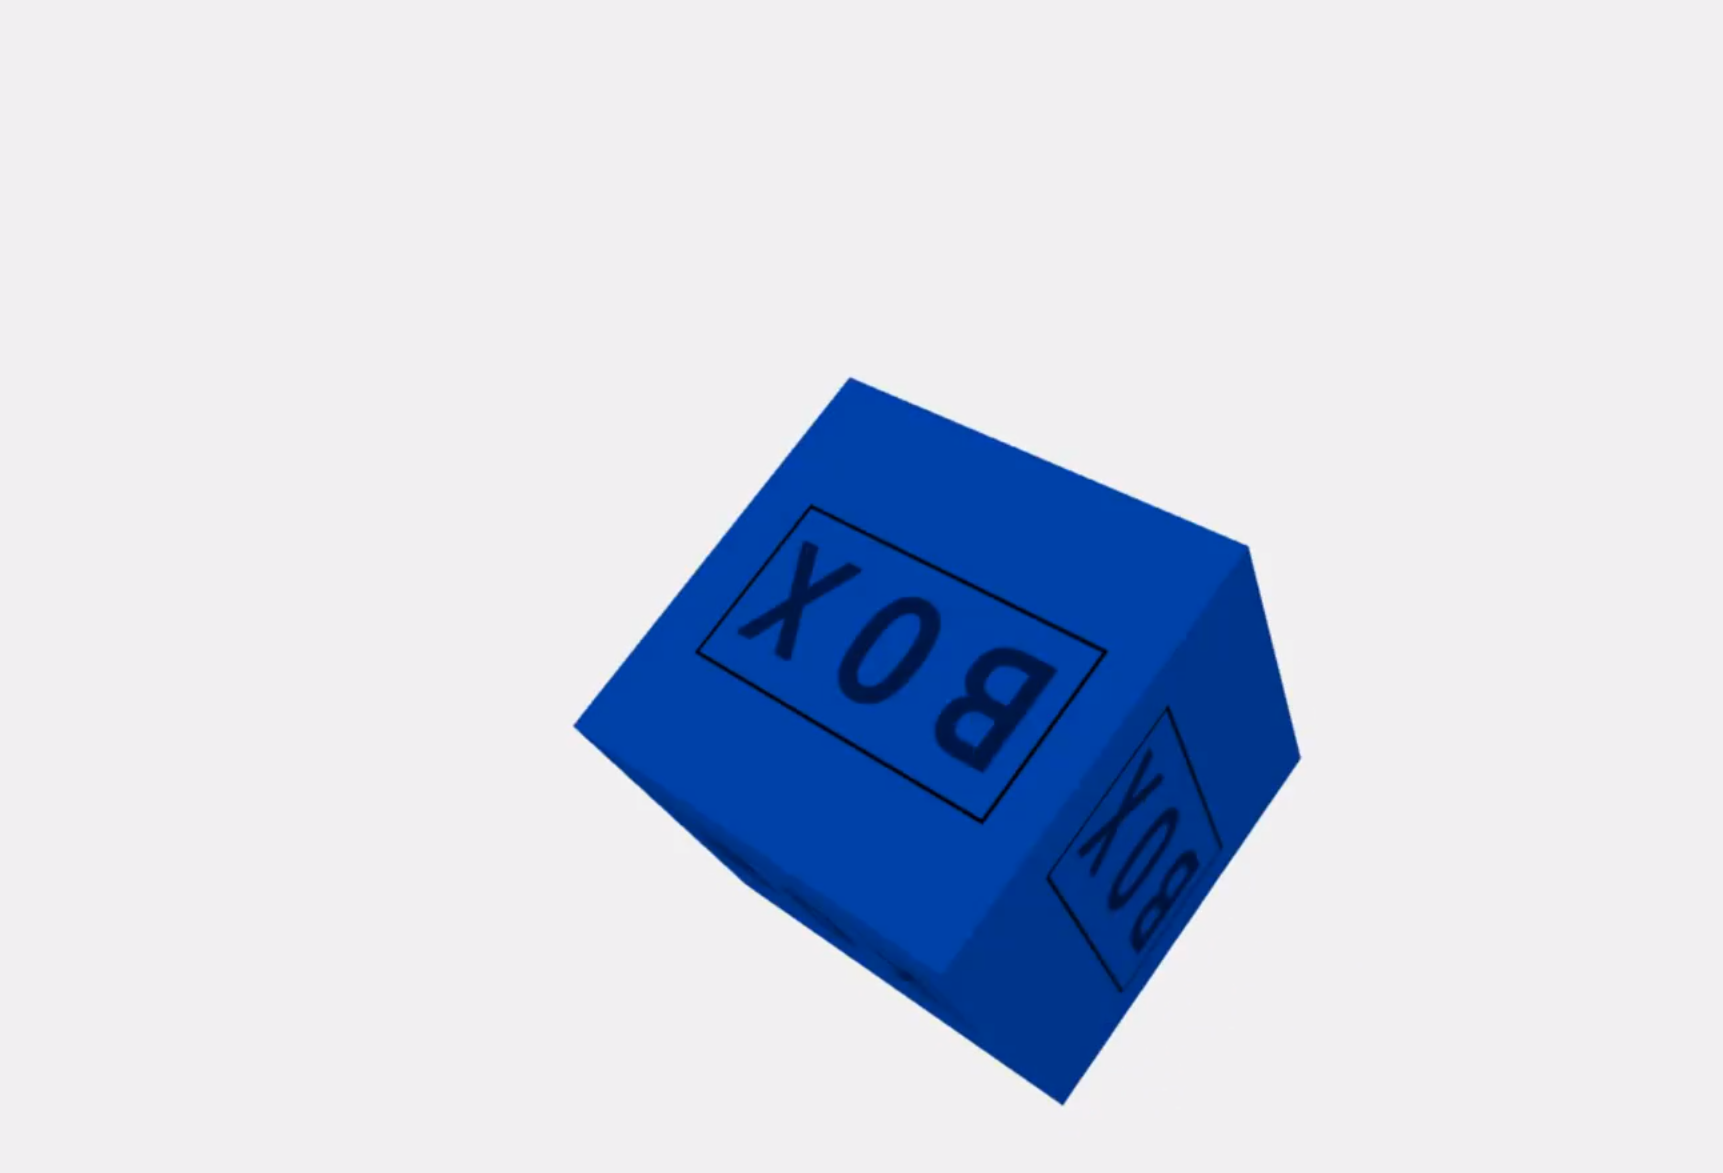
const posKF = new THREE.KeyframeTrack('Box.position', times, values);// 0~3秒,物体从(0,0,0)逐渐移动到(100,0,0),3~6秒逐渐从(100,0,0)移动到(0,0,100)
//创建第二个动画效果,改变模型角度
const xAxis = new THREE.Vector3(1,0,0) //三维向量,沿x轴
const qInitial = new THREE.Quaternion().setFromAxisAngle(xAxis,0)//起点角度
const qFinal = new THREE.Quaternion().setFromAxisAngle(xAxis,Math.PI)//终点角度
const rotateValues = [ qInitial.x,qInitial.y,qInitial.z,qInitial.w, qFinal.x,qFinal.y,qFinal.z,qFinal.w,qInitial.x,qInitial.y,qInitial.z,qInitial.w];//设置三个关键帧的角度,
const rotateKF = new THREE.QuaternionKeyframeTrack('Box.quaternion', times, rotateValues);
//创建第三个动画效果,设置模型颜色
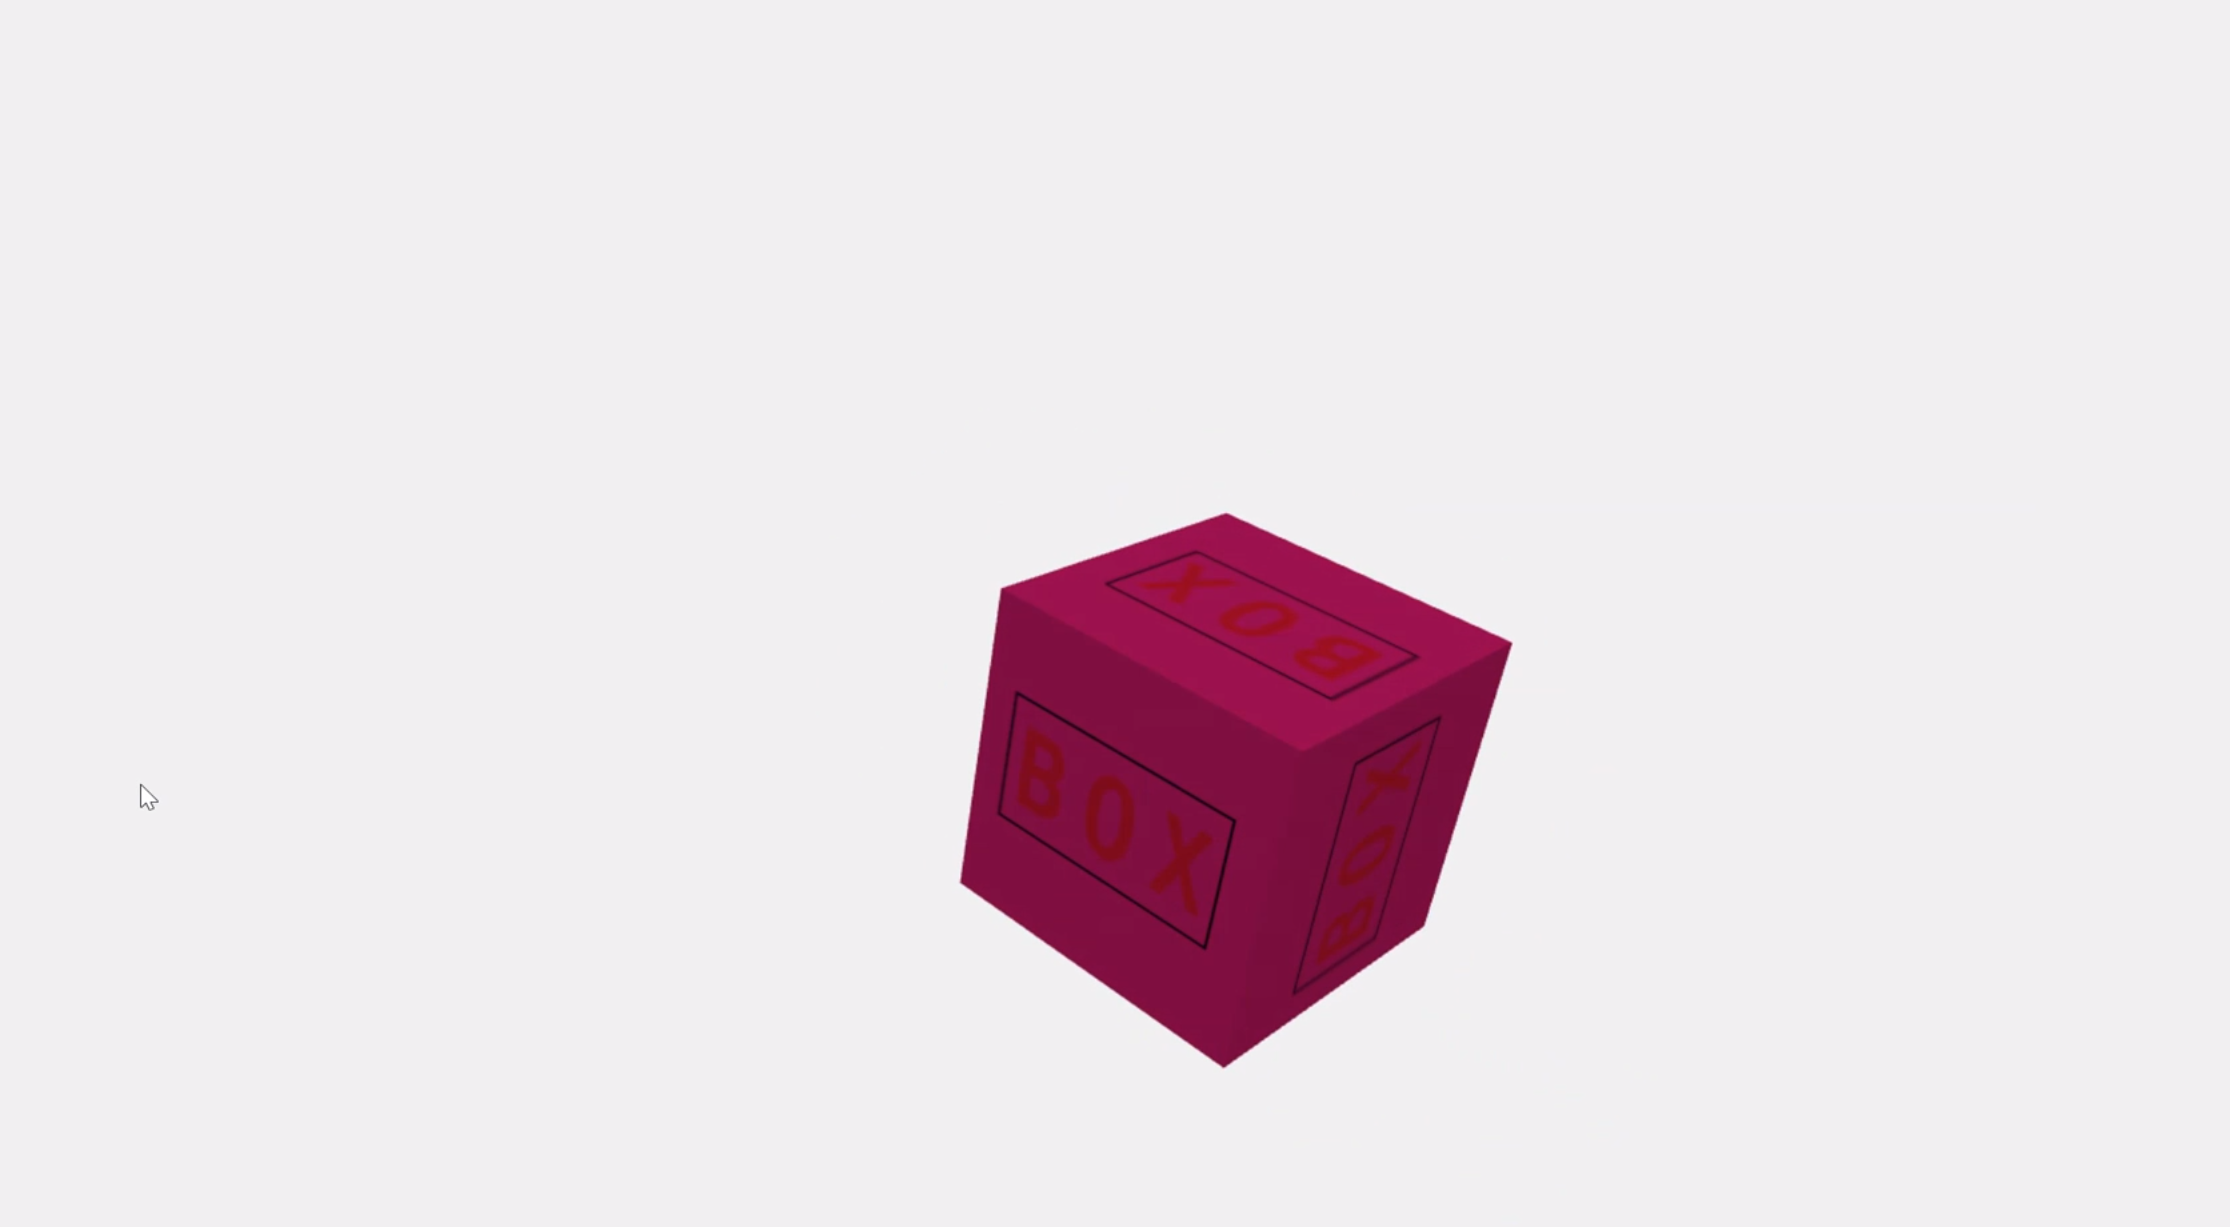
const colorValues = [1, 0, 0, 0, 0, 1, 0, 1, 1];// times中三个不同时间点,分别设置三种不同的颜色
const colorKF = new THREE.KeyframeTrack('Box.material.color', times, colorValues);// 0~3秒,颜色从[1,0,0]到[0,0,1]最后到[0,1,1]
//将三个动画效果添加到AnimationClip中,名字,持续时间(与时间轴对应),动画组
const clip = new THREE.AnimationClip("test", 6, [posKF, rotateKF, colorKF]);
//创建动画混合器
mixer = new THREE.AnimationMixer(mesh);
// 剪辑clip作为参数,通过混合器clipAction方法返回一个操作对象AnimationAction
var AnimationAction = mixer.clipAction(clip);
//通过操作Action设置播放方式
AnimationAction.timeScale = 1;//默认1,可以调节播放速度
// AnimationAction.loop = THREE.LoopOnce; //不循环播放
AnimationAction.play();//开始播放
}
// 初始化渲染器
function initRenderer() {
renderer = new THREE.WebGLRenderer({
antialias: true
});
renderer.setSize(window.innerWidth, window.innerHeight);
renderer.setClearColor(0x4682B4, 1.0);
document.body.appendChild(renderer.domElement);
}
// 初始化轨迹球控件
function initControls() {
controls = new THREE.OrbitControls(camera, renderer.domElement);
controls.enableDamping = true;
controls.dampingFactor = 0.5;
// 视角最小距离
controls.minDistance = 100;
// 视角最远距离
controls.maxDistance = 5000;
// 最大角度
controls.maxPolarAngle = Math.PI / 2.2;
}
//加载初始化
function init() {
initScene();
initCamera();
initLight();
initCube();
initRenderer();
initControls();
render();
}
function onWindowResize() {
camera.aspect = window.innerWidth / window.innerHeight;
camera.updateProjectionMatrix();
renderer.setSize( window.innerWidth, window.innerHeight );
}
function render() {
renderer.render(scene, camera); //执行渲染操作
mixer.update(0.0166666666);//这里给动画设置更新速度,因为默认是一秒钟渲染60次,所以这里设置为1/60的值,
requestAnimationFrame(render); //请求再次执行渲染函数render,渲染下一帧
}
// 更新控件
function update() {
controls.update();
}
</script>
</body>
</html>
- 1.
- 2.
- 3.
- 4.
- 5.
- 6.
- 7.
- 8.
- 9.
- 10.
- 11.
- 12.
- 13.
- 14.
- 15.
- 16.
- 17.
- 18.
- 19.
- 20.
- 21.
- 22.
- 23.
- 24.
- 25.
- 26.
- 27.
- 28.
- 29.
- 30.
- 31.
- 32.
- 33.
- 34.
- 35.
- 36.
- 37.
- 38.
- 39.
- 40.
- 41.
- 42.
- 43.
- 44.
- 45.
- 46.
- 47.
- 48.
- 49.
- 50.
- 51.
- 52.
- 53.
- 54.
- 55.
- 56.
- 57.
- 58.
- 59.
- 60.
- 61.
- 62.
- 63.
- 64.
- 65.
- 66.
- 67.
- 68.
- 69.
- 70.
- 71.
- 72.
- 73.
- 74.
- 75.
- 76.
- 77.
- 78.
- 79.
- 80.
- 81.
- 82.
- 83.
- 84.
- 85.
- 86.
- 87.
- 88.
- 89.
- 90.
- 91.
- 92.
- 93.
- 94.
- 95.
- 96.
- 97.
- 98.
- 99.
- 100.
- 101.
- 102.
- 103.
- 104.
- 105.
- 106.
- 107.
- 108.
- 109.
- 110.
- 111.
- 112.
- 113.
- 114.
- 115.
- 116.
- 117.
- 118.
- 119.
- 120.
- 121.
- 122.
- 123.
- 124.
- 125.
- 126.
- 127.
- 128.
- 129.
- 130.
- 131.
- 132.
- 133.
- 134.
- 135.
- 136.


 1万+
1万+

 被折叠的 条评论
为什么被折叠?
被折叠的 条评论
为什么被折叠?
 到【灌水乐园】发言


