


接口测试用例前端开发
一、建立测试用例和测试步骤模版
1、templates/testapi/apicase.html 测试用例
{% extends "base.html" %}
{% block content %}
    <div>
        <table border="1">
            <thead>
            <tr>
                <th>序号</th>
                <th>产品名称</th>
                <th>用例名称</th>
                <th>用例描述</th>
                <th>执行结果</th>
                <th>用例步骤</th>
            </tr>
            </thead>
            <tbody>
            {% for apicase in apicases %}
                <tr h-id="{{ apicase.nid }}" b-id="{{ apicase.business_id  }}">
                    <td>{{ forloop.counter }}</td>
                    <td>{{ apicase.Product.product_name }}</td>
                    <td>{{ apicase.api_case_name }}</td>
                    <td>{{ apicase.api_case_desc }}</td>
                    <td>{{ apicase.api_case_result }}</td>
                    <td>{{ apicase.apistep.api_step }}</td>
                </tr>
            {% endfor %}
            </tbody>
        </table>
    </div>
{%  endblock %}
二、视图实现
from django.shortcuts import render

# Create your views here.
from testapi.models import Apicase


def api_case(request):
    username = request.session.get('user', '')
    api_case_list = Apicase.objects.all()
    return render(request, "./testapi/apicase.html", {"user": username, "apicases": api_case_list})
三、url配置
testapi/urls.py
path('apicase/', views.api_case),
项目/urls.py
path('api/', include('testapi.urls')),
四、增加链接
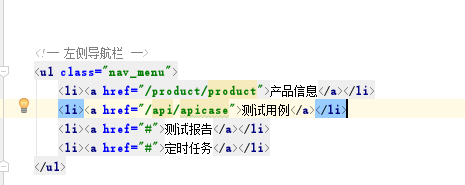

根据前面几个步骤同理新建并完成web ui和App 测试的model, admin, view以及url的配置,在项目的setting增加相应的app;后续过程中将在用例中连接步骤。实现添加新用例,增、查、删、改用例中的操作步骤;以及测试用例的自动执行且邮件发送,测试报告的查看等等
根据html自己堆起来的,回头还得找前端大师修改一下


 1325
1325


 被折叠的 条评论
为什么被折叠?
被折叠的 条评论
为什么被折叠?
 到【灌水乐园】发言


