在Anaconda Prompt里边输入conda install graphviz
安装成功之后输入pip install graphviz
它会提示成功安装。
启动 Jupyter Notebook ,在文件里边输入 import graphviz 测试,如果没有报错证明,模块安装成功,但是在运行程序时,它提示错误,后来找了很多博客,把错改过来了
在官网下载graphviz-2.38.zip
https://graphviz.gitlab.io/_pages/Download/Download_windows.html

将该文件解压到Anaconda3安装目录下,接着把该文件路径配置环境变量,这里我自己起的文件名graphviz-2.40.1,只要配置环境变量就ok了,文件名不在意。

在系统变量的path下配置

import numpy as np
import matplotlib.pyplot as plt

from sklearn import datasets
from sklearn.tree import DecisionTreeClassifier

from IPython.display import Image
from sklearn import tree

import graphviz

# 仍然使用自带的iris数据
iris = datasets.load_iris()
X = iris.data
y = iris.target
# 训练模型,限制树的最大深度4
clf = DecisionTreeClassifier(max_depth=4)
# clf = DecisionTreeClassifier(max_depth=4,criterion='entropy')  #'entropy'
clf = DecisionTreeClassifier(max_depth=4,criterion='gini',splitter='best')  #'random'
#max_feature   'none'     'log2'   'sqrt'
#拟合模型
clf.fit(X, y)

# dtModel:决策树模型
# out_file:图形数据的输出路径
# class_names:目标属性的名称,一般用于中文化
# feature_names:特征属性的名称,一般用于种文化
# filled= True :是否使用颜色填充
# rounded=True:边框是否采用圆角边框
# special_characters: 是否有特殊字符
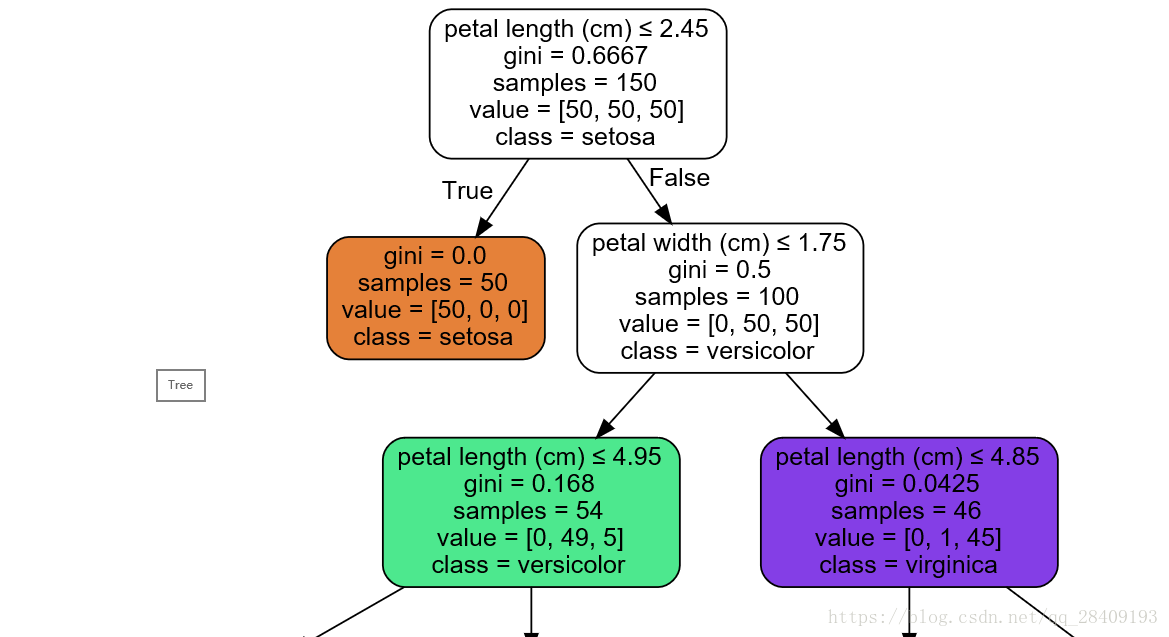
dot_data = tree.export_graphviz(clf, out_file=None,
                         feature_names=iris.feature_names,
                         class_names=iris.target_names,
                         filled=True, rounded=True,
                         special_characters=True)
graph = graphviz.Source(dot_data)
graph 


 1593
1593

 被折叠的 条评论
为什么被折叠?


