


1、准备数据
[alex@hadoop102 module]$ vim data/student.txt
1001    zhangsan
1002    lisi
1003    wangwu
1004    xiaoliu
2、编写Hive脚本
[alex@hadoop102 ~]$ cd /opt/module/azkaban/jobs
[alex@hadoop102 jobs]$ touch hivef.sql
[alex@hadoop102 jobs]$ vim hivef.sql
use default;
drop table if exists student;
create table if not exists student(id int, name string)
row format delimited fields terminated by '\t';
load data local inpath '/opt/module/data/student.txt' into table student;
insert into student values(1005,"alex");
insert overwrite local directory '/opt/module/data/student'
row format delimited fields terminated by '\t'
select * from student;
3、创建hive.Job
[alex@hadoop102 ~]$ cd /opt/module/azkaban/jobs
[alex@hadoop102 jobs]$ vim hive.job
#hive job
type=command
command=/opt/module/hive/bin/hive -f /opt/module/azkaban/jobs/hivef.sql
4、将所有job资源文件打到一个zip包中
[alex@hadoop102 jobs]$ zip hive.zip hive.job
  adding: hive.job (deflated 24%)
5、hive查看
[alex@hadoop102 hive]$ bin/hive
hive> use default;
hive> show tables;
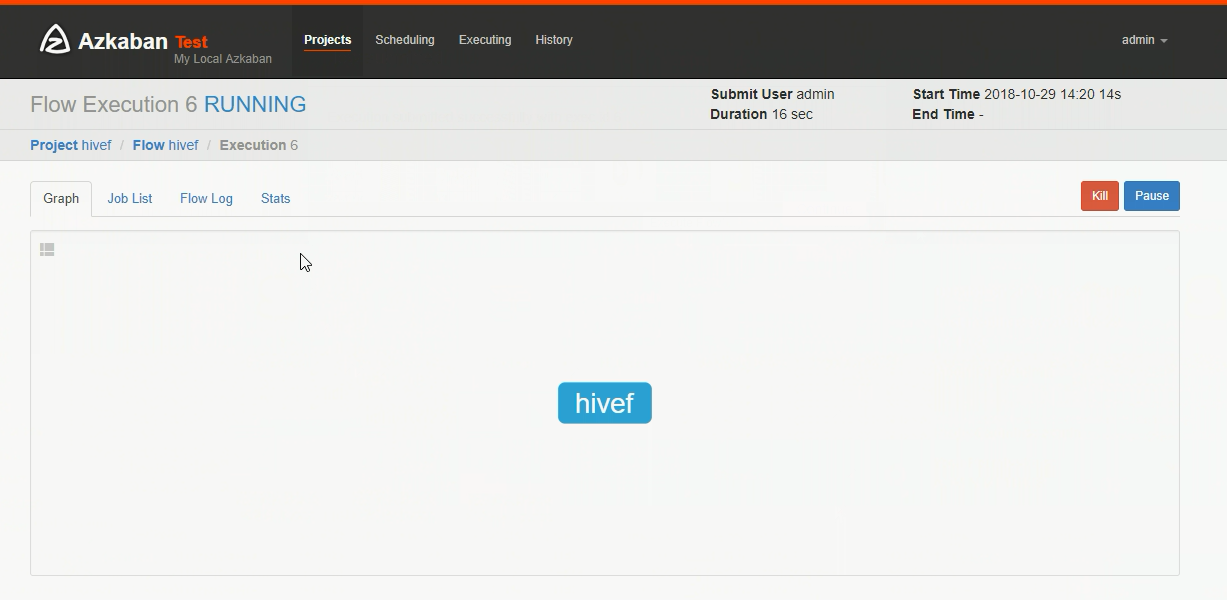
hive> select * from student;6、Azkaban 执行
步骤和单Job案例 一样
在azkaban的web管理界面创建工程并上传zip包, 启动job
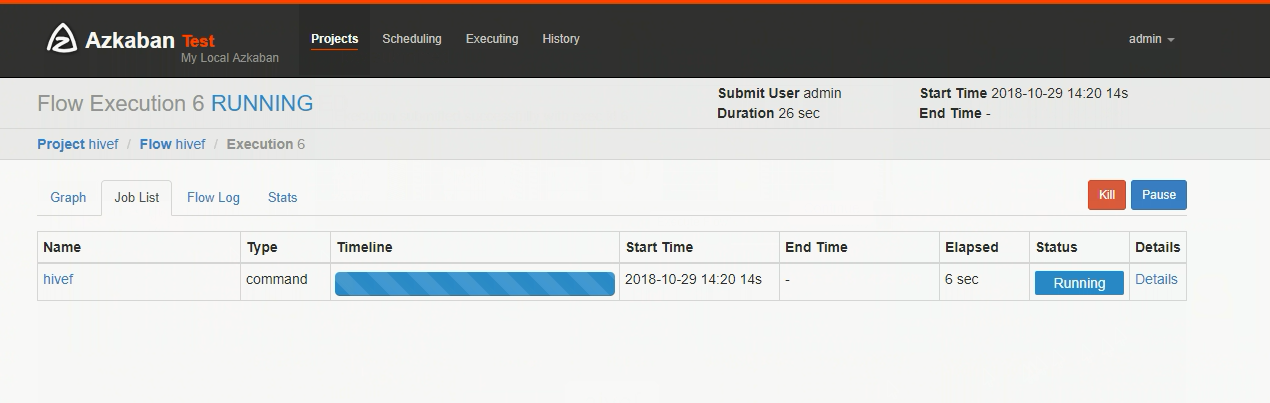
7、Success
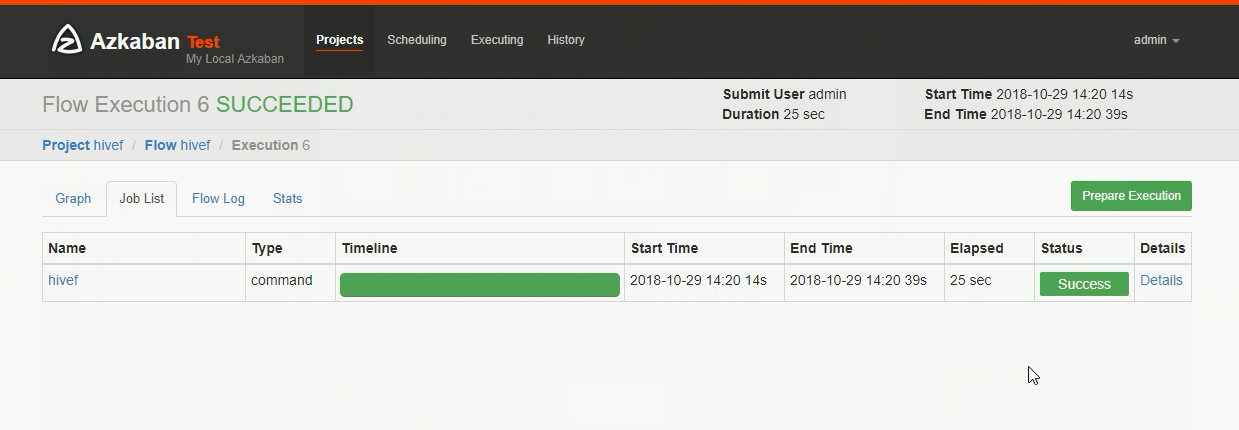
8、查看结果
[alex@hadoop102 student]$ cat /opt/module/data/student/000000_0
1005    alex
1001    zhangsan
1002    lisi
1003    wangwu
1004    xiaoliu


 6957
6957


 被折叠的 条评论
为什么被折叠?
被折叠的 条评论
为什么被折叠?
 到【灌水乐园】发言


