


1、前言
一切的量变都会引起质变,微服务的诞生,确实是带来了不少的便利。但是,随着微服务模块的增加,每个微服务都需要至少一个配置文件,会带来配置地狱。
如果说,大部分的微服务模块都连接同一个数据库连接,当这个连接发送改动,就得同时修改所有的微服务的配置文件。
大部分的微服务的配置中,有自己独有的配置和所有微服务一样的公共配置,于是出现一些配置中心,把都一样的配置都放在配置中心。
2、什么是SpringCloud Config
官网:https://spring.io/projects/spring-cloud-config
SpringCloud Config 是微服务的配置中心,为微服务架构中的微服务提供集中化的外部配置支持,配置服务器给每个微服务提供一个中心化的外部配置。它的工作逻辑如下图所示:
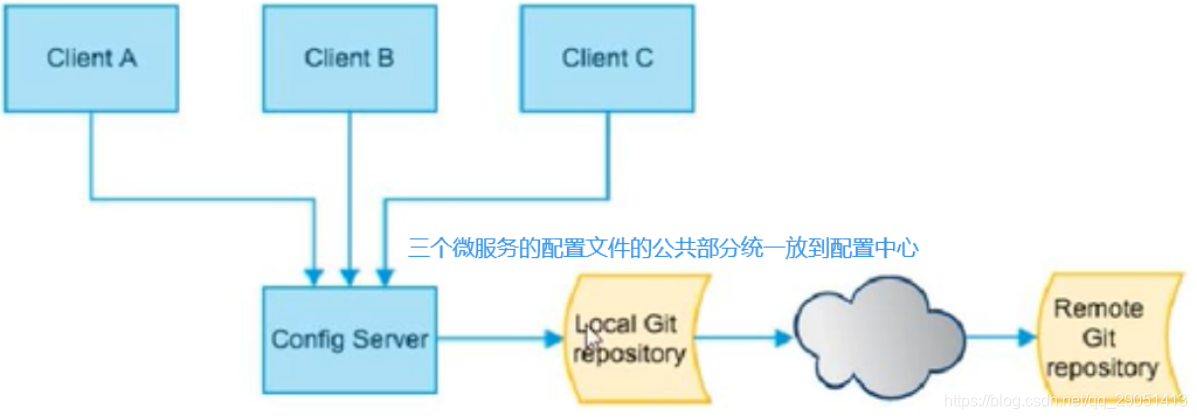
SpringCloud Config 分为服务端和客户端两部分。
服务端也叫做分布式配置中心,它是一个独立的微服务模块,用来连接配置服务器并为客户端提供获取配置信息,加密/解密信息等访问接口。
客户端是通过制定的配置中心来管理应用资源,以此与业务相关的配置内容,并在启动的时候从配置中心获取和加载配置信息。
简单来说,就是一个 SpringCloud Config 微服务扮演配置中心的角色,当一个个微服务A、B、C等启动的时候,会找 SpringCloud Config 这个配置中心,然后这个 SpringCloud Config 配置中心就从配置服务器拿区配置文件给这些微服务ABC。
配置服务采用 git 来存储信息,这样有助于对环境配置进行版本管理,并且可以通过 git 客户端工具来方便管理和访问配置内容。
当公共配置发生改变,不再需要向每一个微服务一一修改配置文件,每个微服务会自动感知到配置的编号并应用新的配置。
3、配置仓库
我们把公共配置信息统一放在 github 、gitee、gitlab 或者其他基于 git 的远程仓库。
下面以 gitee 作为案例展示。
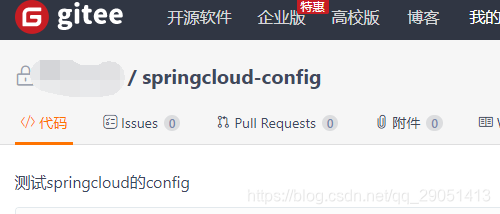
在自己的 gitee 中创建一个仓库名为 springcloud-config:
接着上传三个配置文件放在仓库中:
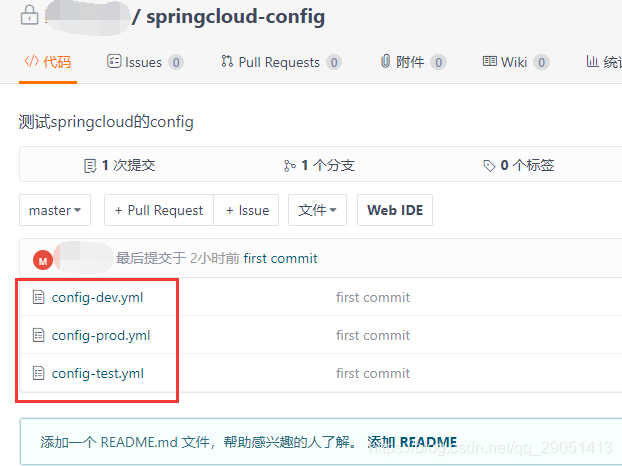
内容分别为:
config-dev.yml:
config:
    info: master branch,springcloud-config/config-dev.yml,version=1
config-test.yml:
config:
    info: master branch,springcloud-config/config-test.yml,version=1
config-prod.yml
config:
    info: master branch,springcloud-config/config-dev.prod,version=1
这三个文件假设就是公共的配置文件,三个环境对应:开发环境、测试环境、生产环境。
4、配置中心
使用 SpringCloud Config 来创建配置中心。
导入核心依赖:
 <!--config server-->
<dependency>
	<groupId>org.springframework.cloud</groupId>
	<artifactId>spring-cloud-config-server</artifactId>
</dependency>
<!-- 添加消息总线RabbitMQ支持 -->
<dependency>
	<groupId>org.springframework.cloud</groupId>
	<artifactId>spring-cloud-starter-bus-amqp</artifactId>
</dependency>
<dependency>
	<groupId>org.springframework.cloud</groupId>
	<artifactId>spring-cloud-starter-netflix-eureka-client</artifactId>
</dependency>
配置 application.yaml
server:
  port: 3344

spring:
  application:
    name: cloud-config-center
  cloud:
    config:
      server:
        git:
          uri: git@gitee.com:xxyy/springcloud-config.git  # 仓库地址
          search-paths:
            - springcloud-config  # 配置文件所在子路径
      label: master # 默认选择的分支

eureka:
  client:
    service-url:
      defaultZone: http://eureka7001.com:7001/eureka
配置中心也是一个微服务,首先把自己注册到 Eureka Server 当中,然后配置 git 仓库的相关信息。
主启动类添加注解激活 Config
@SpringBootApplication
@EnableConfigServer
public class ConfigCenterMain3344 {
    public static void main(String[] args) {
        SpringApplication.run(ConfigCenterMain3344.class, args);
    }
}
启动后输入访问链接:http://localhost:3344/master/config-test.yml 可以看到:
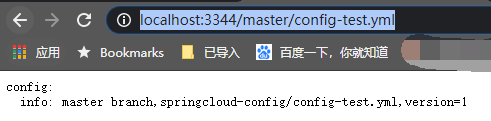
实际上就是读取 application.yaml 中的 gitee 的地址,然后拼接上 master/config-test.yml 。
根据官方文档,配置文件的命名和访问路径有不同的规则:
1、/{label}/{application}-{profile}.yml 访问模式。
比如:/master/config-dev.yml 就是一个例子,label 为 master,application 为 config,profile 为 dev。指定这个访问模式,SpringCloud Config 会自动和 application.yaml 中的 仓库地址进行拼接。

2、/{application}-{profile}.yml 访问模式。
比如,/config-dev.yml 指定这个访问模式,SpringCloud Config 会自动加上 master 拼接成仓库地址,会选择 master 分支是因为 application.yaml 中已经配置,即默认分支。

3、/{application}/{profile}/{label} 访问模式。
比如,/config/dev/master ,这个模式返回的是 json 格式信息。
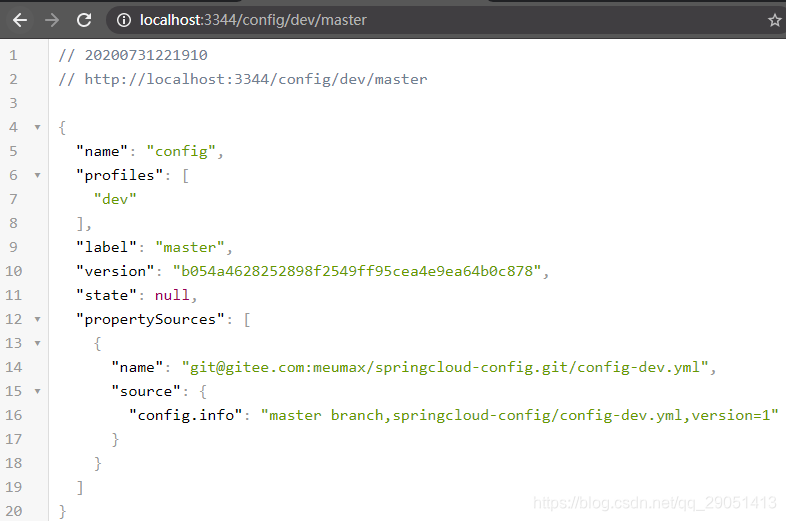
所有的规则如下,application 表示配置的名字,profile 表示该配置对应的环境(开发环境、测试环境或生产环境),label 表示仓库分支。
/{application}/{profile}/{label}
/{application}-{profile}.yml
/{label}/{application}-{profile}.yml
/{application}-{profile}.properties
/{label}/{application}-{profile}.properties
5、客户端
有了配置中心,客户端的配置就可以从配置中心获取了。我们来构建一个模块说明如何从配置中心获取配置。
导入依赖:
<dependency>
	<groupId>org.springframework.cloud</groupId>
	<artifactId>spring-cloud-starter-config</artifactId>
</dependency>

<dependency>
	<groupId>org.springframework.cloud</groupId>
	<artifactId>spring-cloud-starter-netflix-eureka-client</artifactId>
</dependency>
编写配置文件,注意,此时的配置文件不再是 application.yaml,而是 bootstrap.yml
server:
  port: 3355

spring:
  application:
    name: config-client
  cloud:
    config:
      label: master # 分支名称
      name: config  # 配置文件名称
      profile: dev  # 读取后缀名称
      uri: http://localhost:3344  # 配置中心地址

eureka:
  client:
    service-url:
      defaultZone: http://eureka7001.com:7001/eureka
主启动类
@SpringBootApplication
public class ConfigClientMain3355 {
    public static void main(String[] args) {
        SpringApplication.run(ConfigClientMain3355.class, args);
    }
}
编写一个控制器用于测试:
@RestController
public class ConfigClientController {

    @Value("${config.info}")
    private String configInfo;

    @GetMapping("/configInfo")
    public String getConfigInfo(){
        return configInfo;
    }
}
启动测试,访问链接 http://localhost:3355/configInfo 可以看到和访问 http://localhost:3344/master/config-dev.yml 一样的结果。
6、动态刷新
现在还存在一个问题就是:当 git 远程仓库的配置发生改动,配置中心可以及时感知,但是客户端无法感知,因为客户端只在启动时向配置中心获取一次配置文件,客户端不会时刻感知配置中心的变化。
我们可以按照以下步骤实现客户端对配置仓库的感知。
给客户端加一个依赖:
<!--监控-->
<dependency>
	<groupId>org.springframework.boot</groupId>
	<artifactId>spring-boot-starter-actuator</artifactId>
</dependency>
bootstrap.yml 配置文件新加以下内容:
management:
  endpoints:
    web:
      exposure:
        include: "*"
在控制器中添加注解@RefreshScope:
@RestController
@RefreshScope
public class ConfigClientController {

    @Value("${config.info}")
    private String configInfo;

    @GetMapping("/configInfo")
    public String getConfigInfo(){
        return configInfo;
    }
}
现在客户端配置好了。
当配置仓库的配置发生变动后,配置中心可以动态感知,经过上面配置后的客户端也可以感知,但是这个感知对于客户端来说,是被动而不是主动。
当配置仓库发生变动后,我们还得给客户端一个提醒,即发送一个 POST 请求给客户端,告诉他配置仓库改动了,让客户端及时更新,这个 POST 请求如下:
curl -X POST "http://localhost:3355/actuator/refresh"
curl -X POST后面跟着的请求路径是客户端的地址加/actuator/refresh。
但是还有一个问题,如果我的微服务几千个,总不能让我 POST 几千次吧?
虽然可以用 shell 脚本来循环 POST,但是还有一个更好的方法,就是广播,直接一次通知,请看下集:SpringCloud Bus。


 174
174


 被折叠的 条评论
为什么被折叠?
被折叠的 条评论
为什么被折叠?
 到【灌水乐园】发言


