


准备
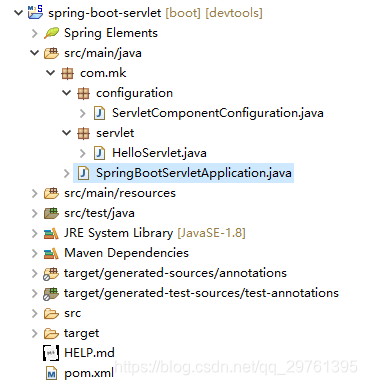
新建 Spring Starter Project:
编辑 pom.xml 文件,引入 spring-boot-starter-web 等依赖:
<?xml version="1.0" encoding="UTF-8"?>
<project xmlns="http://maven.apache.org/POM/4.0.0" xmlns:xsi="http://www.w3.org/2001/XMLSchema-instance"
	xsi:schemaLocation="http://maven.apache.org/POM/4.0.0 https://maven.apache.org/xsd/maven-4.0.0.xsd">
	<modelVersion>4.0.0</modelVersion>

	<parent>
		<groupId>org.springframework.boot</groupId>
		<artifactId>spring-boot-starter-parent</artifactId>
		<version>2.3.3.RELEASE</version>
		<relativePath/> <!-- lookup parent from repository -->
	</parent>

	<groupId>com.mk</groupId>
	<artifactId>spring-boot-servlet</artifactId>
	<version>1.0.0</version>

	<name>spring-boot-servlet</name>

	<properties>
		<java.version>1.8</java.version>
	</properties>

	<dependencies>
		<dependency>
			<groupId>org.springframework.boot</groupId>
			<artifactId>spring-boot-starter-web</artifactId>
		</dependency>

		<dependency>
			<groupId>org.springframework.boot</groupId>
			<artifactId>spring-boot-devtools</artifactId>
			<scope>runtime</scope>
			<optional>true</optional>
		</dependency>
		<dependency>
			<groupId>org.springframework.boot</groupId>
			<artifactId>spring-boot-configuration-processor</artifactId>
			<optional>true</optional>
		</dependency>
		<dependency>
			<groupId>org.projectlombok</groupId>
			<artifactId>lombok</artifactId>
			<optional>true</optional>
		</dependency>
	</dependencies>

	<build>
		<plugins>
			<plugin>
				<groupId>org.springframework.boot</groupId>
				<artifactId>spring-boot-maven-plugin</artifactId>
				<configuration>
					<excludes>
						<exclude>
							<groupId>org.springframework.boot</groupId>
							<artifactId>spring-boot-configuration-processor</artifactId>
						</exclude>
						<exclude>
							<groupId>org.projectlombok</groupId>
							<artifactId>lombok</artifactId>
						</exclude>
					</excludes>
				</configuration>
			</plugin>
		</plugins>
	</build>
</project>
新建一个 Servlet 类:
package com.mk.servlet;

import java.io.IOException;
import java.io.PrintWriter;

import javax.servlet.ServletException;
import javax.servlet.http.HttpServlet;
import javax.servlet.http.HttpServletRequest;
import javax.servlet.http.HttpServletResponse;

public class HelloServlet extends HttpServlet {

    private static final long serialVersionUID = 1L;

    public HelloServlet() {
        System.out.println("HelloServlet.HelloServlet()");
    }

    @Override
    public void init() throws ServletException {
        System.out.println("HelloServlet.init()");
    }

    @Override
    protected void doGet(HttpServletRequest request, HttpServletResponse response)
            throws ServletException, IOException {
        System.out.println("HelloServlet.doGet()");

        PrintWriter writer = response.getWriter();
        writer.write("Hello, " + request.getRemoteAddr());
        writer.flush();
        writer.close();
    }

    @Override
    public void destroy() {
        System.out.println("HelloServlet.destroy()");
    }
}
新建一个 Servlet 配置类:
package com.mk.configuration;

import org.springframework.boot.web.servlet.ServletComponentScan;
import org.springframework.context.annotation.Configuration;

@Configuration
public class ServletComponentConfiguration {

}
启动类:
package com.mk;

import org.springframework.boot.SpringApplication;
import org.springframework.boot.autoconfigure.SpringBootApplication;

@SpringBootApplication
public class SpringBootServletApplication {

	public static void main(String[] args) {
		SpringApplication.run(SpringBootServletApplication.class, args);
	}
}
通过使用 Spring Bean 添加 Servlet
编辑 ServletComponentConfiguration 配置类,注册 Servlet 组件(第 16 ~ 24 行):
package com.mk.configuration;

import java.util.Arrays;

import javax.servlet.Servlet;

import org.springframework.boot.web.servlet.ServletRegistrationBean;
import org.springframework.context.annotation.Bean;
import org.springframework.context.annotation.Configuration;

import com.mk.servlet.HelloServlet;

@Configuration
public class ServletComponentConfiguration {

    @Bean
    public ServletRegistrationBean<Servlet> servletRegistration() {
        ServletRegistrationBean<Servlet> registration = new ServletRegistrationBean<>();

        registration.setServlet(new HelloServlet());
        registration.setUrlMappings(Arrays.asList("/hello"));

        return registration;
    }
}
启动应用,观察控制台输出:
HelloServlet.HelloServlet()
说明 Spring Boot 已经将 HelloServlet 添加到容器中。
访问 http://127.0.0.1:8080/hello,看到返回预期的内容,表示 Servlet 组件添加成功:
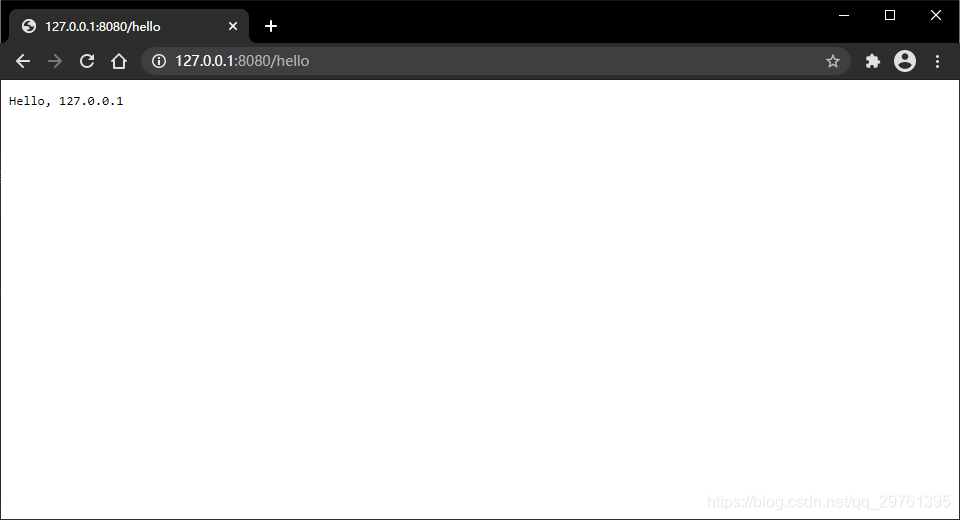
注意:第一次访问 http://127.0.0.1:8080/hello 的过程中,
HelloServlet.init()方法会被调用,此后不再被调用。
通过使用类路劲扫描添加 Servlet
编辑 HelloServlet 类:
- 使用
@WebServlet注解,设置urlPatterns属性指定 URL 映射路径(第 12 行)
package com.mk.servlet;

import java.io.IOException;
import java.io.PrintWriter;

import javax.servlet.ServletException;
import javax.servlet.annotation.WebServlet;
import javax.servlet.http.HttpServlet;
import javax.servlet.http.HttpServletRequest;
import javax.servlet.http.HttpServletResponse;

@WebServlet(urlPatterns = "/hello")
public class HelloServlet extends HttpServlet {

    // ...略,保持不变
}
编辑 ServletComponentConfiguration 配置类:
- 删除第 10 ~ 18 行
- 使用
@ServletComponentScan注解,设置basePackages属性指定 Servlet 组件的扫描路径(第 7 行)
package com.mk.configuration;

import org.springframework.boot.web.servlet.ServletComponentScan;
import org.springframework.context.annotation.Configuration;

@Configuration
@ServletComponentScan(basePackages = {"com.mk.servlet"})
public class ServletComponentConfiguration {

//    @Bean
//    public ServletRegistrationBean<Servlet> servletRegistration() {
//        ServletRegistrationBean<Servlet> registration = new ServletRegistrationBean<>();
//
//        registration.setServlet(new HelloServlet());
//        registration.setUrlMappings(Arrays.asList("/hello"));
//
//        return registration;
//    }
}
启动应用,访问 http://127.0.0.1:8080/hello,看到返回预期的内容,表示 Servlet 组件添加成功。
参考
3.10. Add a Servlet, Filter, or Listener to an Application


 1144
1144


 被折叠的 条评论
为什么被折叠?
被折叠的 条评论
为什么被折叠?
 到【灌水乐园】发言


