


iOS基础——UI控件之UIAlertController、UINavigationController、Segue
一、UIAlertController
1、普通对话框
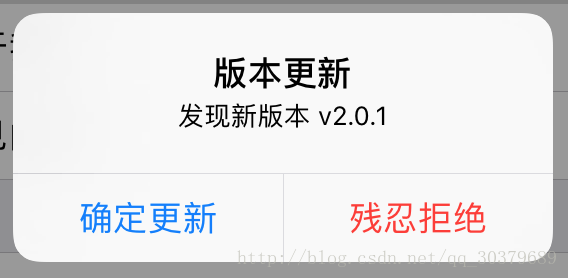
-(void)update{
UIAlertController *alert = [UIAlertController alertControllerWithTitle:@"版本更新" message:@"发现新版本 v2.0.1" preferredStyle: UIAlertControllerStyleAlert];
//1、创建按钮
UIAlertAction *sure = [UIAlertAction actionWithTitle:@"确定更新" style:UIAlertActionStyleDefault handler:nil];
UIAlertAction *cancel = [UIAlertAction actionWithTitle:@"残忍拒绝" style:UIAlertActionStyleDestructive handler:nil];
//2、添加按钮
[alert addAction:sure];
[alert addAction:cancel];
[self presentViewController:alert animated:YES completion:nil];
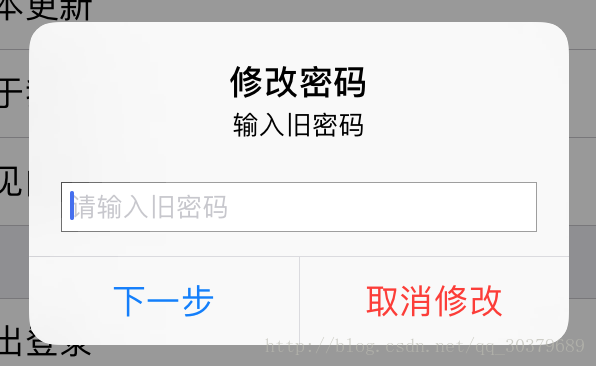
}2、文本对话框
-(void)password{
    UIAlertController *alert = [UIAlertController alertControllerWithTitle:@"修改密码" message:@"输入旧密码" preferredStyle: UIAlertControllerStyleAlert];
    //添加文本框
    [alert addTextFieldWithConfigurationHandler:^(UITextField * _Nonnull textField) {
        textField.placeholder = @"请输入旧密码";
        textField.secureTextEntry = YES;
    }];

    UIAlertAction *sure = [UIAlertAction actionWithTitle:@"下一步" style:UIAlertActionStyleDefault handler:^(UIAlertAction * _Nonnull action) {
        //获取文本框内容
        self.oldPassword = alert.textFields[0].text;

    }];

    UIAlertAction *cancel = [UIAlertAction actionWithTitle:@"取消修改" style:UIAlertActionStyleDestructive handler:nil];
    [alert addAction:sure];
    [alert addAction:cancel];
    [self presentViewController:alert animated:YES completion:nil];
}
文本框也可以增加多个,不过由于样子实在是太丑了,并没有使用,可以改成弹出一个再弹出另一个方式解决
3、Sheet对话框
底部弹窗只是把弹出的style设置为sheet即可,其他跟普通对话框是一样的
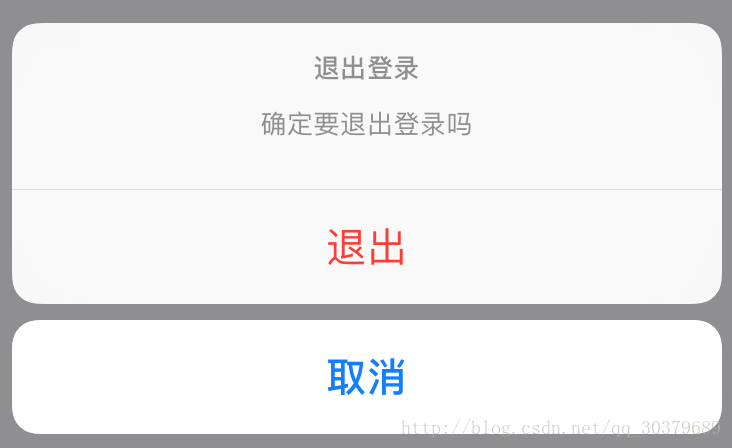
-(void)loginOut{
    UIAlertController *alert = [UIAlertController alertControllerWithTitle:@"退出登录" message:@"确定要退出登录吗" preferredStyle: UIAlertControllerStyleActionSheet];
    UIAlertAction *out = [UIAlertAction actionWithTitle:@"退出" style:UIAlertActionStyleDestructive handler:^(UIAlertAction * _Nonnull action) {
        //退出到根界面
        [self.navigationController popToRootViewControllerAnimated:YES];
    }];
    UIAlertAction *cancel = [UIAlertAction actionWithTitle:@"取消" style:UIAlertActionStyleCancel handler:nil];
    [alert addAction:out];
    [alert addAction:cancel];
    [self presentViewController:alert animated:YES completion:nil];
}
二、UINavigationController
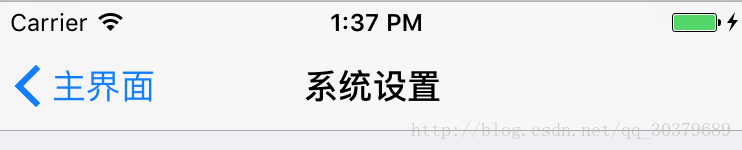
1、UINavigationController的介绍
UINavigationController是导航控制器,默认会有一个标题栏,也可以通过连接两个ViewController实现界面的来回切换
2、UINavigationController的创建
可以在storyboard中拖拽控件到界面中,或者点击某个ViewController,在菜单栏中点击Editor->Embed In->Navigation Controller来升级你的ViewController
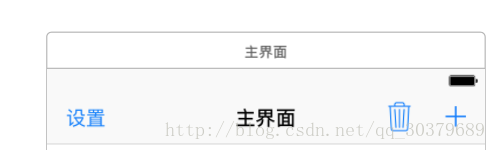
3、UINavigationController标题栏
在导航控制器标题栏可以设置其标题、按钮,可通过Navigation Item创建标题栏,接着可以通过拖动Bar Button Item到标题栏上
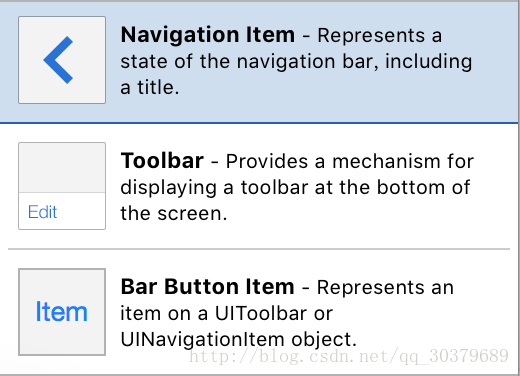
Bar Button Item可用文字或者图片,一般使用系统默认带有的图片
4、UINavigationController切换效果
通过control按住控件拖拽到ViewController,选择show跳转模式,即可将UINavigationController连接到下一个ViewController
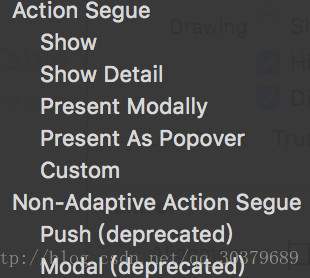
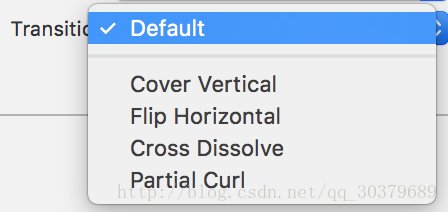
如果选择Present Modally模式,可以通过点击连线中的Transition属性设置其跳转的效果,不过这样的跳转不会有标题栏
三、Segue
Segue指的是两个ViewController跳转时候的连接,也可以理解为连接两个界面的那条线,可以通过Segue获取跳转时候的两个界面,以便于两个界面的数据传递
1、Segue属性
- identifier:Segue的id
- sourceViewController:连接Segue的源界面
- destinationViewController:连接Segue的目标界面
2、Segue传值
在两个界面跳转时,会回调prepareForSegue方法,可以通过该方法拿到ViewController进行数据传递
-(void)prepareForSegue:(UIStoryboardSegue *)segue sender:(id)sender{
    //拿到目标界面
    UIViewController *targetVC = segue.destinationViewController;
    //当一个界面跳转多界面时需要判断目标界面是否为我们要操作的界面
    if([targetVC isKindOfClass:[TC_BluetoothSearch class]]){
        //强转
        TC_BluetoothSearch *searchVC = (id)targetVC;
        //数据传递
        searchVC.managerArray = self.dataArray;
    }
}
3、Segue跳转界面
Segue跳转界面有两种方式
- 自动型:通过控件拖拽到另一个界面,使用show方式跳转
- 手动型:在Segue的identifier属性进行跳转
手动型需要代码实现需要拖拽ViewController黄色箱子拖拽到另一个界面,点击Segue进行identifier设置
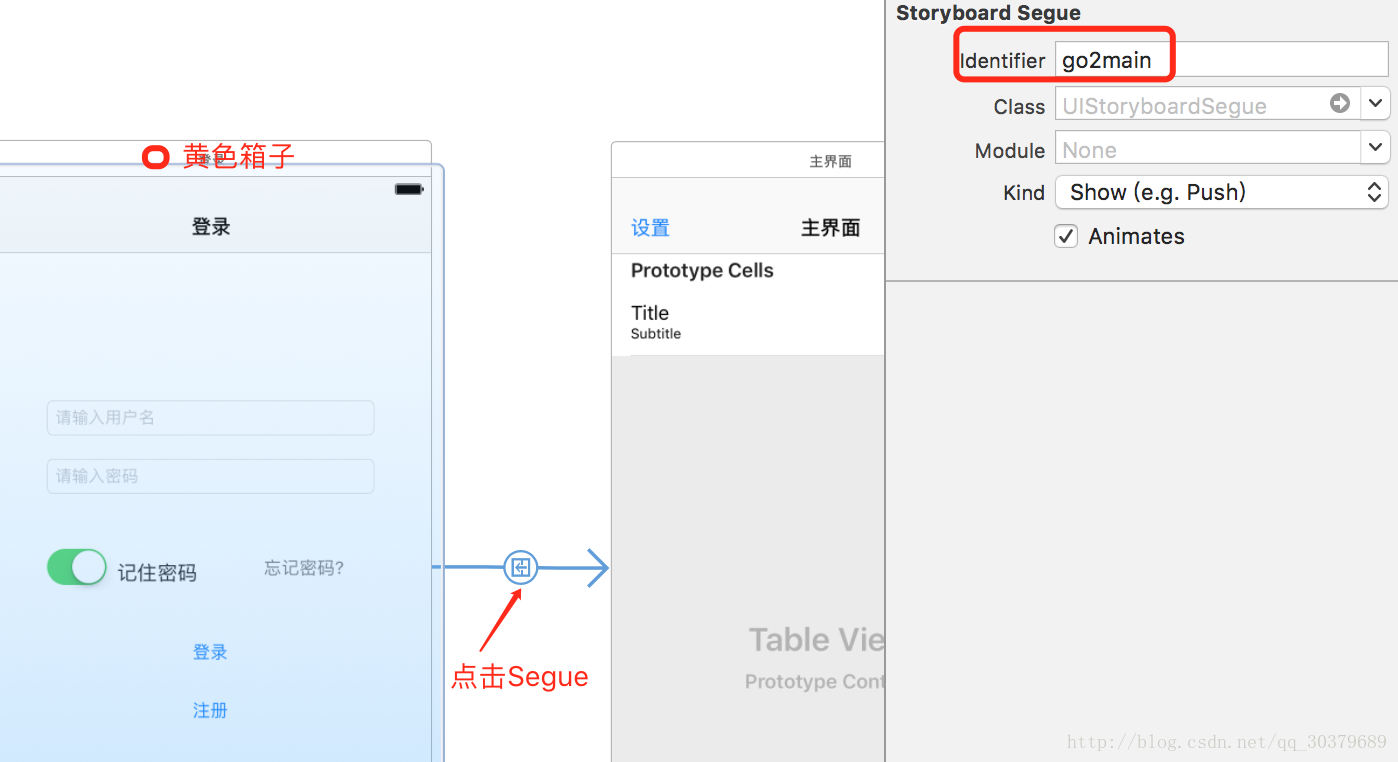
通过代码进行跳转
//跳转到页面
[self performSegueWithIdentifier:@"go2main" sender:nil];
四、SVProgressHUD
SVProgressHUD是一个开源的第三方库,其内容是一个进度条弹窗,在应用中加上这些温馨提示的对话框很大的提升我们应用的用户体验
SVProgressHUD:https://github.com/SVProgressHUD/SVProgressHUD
1、SVProgressHUD的使用
[SVProgressHUD showWithStatus:@"正在登录"];
dispatch_async(dispatch_get_global_queue(DISPATCH_QUEUE_PRIORITY_DEFAULT, 0), ^{
    //模拟网络操作
    [NSThread sleepForTimeInterval:2];

    [SVProgressHUD showSuccessWithStatus:@"登录成功"];
    dispatch_async(dispatch_get_main_queue(), ^{
        [SVProgressHUD dismissWithDelay:1];
    });
});
2、SVProgressHUD的常用API
- showWithStatus:正在加载的弹窗
- showSuccessWithStatus:加载成功的弹窗
- showErrorWithStatus:加载失败的弹窗
- dismiss:弹窗消失
- dismissWithDelay:弹窗延时消失


 1007
1007

 被折叠的 条评论
为什么被折叠?
被折叠的 条评论
为什么被折叠?
 到【灌水乐园】发言


