


相信大家在开发过程中一定简介或直接的引用了很多各种类库的组件。但是,有时候因为需求的缘故,网上的组件并不能满足我们的需求,这时候就需要我们自己来编写组件。本文以一个简单的例子,来了解一下一个组件搭建的大致流程。
组件的基本结构
jquery的做法是把$挂在window对象上,将其他组件挂在$上,进一步的避免了全局变量的污染。本例只有一个组件,所以采用的做法是直接将组件挂在了window对象上。
(function(window, undefined) {
    //将组件的方法封装在一个类中
    function JsClassName(cfg) {
        var config = cfg || {};
        this.get = function(n) {
            return config[n];
        }
        this.set = function(n, v) {
            config[n] = v;
        }
        this.init();
    }
    JsClassName.prototype = {
        init: function(){},
        otherMethod: function(){}
    };
    //将组件绑定到window对象上
    window.JsClassName = window.JsClassName || JsClassName;
})(window);
示例
<html>
<head>
<meta http-equiv="Content-Type" content="text/html; charset=UTF-8">
<title>Tip</title>
<style type="text/css">
#div1{
    background-color: #2189c0;
    width: 200px;
    height: 200px;
}
#div2{
    background-color: #aad7ff;
    color: white;
    width: 200px;
    height: 200px;
    visibility: hidden;
}
</style>
</head>
<body>

<div id="div1">div1</div>
<div id="div2">div2</div>

<button id="show">显示</button>
<button id="hide">隐藏</button>

<button id="test1">显示测试</button>
<button id="test2">隐藏测试</button>
 <script type="text/javascript">

(function(window, undefined) {
    function JsClassName(cfg) {
        var config = cfg || {};
        this.get = function(n) {
            return config[n];
        }
        this.set = function(n, v) {
            config[n] = v;
        }
        this.init();
    }
    JsClassName.prototype = {
        init: function(){
            this.createDom();
            this.bindEvent();
        },
        createDom: function(){
            var div1=document.getElementById('div1');
            var div2=document.getElementById('div2');

            var showButton=document.getElementById('show');
            var hideButton=document.getElementById('hide');

            this.set("div1",div1);
            this.set("div2",div2);
            this.set("showButton",showButton);
            this.set("hideButton",hideButton);
        },
        bindEvent:function(){
            var that=this;
            var div1=that.get("div1");
            var showButton=that.get("showButton");
            var hideButton=that.get("hideButton");

            showButton.onclick=function(){
                that.show();
            };
            hideButton.onclick=function(){
                that.hide();
            };
        },
        show:function(){
            var that=this;
            var div2=that.get("div2");
            div2.style.visibility='visible';
        },
        hide:function(){
            var that=this;
            var div2=that.get("div2");
            div2.style.visibility='hidden';
        }
    };
    var obj=new JsClassName();

    window.show=function(){
        obj.show.call(obj)
    }
    window.hide=function(){
        obj.hide.call(obj)
    }
})(window);

var button1=document.getElementById("test1");
button1.onclick=show;
var button2=document.getElementById("test2");
button2.onclick=hide;
 </script>
</body>
</html>
示例图
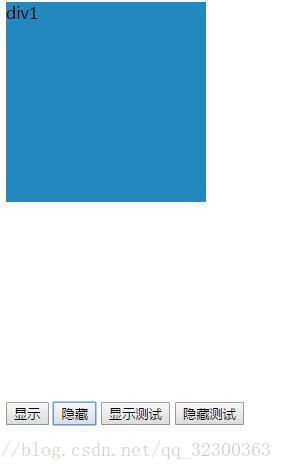

图中的隐藏和显示按钮控制div2的显示和隐藏,显示测试和隐藏测试按钮则是采用应用组件中的方法来达到和隐藏和显示按钮一样的效果。
总结
组件就是将控制一些操作的方法封装在一起,并提供接口调用,同时也一定程度上避免了全局变量的污染。


 330
330

 被折叠的 条评论
为什么被折叠?
被折叠的 条评论
为什么被折叠?
 到【灌水乐园】发言


