


这里以qq邮箱服务为例
准备工作
1.登录你的qq邮箱(网页版)
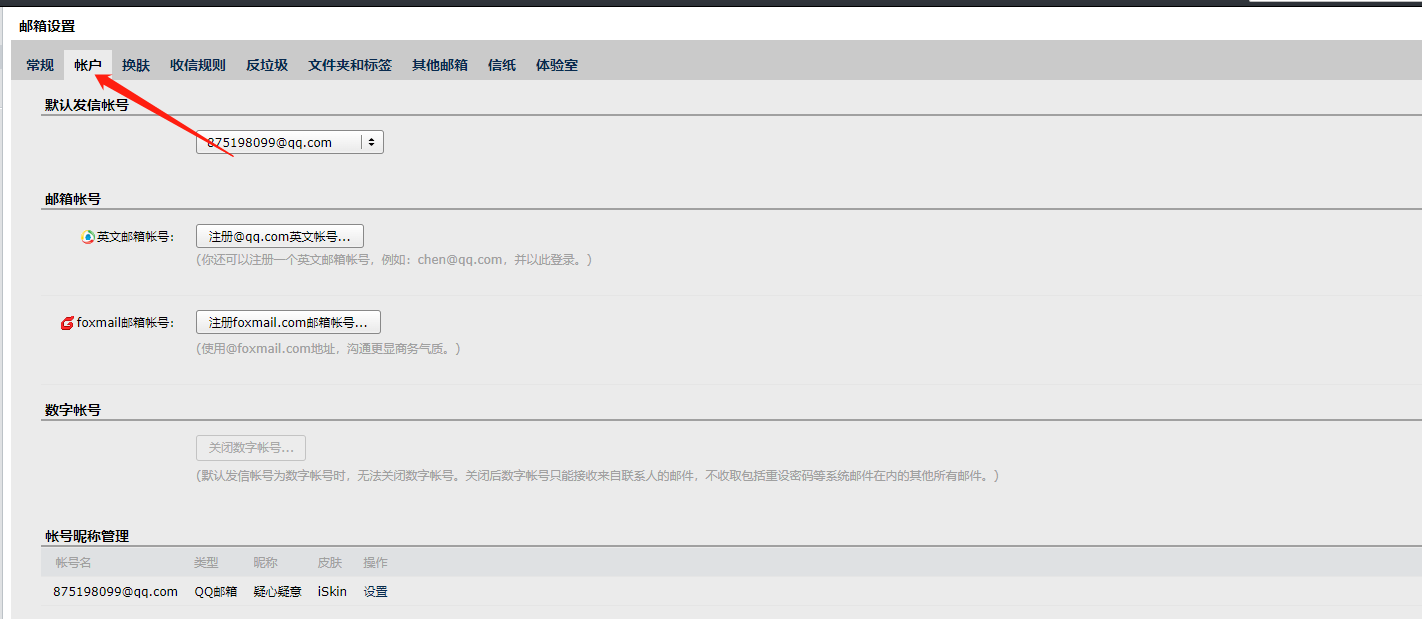
2、点击设置

3、点击账户
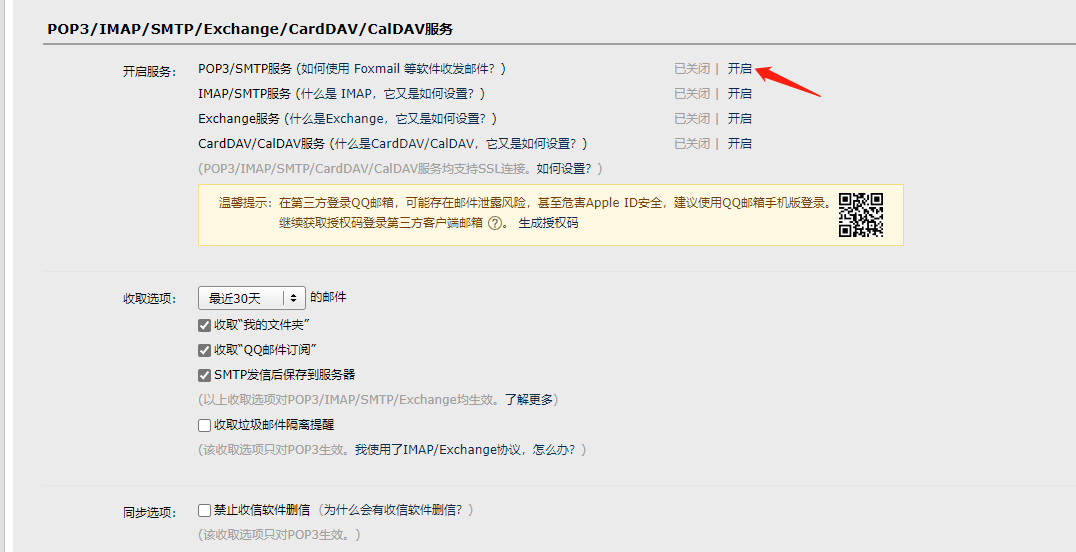
4、开启POP3/SMTP服务
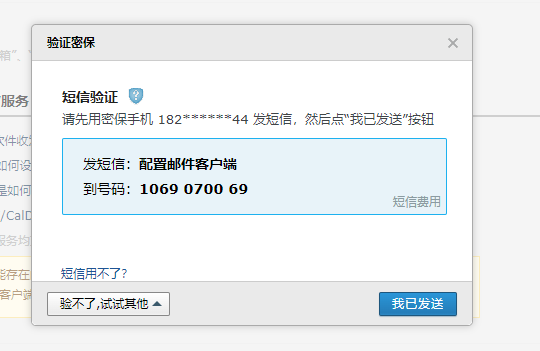
6、跟着做
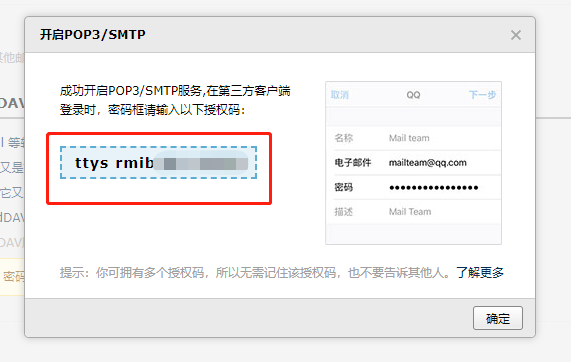
7、保存好授权码
实列开始
添加邮件依赖
pom.xml
<dependency>
   <groupId>org.springframework.boot</groupId>
   <artifactId>spring-boot-starter-mail</artifactId>
</dependency>
添加配置文件
application.properties
#授权码(不是qq密码)
spring.mail.password=rpvbweqrxxxxxxxx
#发送方qq邮箱地址
spring.mail.username=12345678@qq.com
#端口
spring.mail.port=587
spring.mail.host=smtp.qq.com
spring.mail.default-encoding=UTF-8
编写工具类
@RestController
public class login {
    @Autowired
    private JavaMailSender mailSender;
    private String from;
//    获取发送方账户信息
    @Value("${spring.mail.username}")
    @GetMapping("/email")
//    谁要接收eamil,邮件标题title,邮件内容centent
    public boolean email(@RequestParam(value = "email", required = true) String email, @RequestParam(value = "title", required = true) String title, @RequestParam(value = "centent", required = true) String centent){
//        获得SimpleMailMessage
        SimpleMailMessage message = new SimpleMailMessage();
//        发送方邮箱地址
        message.setFrom(from);
//        接受方邮箱地址
        message.setTo(email);
//        接收方收件标题
        message.setSubject(title);
//        接收方邮件内容
        message.setText(centent);
//        try catch
        try {
            mailSender.send(message);
            //邮件发送成功返回true
            return true;
        } catch (MailException e) {
//            邮件发送失败返回false
            System.out.println("邮件发送错误"+e);
            return false;
        }
    }
}
测试,在浏览器输入:
http://localhost:8081/email?email=xinjiandianziyouxiang@outlook.com&title=%E6%B5%8B%E8%AF%95¢ent=%E6%B5%8B%E8%AF%95

返回true就说明发送成功,如果是false就看看控制台输出了说明~
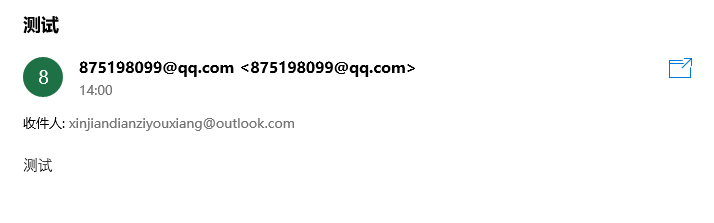
已获得邮件


 756
756


 被折叠的 条评论
为什么被折叠?
被折叠的 条评论
为什么被折叠?
 到【灌水乐园】发言


