


前言
描述: Spring Security 入门系列文章。
【1】Spring Security 用户认证
【2】Spring Security 用户授权
1 SpringSecurity 简介

1.1 框架简介
Spring 是非常流行和成功的 Java 应用开发框架,Spring Security 正是 Spring 家族中的成员。Spring Security 基于 Spring 框架,提供了一套 Web 应用安全性的完整解决方案。
正如你可能知道的关于安全方面的两个主要区域是“认证”和“授权”(或者访问控制),一般来说,Web 应用的安全性包括用户认证(Authentication)和用户授权(Authorization)两个部分,这两点也是 Spring Security 重要核心功能。
(1)用户认证指的是:验证某个用户是否为系统中的合法主体,也就是说用户能否访问该系统。用户认证一般要求用户提供用户名和密码。系统通过校验用户名和密码来完成认证过程。通俗点说就是系统认为用户是否能登录。
(2)用户授权指的是验证某个用户是否有权限执行某个操作。在一个系统中,不同用户所具有的权限是不同的。比如对一个文件来说,有的用户只能进行读取,而有的用户可以进行修改。一般来说,系统会为不同的用户分配不同的角色,而每个角色则对应一系列的权限。通俗点讲就是系统判断用户是否有权限去做某些事情。
1.2 Spring Security和Shiro比较
在 Java 生态中,目前有 Spring Security 和 Apache Shiro 两个安全框架,可以完成认证和授权的功能。
相同点:
1:认证功能
2:授权功能
3:加密功能
4:会话管理
5:缓存支持
6:rememberMe功能.......
不同点:
优点:
1:Spring Security基于Spring开发,项目中如果使用Spring作为基础,配合Spring Security做权限更加
方便,而Shiro需要和Spring进行整合开发
2:Spring Security功能比Shiro更加丰富些,例如安全防护
3:Spring Security社区资源比Shiro丰富
缺点:
1:Shiro的配置和使用比较简单,Spring Security上手复杂
2:Shiro依赖性低,不需要任何框架和容器,可以独立运行,而Spring Security依赖于Spring容器
一般来说,常见的安全管理技术栈的组合是这样的:
SSM + Shiro
Spring Boot/Spring Cloud +Spring Security
1.3 权限管理中的相关概念
1.3.1 主体
英文单词:principal
使用系统的用户或设备或从其他系统远程登录的用户等等。简单说就是谁使用系统谁就是主体。
1.3.2 认证
英文单词:authentication
权限管理系统确认一个主体的身份,允许主体进入系统。简单说就是“主体”证明自己是谁。笼统的认为就是以前所做的登录操作。
1.3.3 授权
英文单词:authorization
将操作系统的“权力”“授予”“主体”,这样主体就具备了操作系统中特定功能的能力。
2 简单用户认证

2.1 pom
<parent>
        <groupId>org.springframework.boot</groupId>
        <artifactId>spring-boot-starter-parent</artifactId>
        <version>2.3.1.RELEASE</version>
        <relativePath/> <!-- lookup parent from repository -->
    </parent>

    <properties>
        <java.version>1.8</java.version>
    </properties>

    <dependencies>
        <dependency>
            <groupId>org.springframework.boot</groupId>
            <artifactId>spring-boot-starter-web</artifactId>
        </dependency>
        <dependency>
            <groupId>org.springframework.boot</groupId>
            <artifactId>spring-boot-starter-security</artifactId>
        </dependency>
        <!--测试-->
        <dependency>
            <groupId>org.springframework.boot</groupId>
            <artifactId>spring-boot-starter-test</artifactId>
            <scope>test</scope>
        </dependency>
        <dependency>
            <groupId>junit</groupId>
            <artifactId>junit</artifactId>
        </dependency>
        <!--公用依赖-->
        <dependency>
            <groupId>org.projectlombok</groupId>
            <artifactId>lombok</artifactId>
        </dependency>
        <dependency>
            <groupId>com.alibaba</groupId>
            <artifactId>fastjson</artifactId>
            <version>1.2.71</version>
        </dependency>
        <dependency>
            <groupId>org.apache.commons</groupId>
            <artifactId>commons-collections4</artifactId>
            <version>4.2</version>
        </dependency>
        <dependency>
            <groupId>org.apache.commons</groupId>
            <artifactId>commons-lang3</artifactId>
        </dependency>
    </dependencies>

    <build>
        <plugins>
            <plugin>
                <groupId>org.springframework.boot</groupId>
                <artifactId>spring-boot-maven-plugin</artifactId>
            </plugin>
            <plugin>
                <groupId>org.apache.maven.plugins</groupId>
                <artifactId>maven-compiler-plugin</artifactId>
                <version>3.6.1</version>
                <configuration>
                    <source>1.8</source>
                    <target>1.8</target>
                </configuration>
            </plugin>
        </plugins>
    </build>
2.2 application.yml
server:
  port: 8888
2.3 SpringSecurity 用户自定义配置类
描述: 用户需要继承WebSecurityConfigurerAdapter来实现自定义配置。
/**
 * @Description: Spring Security 自定义配置类
 * @Author: rosh
 * @Date: 2021/4/10 11:16
 */
@Configuration
public class WebSecurityConfig extends WebSecurityConfigurerAdapter {


    @Autowired
    @Qualifier("roshUserDetailService")
    private RoshUserDetailService roshUserDetailService;

    /**
     *  配置登录用户名、密码及角色
     */
    @Override
    protected void configure(AuthenticationManagerBuilder auth) throws Exception {
        auth.userDetailsService(roshUserDetailService).passwordEncoder(passwordEncoder());
    }


    /**
     * 配置加密方式,官方推荐加密方式为BCrypt
     */
    @Bean
    public PasswordEncoder passwordEncoder() {
        return new BCryptPasswordEncoder();
    }

}
2.4 用户自定义认证方式
描述: 用户需要实现UserDetailsService 来实现自定义用户认证
/**
 * @Description: 自定义认证类
 * @Author: rosh
 * @Date: 2021/4/11 10:30
 */
@Service("roshUserDetailService")
public class RoshUserDetailService implements UserDetailsService {

    /**
     * UserDetails:返回用户的主体
     */
    @Override
    public UserDetails loadUserByUsername(String username) throws UsernameNotFoundException {
        //配置一个admin、123456的用户
        List<GrantedAuthority> auths = AuthorityUtils.commaSeparatedStringToAuthorityList("admin");
        return new User("admin", new BCryptPasswordEncoder().encode("123456"), auths);
    }
}
2.5 相关业务类
@AllArgsConstructor
@NoArgsConstructor
@Data
public class Student {

    private Integer id;

    private String name;

    private String hobby;

}


@RestController
@RequestMapping("/student")
public class StudentController {


    @GetMapping("/{id}")
    public Student getStudent(@PathVariable("id") Integer id) {
        return new Student(id, "rosh", "basketBall");
    }

}

@SpringBootApplication
public class RoshSerucityApplication {
    public static void main(String[] args) {
        SpringApplication.run(RoshSerucityApplication.class);
    }

}
2.6 测试
访问接口:http://localhost:8888/student/1

描述: 输入admin、123456

3 数据库认证
3.1 数据库环境
-- 创表语句
CREATE TABLE `t_user` (
  `id` bigint(20) NOT NULL AUTO_INCREMENT,
  `username` varchar(20) NOT NULL,
  `password` varchar(100) DEFAULT NULL,
  PRIMARY KEY (`id`),
  UNIQUE KEY `username` (`username`)
) ENGINE=InnoDB AUTO_INCREMENT=2 DEFAULT CHARSET=utf8;

-- 插入管理员数据admin、123456
insert into t_user(username,password) VALUES('admin','$2a$10$YDq3287Iw86gFr3RyKl7fe7JYQCkoic5K0XOgoSDpJgQEdYkWvxKG')
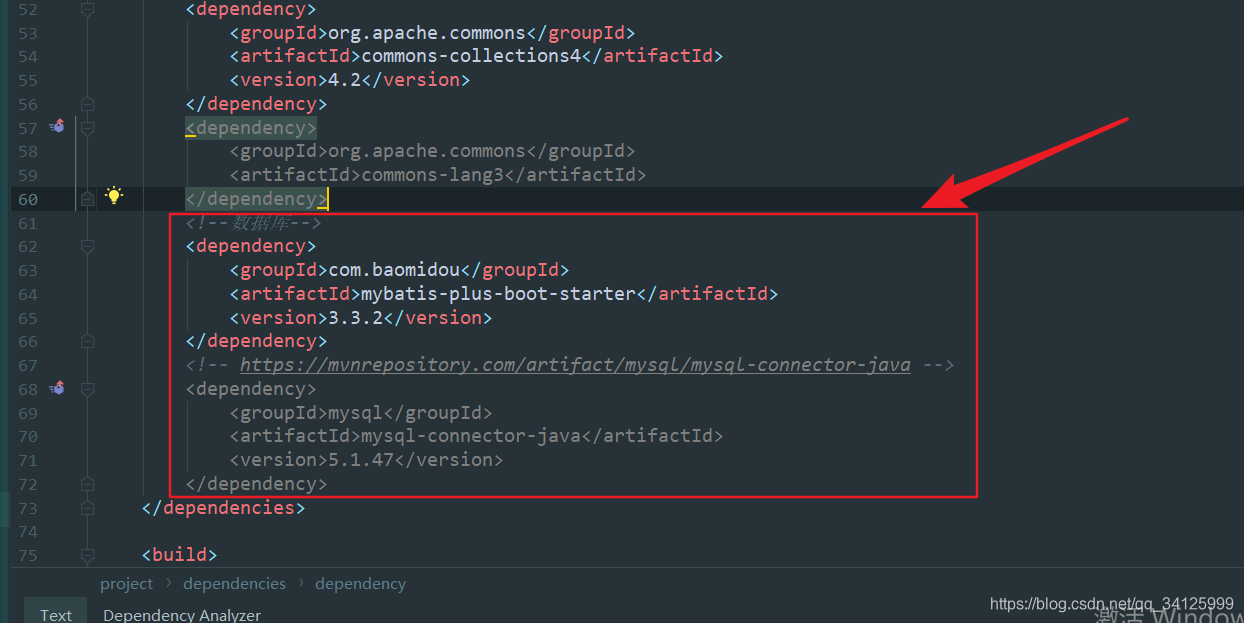
3.2 更新pom文件
 	  <!--数据库-->
        <dependency>
            <groupId>com.baomidou</groupId>
            <artifactId>mybatis-plus-boot-starter</artifactId>
            <version>3.3.2</version>
        </dependency>
        <!-- https://mvnrepository.com/artifact/mysql/mysql-connector-java -->
        <dependency>
            <groupId>mysql</groupId>
            <artifactId>mysql-connector-java</artifactId>
            <version>5.1.47</version>
        </dependency>
3.3 修改application.yml
server:
  port: 8888

spring:
    #数据库连接池
  datasource:
    url: jdbc:mysql://localhost:3306/test?useUnicode=true&characterEncoding=UTF-8&useSSL=false&serverTimezone=Asia/Shanghai
    username: root
    password: 123456
    driver-class-name: com.mysql.jdbc.Driver
mybatis-plus:
  #默认值classpath*:/mapper/**/*.xml
  mapper-locations: classpath:/mapper/*.xml
  #配置全局自增ID
  global-config:
    db-config:
      id-type: auto
3.4 mybatis业务类

@Data
@TableName(value = "t_user")
public class UserEntity {

    @TableId
    private Integer id;

    private String username;

    private String password;

}
@Mapper
public interface UserMapper extends BaseMapper<UserEntity> {
}

@Service
public class UserService extends ServiceImpl<UserMapper, UserEntity> {

    public UserEntity findUserByUsername(@NonNull final String username) {
        QueryWrapper<UserEntity> wrapper = new QueryWrapper<>();
        wrapper.eq("username", username);
        return baseMapper.selectOne(wrapper);
    }
}
3.5 修改RoshSerucityApplication
@SpringBootApplication
@MapperScan("com.rosh.security.mapper")
public class RoshSerucityApplication {

    public static void main(String[] args) {
        SpringApplication.run(RoshSerucityApplication.class);
    }

}
3.6 修改用户自定义认证类
描述: 修改RoshUserDetailService
@Service("roshUserDetailService")
public class RoshUserDetailService implements UserDetailsService {

    @Autowired
    private UserService userService;

    /**
     * UserDetails:返回用户的主体
     */
    @Override
    public UserDetails loadUserByUsername(String username) throws UsernameNotFoundException {

        //1 查询db
        UserEntity user = userService.findUserByUsername(username);

        //2 不存在认证失败
        if (user == null) {
            throw new UsernameNotFoundException("用户名不存在");
        }
        //3 校验
        List<GrantedAuthority> auths = AuthorityUtils.commaSeparatedStringToAuthorityList("admin");
        return new User(user.getUsername(), user.getPassword(), auths);
    }
}
3.7 测试
http://localhost:8888/student/1
描述: 错误登录

描述: 正确登录

4 自定义登录页面及访问控制
4.1 修改Spring Security 自定义配置类
描述: 重写configure方法。

@Configuration
public class WebSecurityConfig extends WebSecurityConfigurerAdapter {


    @Autowired
    @Qualifier("roshUserDetailService")
    private RoshUserDetailService roshUserDetailService;

    /**
     *  配置登录用户名、密码及角色
     */
    @Override
    protected void configure(AuthenticationManagerBuilder auth) throws Exception {
        auth.userDetailsService(roshUserDetailService).passwordEncoder(passwordEncoder());
    }


    /**
     * 配置加密方式,官方推荐加密方式为BCrypt
     */
    @Bean
    public PasswordEncoder passwordEncoder() {
        return new BCryptPasswordEncoder();
    }


    /**
     * 自定义页面配置、登录访问配置
     */
    @Override
    protected void configure(HttpSecurity http) throws Exception {

        http.formLogin()
                //配置登录页面
                .loginPage("/login.html")
                //登录访问路径
                .loginProcessingUrl("/user/login").permitAll()
                //登录成功访问接口
                .defaultSuccessUrl("/user/login/success")
                //登录失败访问的接口
                .failureForwardUrl("/user/login/failed")
                //配置url访问权限,登录url可以直接访问,不需要认证
                .and().authorizeRequests().antMatchers("/login.html", "/user/login/failed").permitAll()
                //其余url需要认证才能访问
                .anyRequest().authenticated()
                //关闭csrf
                .and().csrf().disable();
    }
}
4.2 登录页面

描述: 表单方法必须为post,name必须为username,password。查看核心过滤器,UsernamePasswordAuthenticationFilter。

<!DOCTYPE html>
<html lang="en">
<head>
    <meta charset="UTF-8">
    <title>登录页面</title>
</head>
<body>


<form action="/user/login"  method="post">
    用户名:<input type="text" name="username">
    <br/>
    密码: <input type="text" name="password">
    <br/>
    <input type="submit" value="登录">
</form>


</body>
</html>
4.3 相关业务类
@RestController
@RequestMapping("/user")
public class UserController {

    @GetMapping("/login/success")
    public String loginSuccess() {
        return "用户认证成功";
    }

    @PostMapping("/login/failed")
    public String loginFailed() {
        return "用户认证失败";
    }


}
4.4 测试
描述: 直接访问student接口:http://localhost:8888/student/1会重定向到登录页面


描述: 登录失败测试。


描述: 登录成功测试


 312
312


 被折叠的 条评论
为什么被折叠?
被折叠的 条评论
为什么被折叠?
 到【灌水乐园】发言


