


8. Docker安装Tomcat
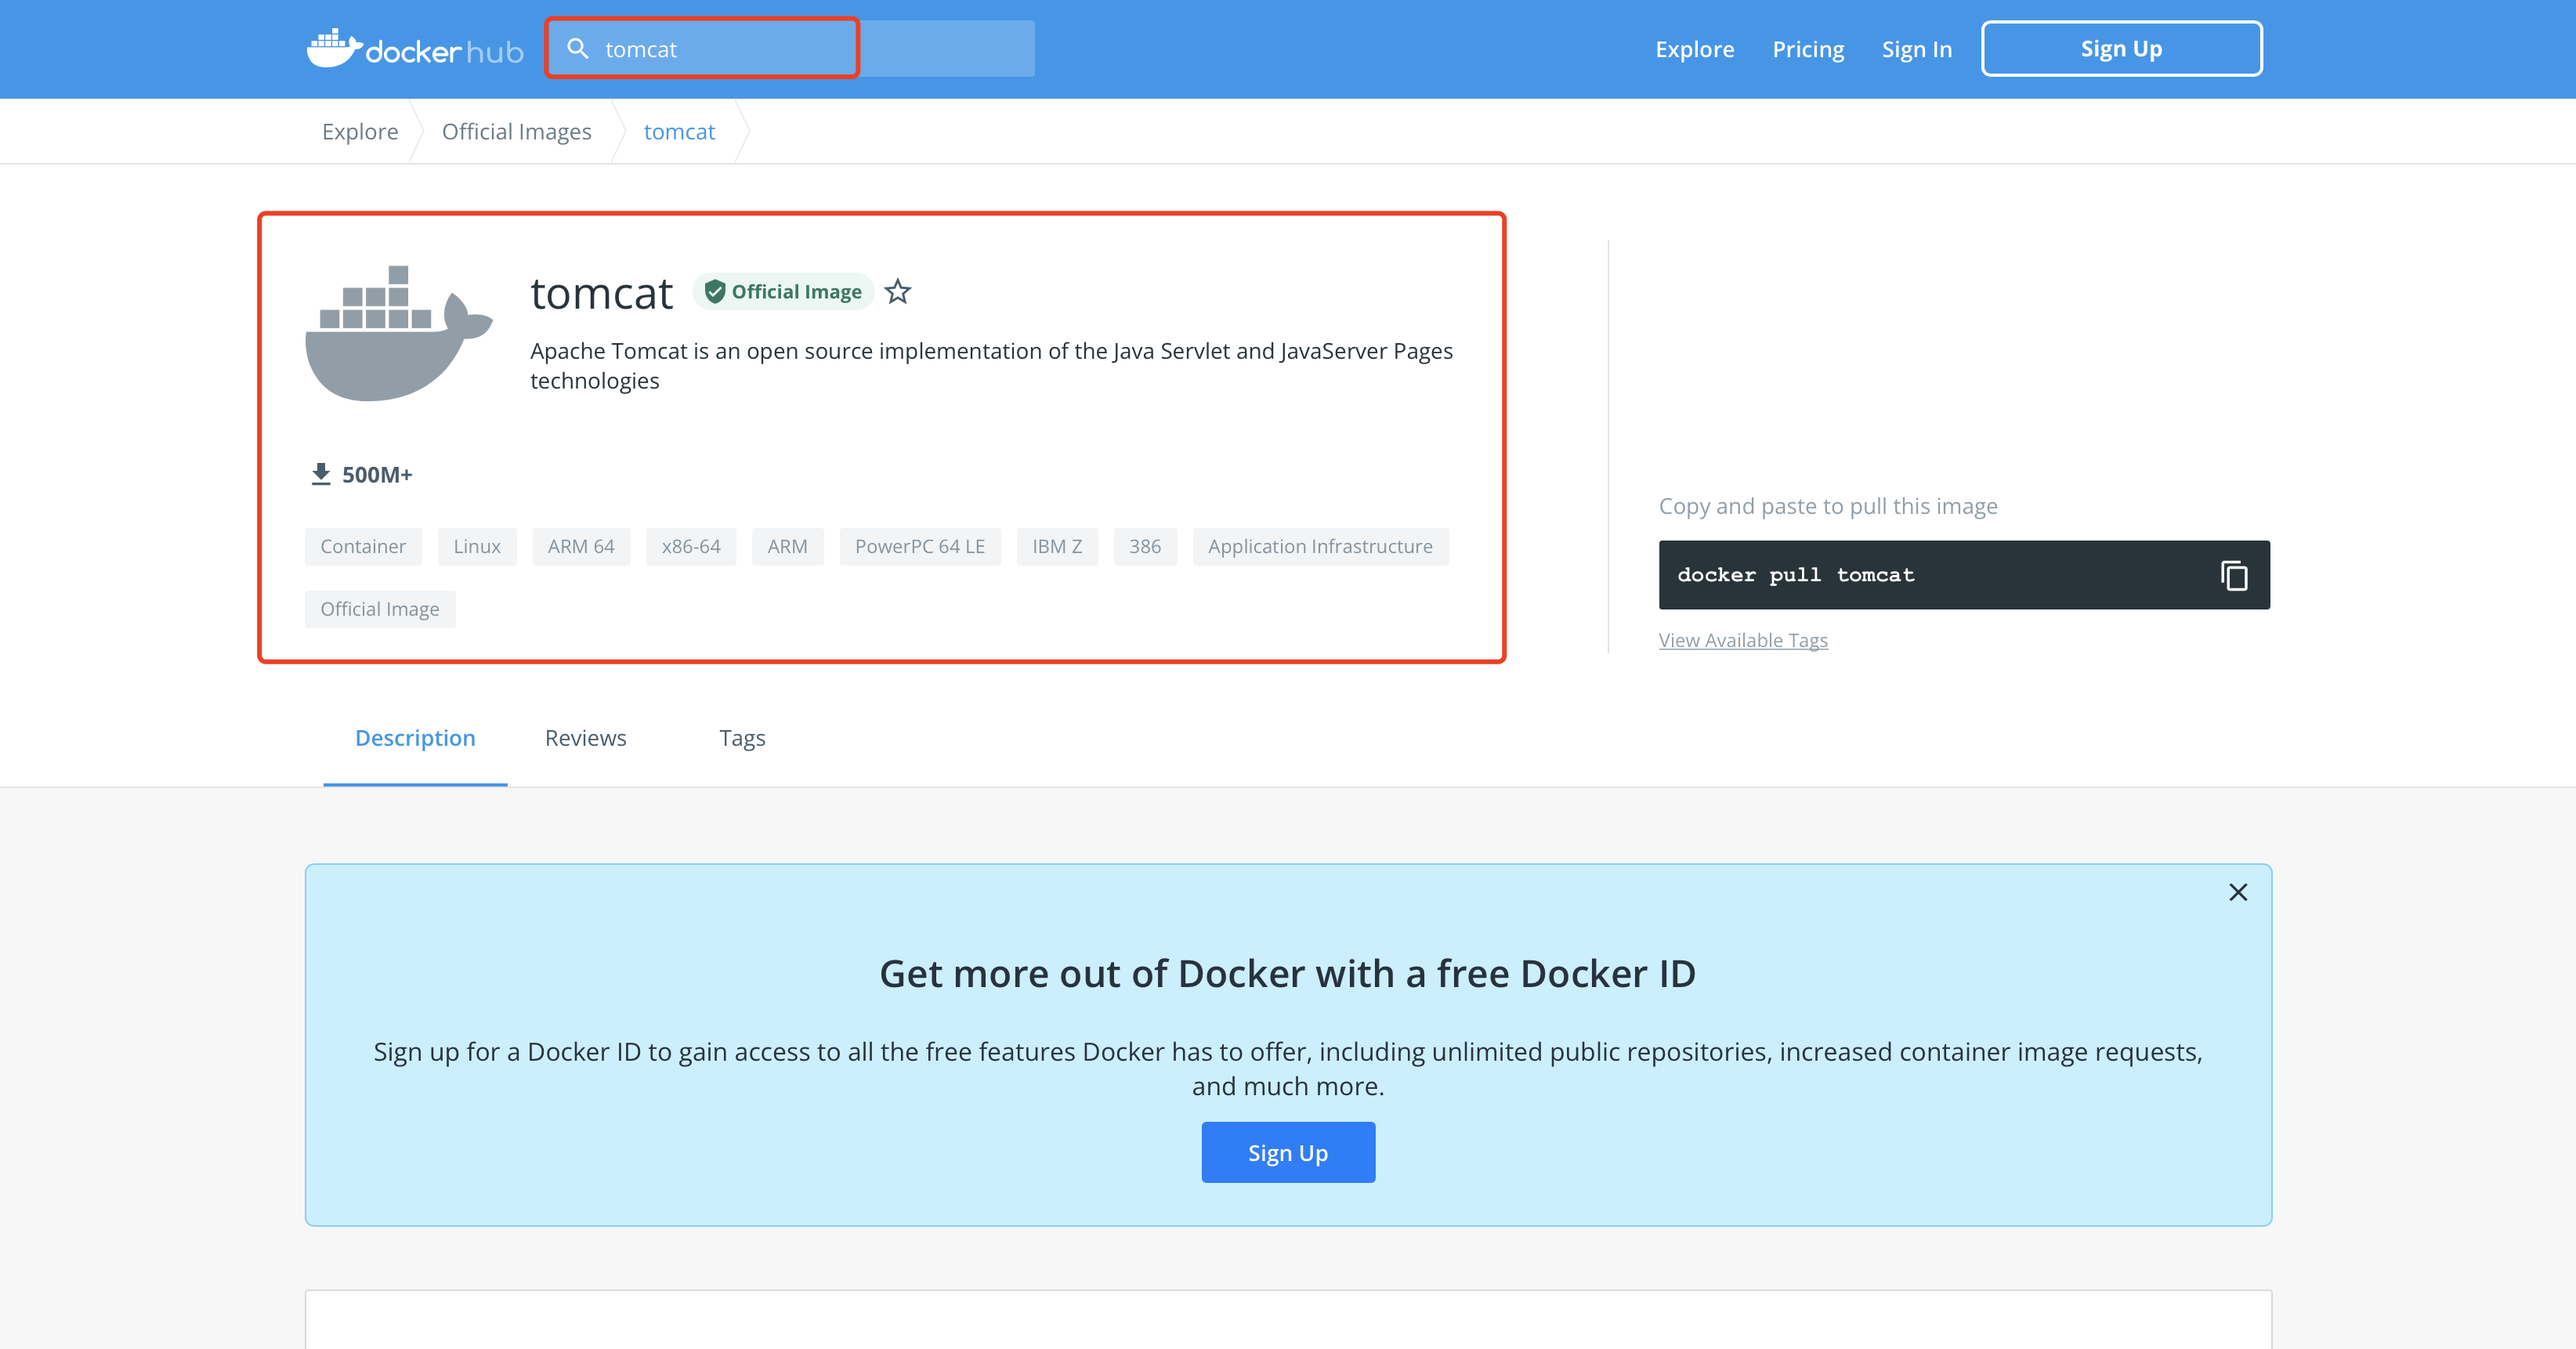
8.1. 在DockerHub上搜索tomcat
8.2. 下载tomcat镜像
[root@iZ8vb6lqqya4rvreq9ra6gZ /]# docker pull tomcat:9.0.58-jdk8-corretto
9.0.58-jdk8-corretto: Pulling from library/tomcat
f964900200fc: Pull complete
80c511bfbb08: Pull complete
6e18e16d680a: Pull complete
3d3a4648eab2: Pull complete
fe8abcf48705: Pull complete
Digest: sha256:48cc1d735db41ed44a0b675ab90ff708eb99f5580e72a0da08774dc9e4a2c48b
Status: Downloaded newer image for tomcat:9.0.58-jdk8-corretto
docker.io/library/tomcat:9.0.58-jdk8-corretto
[root@iZ8vb6lqqya4rvreq9ra6gZ /]# docker images
REPOSITORY TAG IMAGE ID CREATED SIZE
tomcat 9.0.58-jdk8-corretto 41702c6af95e 4 days ago 379MB
nginx latest 605c77e624dd 5 weeks ago 141MB
centos latest 5d0da3dc9764 4 months ago 231MB
[root@iZ8vb6lqqya4rvreq9ra6gZ /]#
8.3. 启动容器
# 命令详解
-d 后台运行
--name 给容器命名
-p 暴露端口,:号前面的8080是宿主机暴露给外网访问的端口,:后面的8080是tomcat在容器中的端口
[root@iZ8vb6lqqya4rvreq9ra6gZ /]# docker run -d --name tomcat01 -p 8080:8080 tomcat:9.0.58-jdk8-corretto
cb19a16a04d13ca9bce81842ae0c40de918b8631fd88149eae9c8e44812805d9
[root@iZ8vb6lqqya4rvreq9ra6gZ /]# docker ps
CONTAINER ID IMAGE COMMAND CREATED STATUS PORTS NAMES
cb19a16a04d1 tomcat:9.0.58-jdk8-corretto "catalina.sh run" 5 seconds ago Up 4 seconds 0.0.0.0:8080->8080/tcp, :::8080->8080/tcp tomcat01
040788c26e85 nginx "/docker-entrypoint.…" About an hour ago Up About an hour 0.0.0.0:3031->80/tcp, :::3031->80/tcp nginx01
[root@iZ8vb6lqqya4rvreq9ra6gZ /]#
8.4. 测试
在浏览器访问:
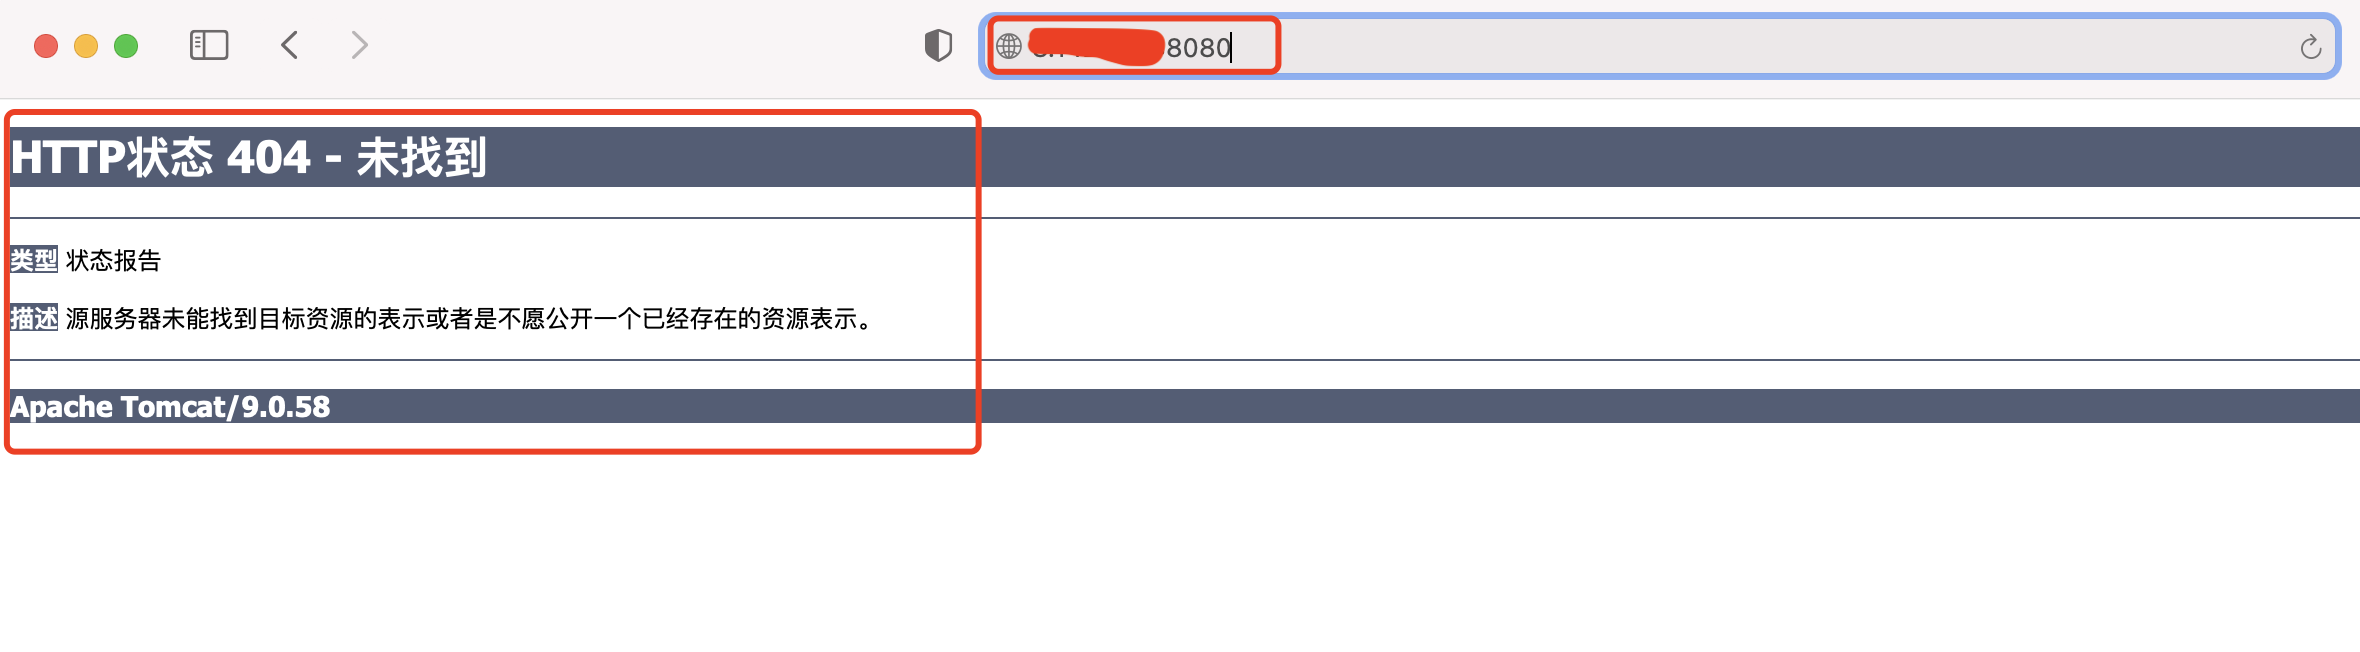
遇到的问题:tomcat容器启动成功了,但是访问时报404错误。
原因:是由于下载下的镜像是阉割版的,webapps目录下没有ROOT导致的。
具体如下:
[root@iZ8vb6lqqya4rvreq9ra6gZ /]# docker ps
CONTAINER ID IMAGE COMMAND CREATED STATUS PORTS NAMES
cb19a16a04d1 tomcat:9.0.58-jdk8-corretto "catalina.sh run" 2 minutes ago Up 2 minutes 0.0.0.0:8080->8080/tcp, :::8080->8080/tcp tomcat01
040788c26e85 nginx "/docker-entrypoint.…" 2 hours ago Up 2 hours 0.0.0.0:3031->80/tcp, :::3031->80/tcp nginx01
# 1.进入tomcat容器
[root@iZ8vb6lqqya4rvreq9ra6gZ /]# docker exec -it cb19a16a04d1 /bin/bash
# 2.查看容器中的目录
bash-4.2# ls
BUILDING.txt CONTRIBUTING.md LICENSE NOTICE README.md RELEASE-NOTES RUNNING.txt bin conf lib logs native-jni-lib temp webapps webapps.dist work
# 3.没有ll命令
bash-4.2# ll
bash: ll: command not found
# 4.查看容器中的目录
bash-4.2# ls -al
total 172
drwxr-xr-x 1 root root 4096 Feb 5 07:57 .
drwxr-xr-x 1 root root 4096 Feb 5 07:49 ..
-rw-r--r-- 1 root root 18970 Jan 15 14:37 BUILDING.txt
-rw-r--r-- 1 root root 6210 Jan 15 14:37 CONTRIBUTING.md
-rw-r--r-- 1 root root 57092 Jan 15 14:37 LICENSE
-rw-r--r-- 1 root root 2333 Jan 15 14:37 NOTICE
-rw-r--r-- 1 root root 3378 Jan 15 14:37 README.md
-rw-r--r-- 1 root root 6898 Jan 15 14:37 RELEASE-NOTES
-rw-r--r-- 1 root root 16507 Jan 15 14:37 RUNNING.txt
drwxr-xr-x 2 root root 4096 Feb 5 07:57 bin
drwxr-xr-x 1 root root 4096 Feb 9 10:24 conf
drwxr-xr-x 2 root root 4096 Feb 5 07:57 lib
drwxrwxrwx 1 root root 4096 Feb 9 10:24 logs
drwxr-xr-x 2 root root 4096 Feb 5 07:57 native-jni-lib
drwxrwxrwx 2 root root 4096 Feb 5 07:57 temp
drwxr-xr-x 2 root root 4096 Feb 5 07:57 webapps
drwxr-xr-x 7 root root 4096 Jan 15 14:37 webapps.dist
drwxrwxrwx 2 root root 4096 Jan 15 14:37 work
# 5.进入到webapps目录
bash-4.2# cd webapps
# 6.查看webapps目录下的内容
bash-4.2# ls
# 7.webapps目录下是空的
bash-4.2#
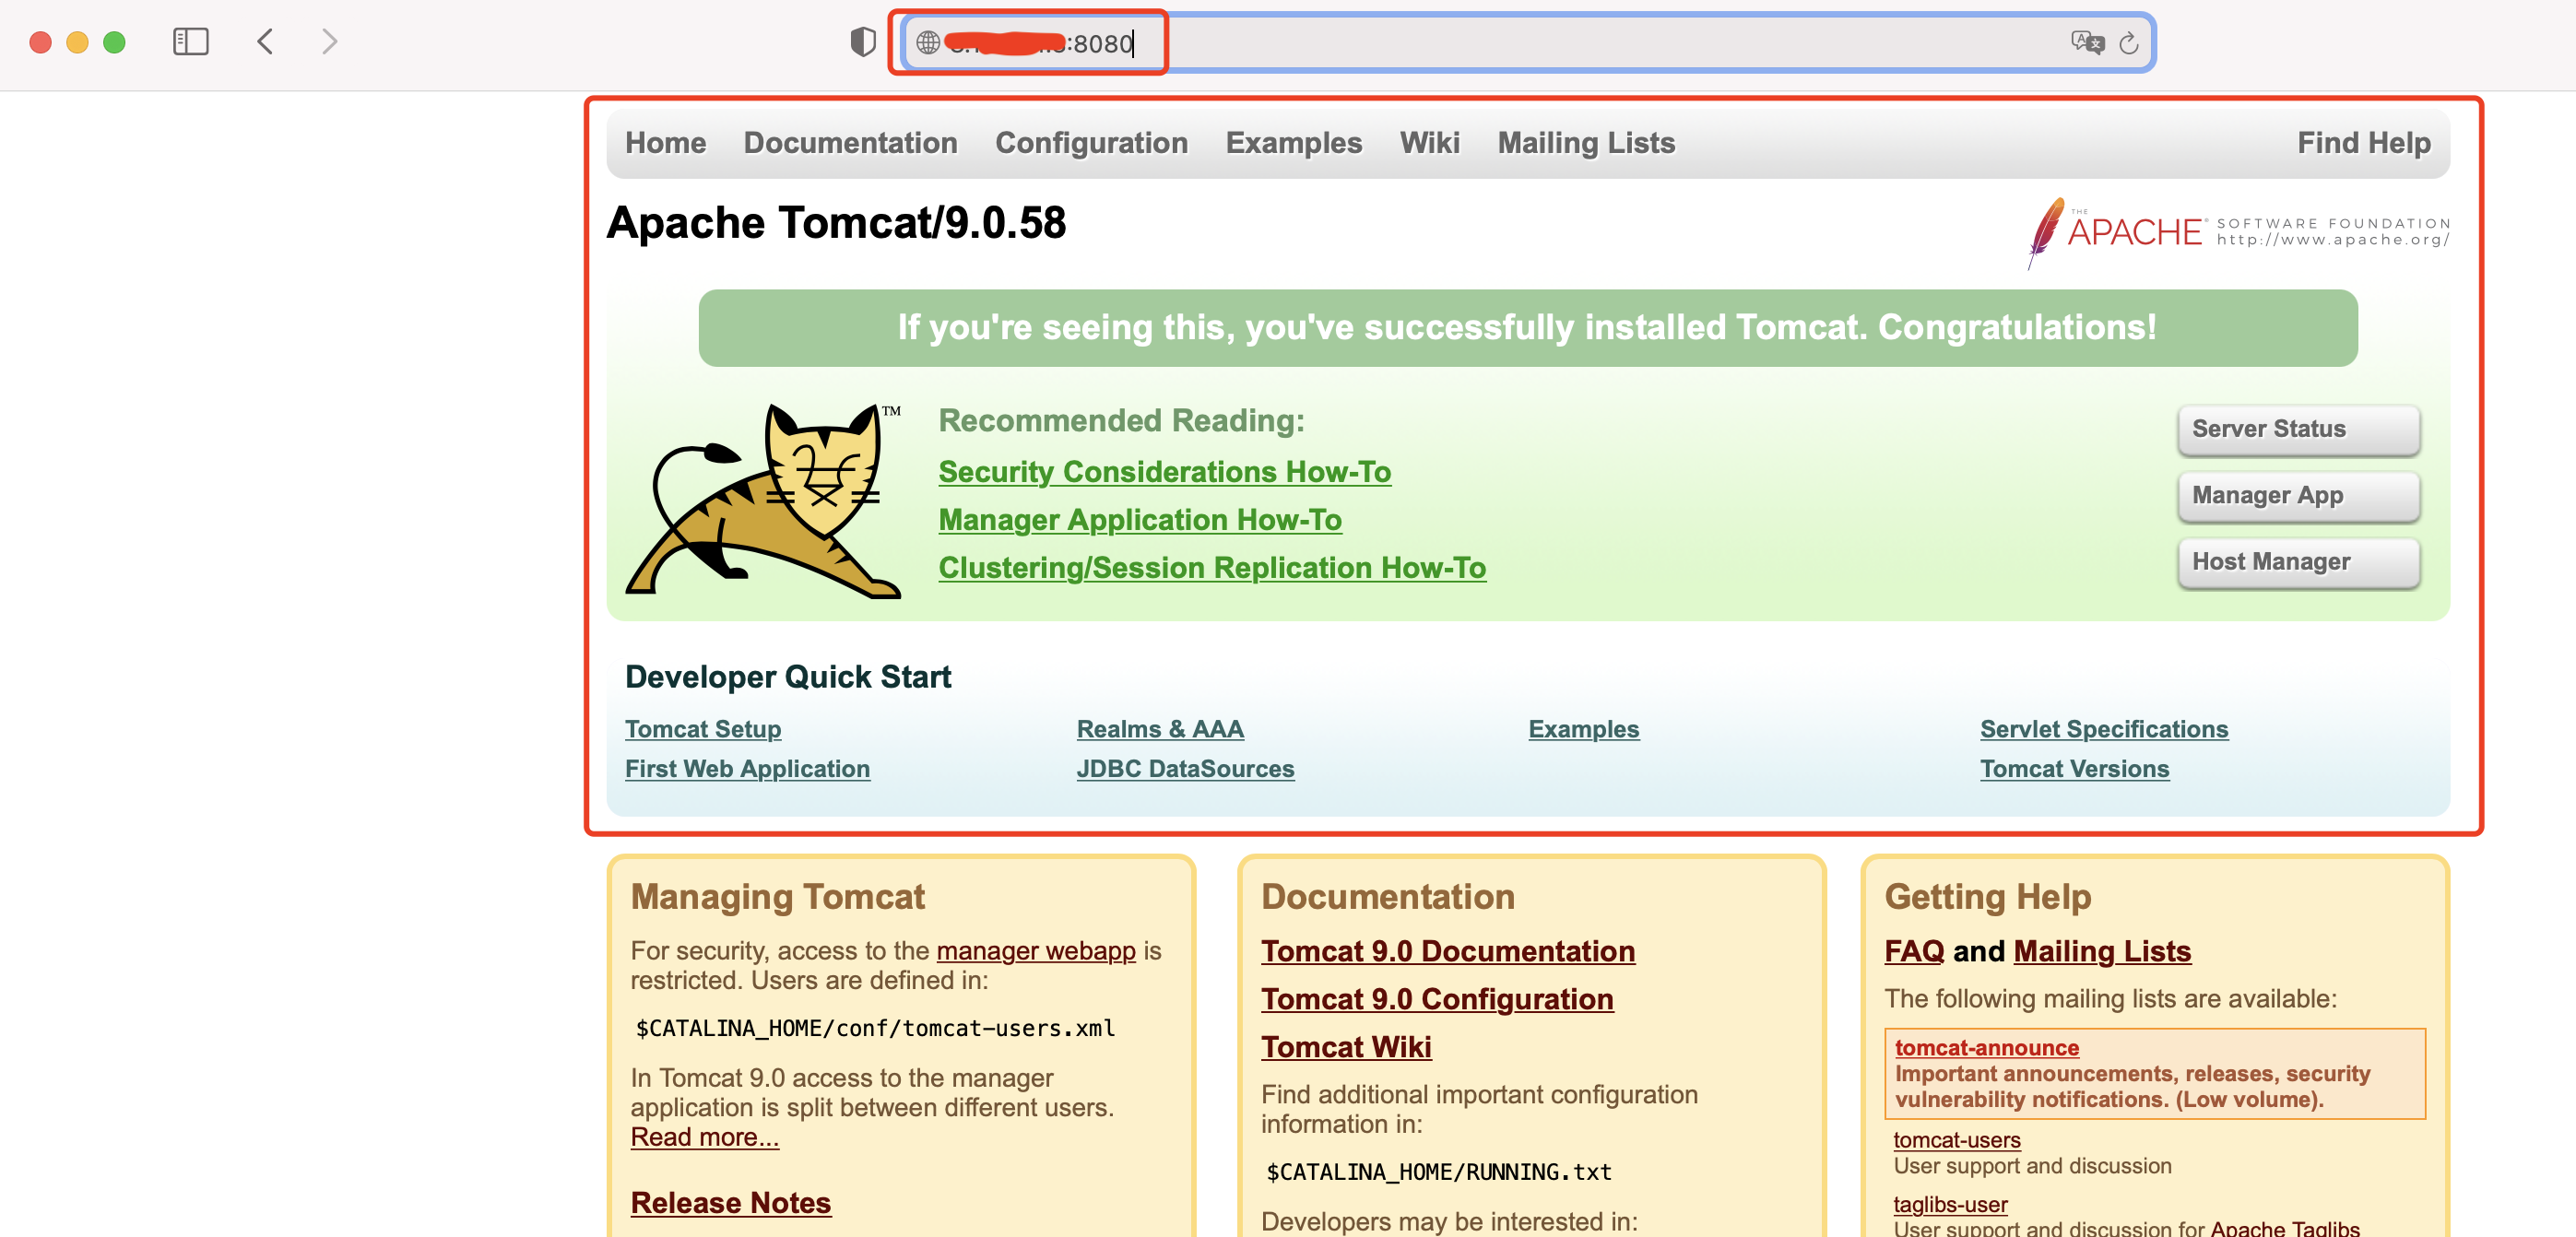
解决:tomcat容器中,有个webapps.dist目录,这个目录里面就是原来tomcat里面webapps里面的东西,我们只需要把webapps.dist中的文件拷贝到webapps中即可(或者修改webapps.dist目录到名称为webapps)。
bash-4.2# pwd
/usr/local/tomcat/webapps
bash-4.2# cd ../
bash-4.2# cp -r webapps.dist/* webapps/
bash-4.2# cd webapps
bash-4.2# ls -al
total 32
drwxr-xr-x 1 root root 4096 Feb 9 10:38 .
drwxr-xr-x 1 root root 4096 Feb 5 07:57 ..
drwxr-xr-x 3 root root 4096 Feb 9 10:38 ROOT
drwxr-xr-x 15 root root 4096 Feb 9 10:38 docs
drwxr-xr-x 7 root root 4096 Feb 9 10:38 examples
drwxr-xr-x 6 root root 4096 Feb 9 10:38 host-manager
drwxr-xr-x 6 root root 4096 Feb 9 10:38 manager
bash-4.2#
再次在浏览器中访问:
思考一个问题:
我们以后要部署项目,是不是每次部署都需要进入容器中?
如果可以在宿主机上,提供一个webapps目录的映射,映射到容器中,这样每次部署项目时,只需要在宿主机上的webapps目录上部署,然后自动同步到docker容器内部就好了。
-------------------------------------EOF-------------------------------------


 6万+
6万+

 被折叠的 条评论
为什么被折叠?
被折叠的 条评论
为什么被折叠?
 到【灌水乐园】发言


