


 本文详细介绍了如何在NestJS应用中创建验证管道,使用class-validator和class-transformer进行数据校验,以及如何在全局范围内注册和使用验证。包括创建验证管道、安装验证器、controller中的使用以及在main.ts中配置全局验证。
一、创建验证管道pipe
1、创建p模块
nest g res p2、创建验证管道
nest g pi p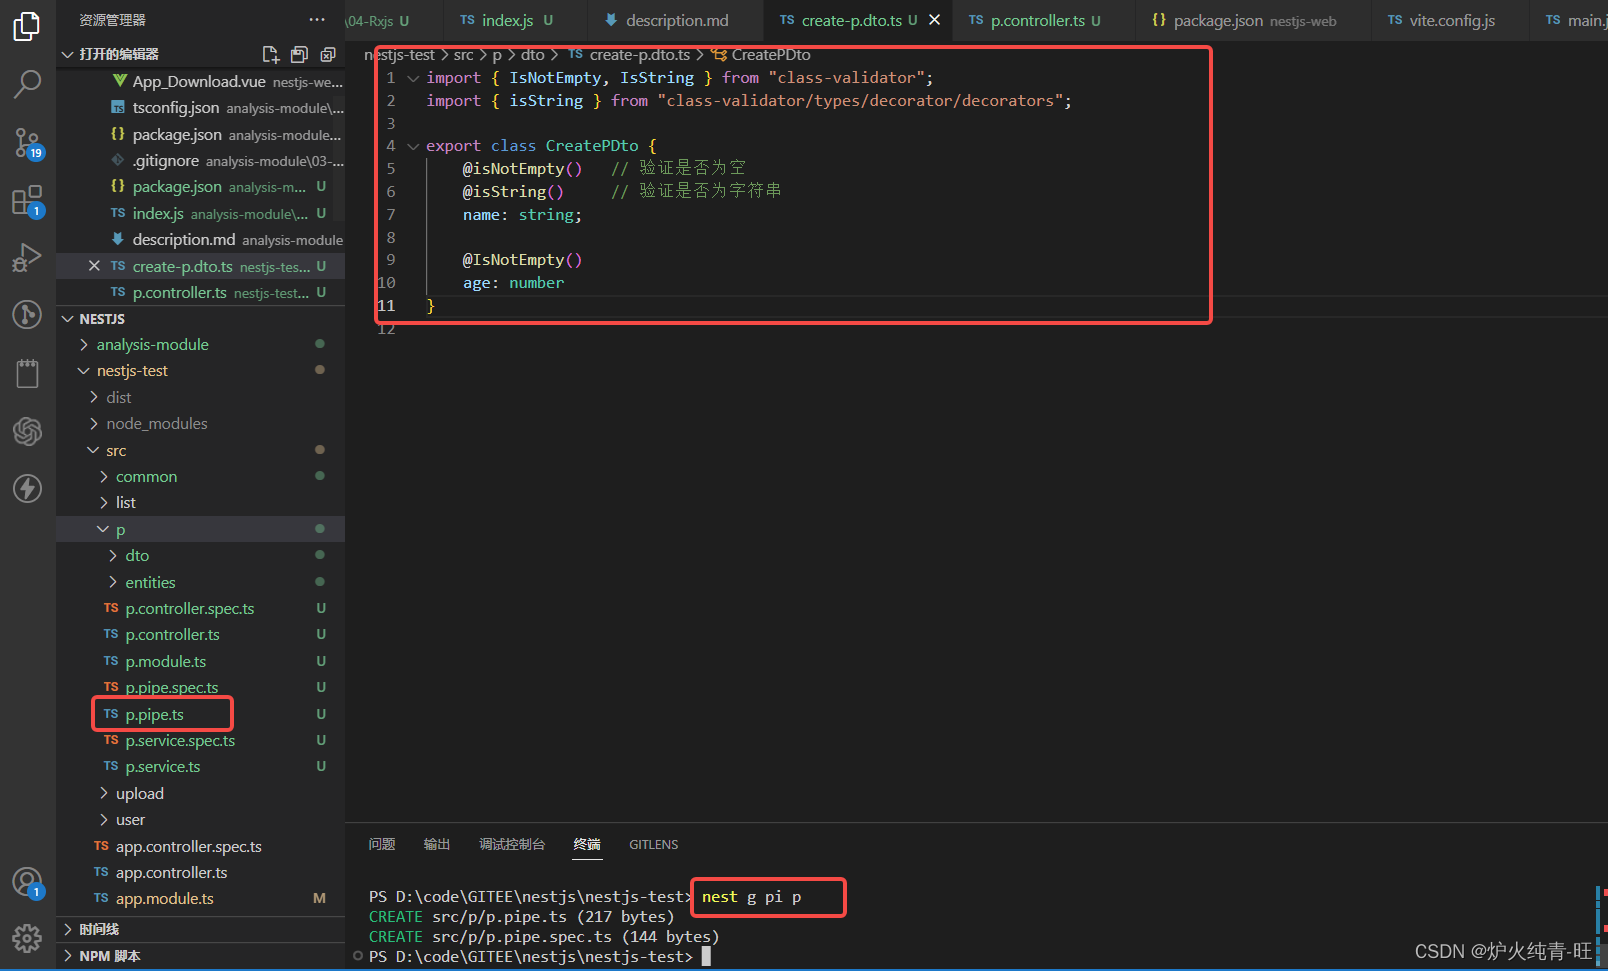
二、安装验证器
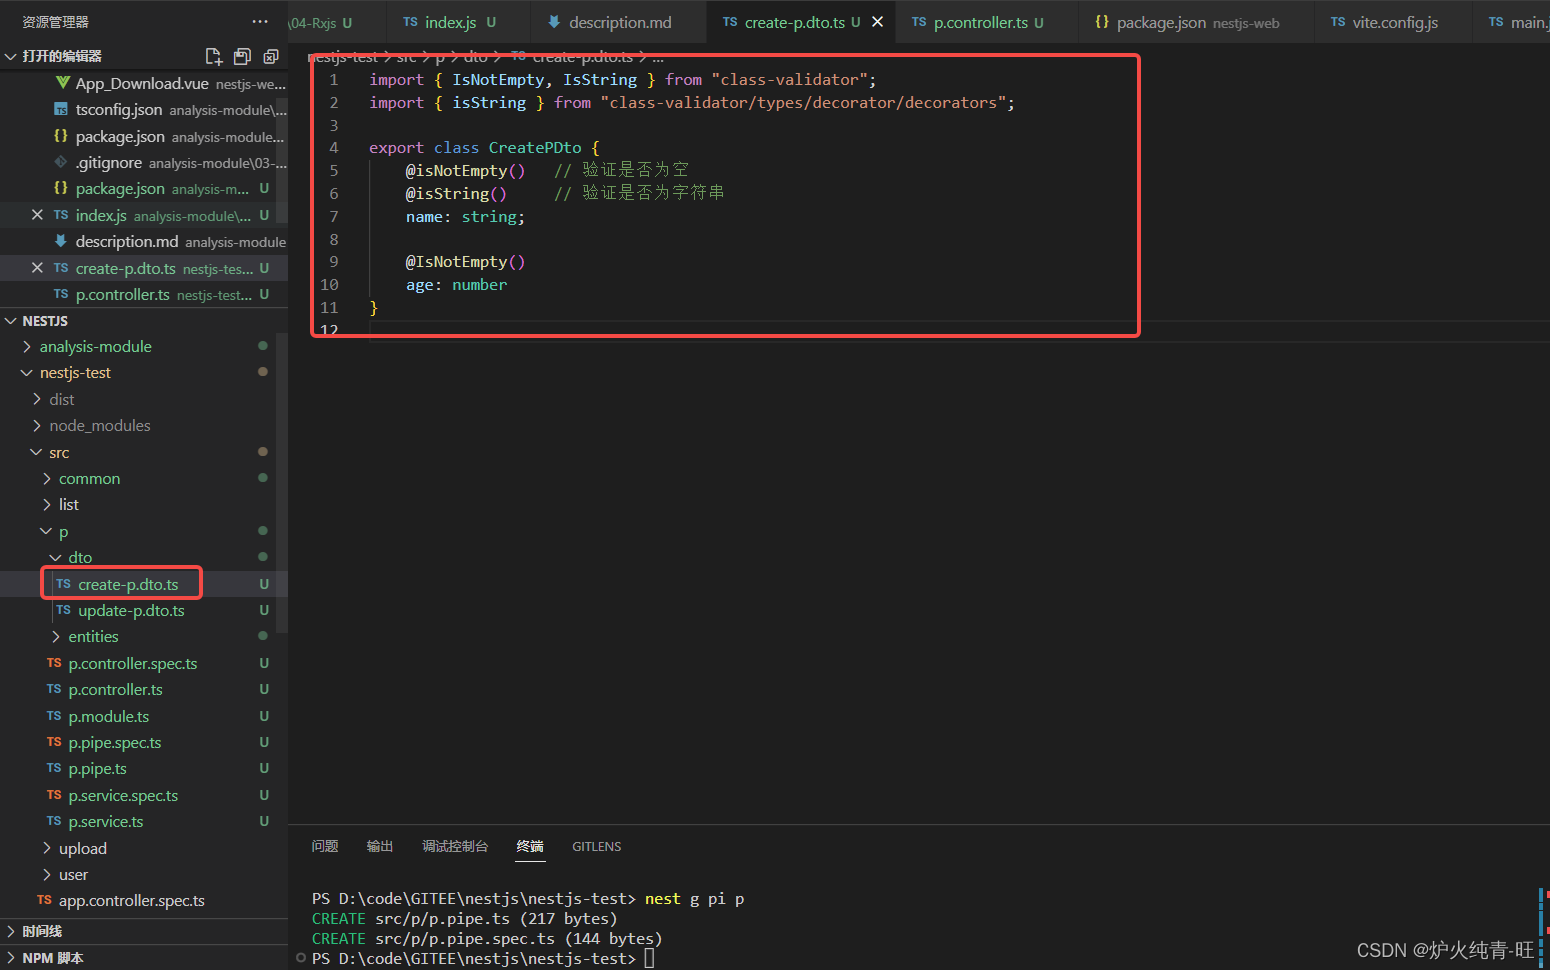
npm i --save class-validator class-transformer代码 :
import { IsNotEmpty, IsString } from "class-validator";
import { isString } from "class-validator/types/decorator/decorators";

export class CreatePDto {
    @isNotEmpty()   // 验证是否为空
    @isString()     // 验证是否为字符串
    name: string;

    @IsNotEmpty()
    age: number
}
截图:
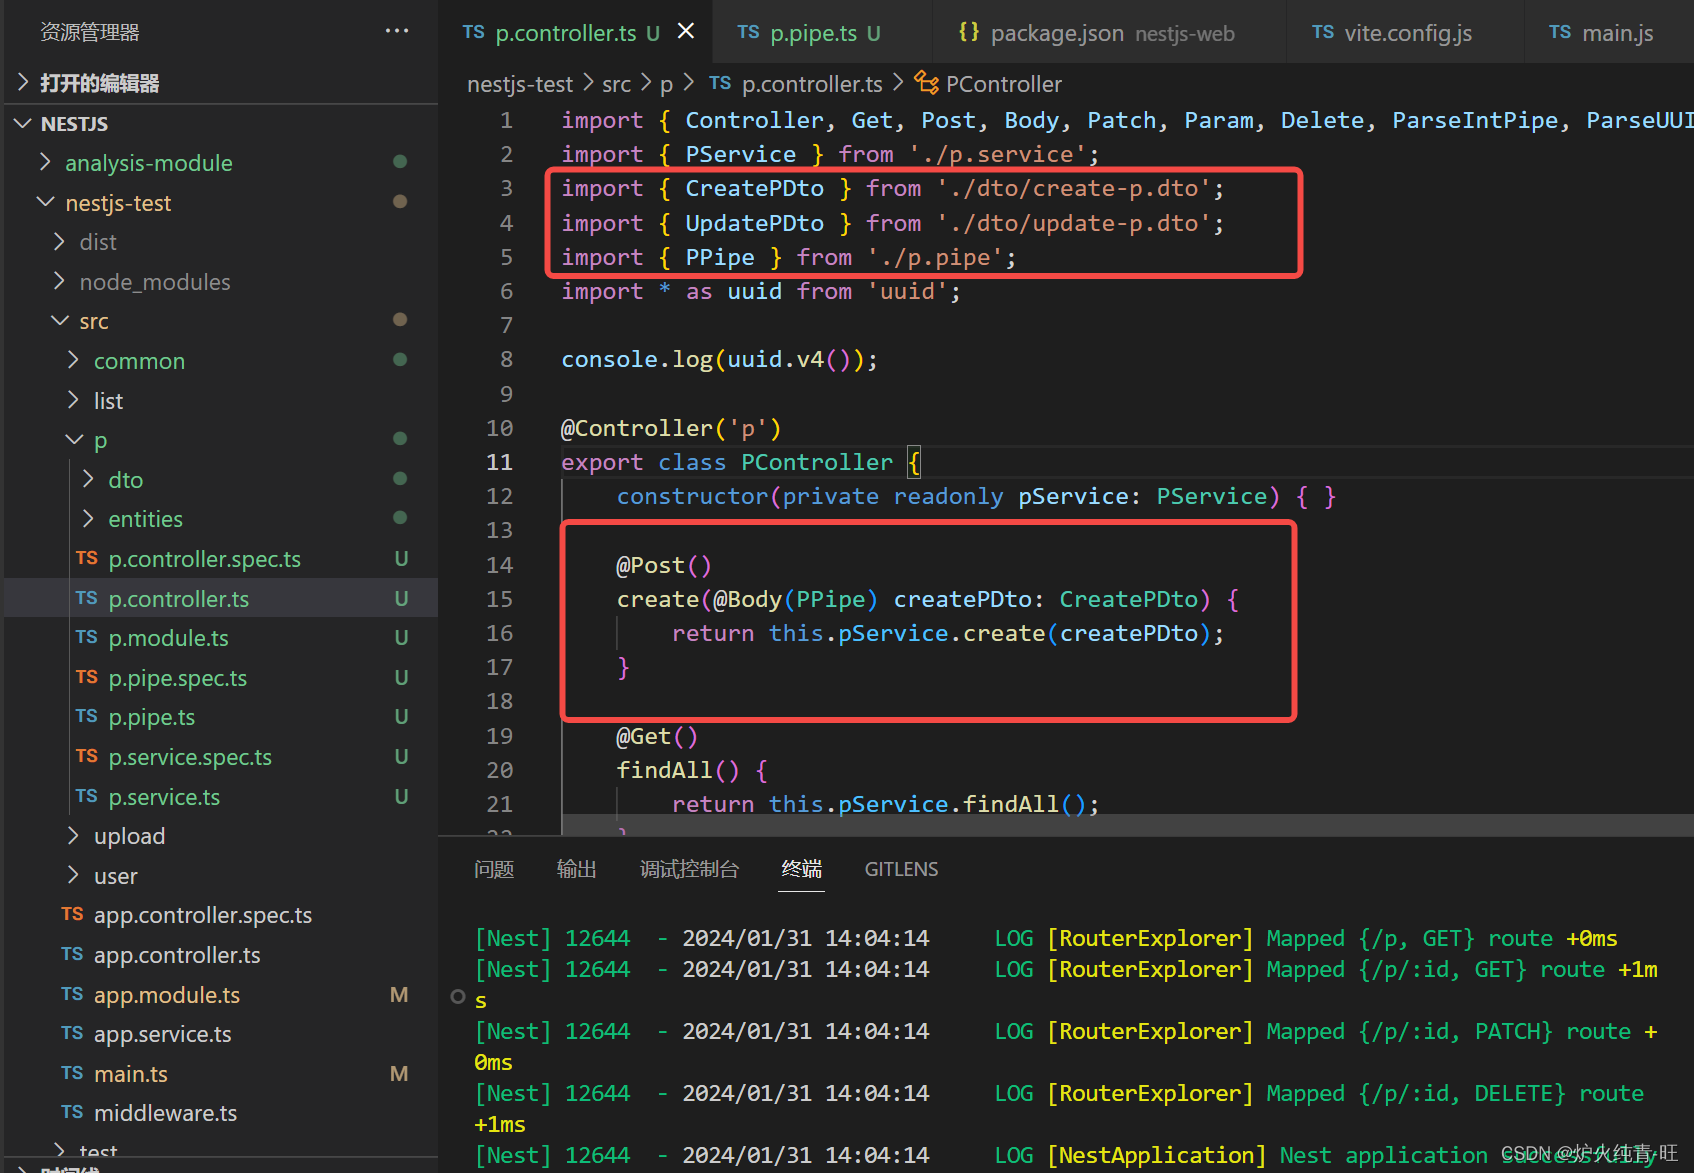
三、controller 使用管道
四、transform 实现验证
p.pipe.ts 文件 逻辑代码:
通过 validate 验证 DTO 返回一个promise 的错误信息
import { ArgumentMetadata, HttpException, HttpStatus, Injectable, PipeTransform } from '@nestjs/common';
import { plainToInstance } from 'class-transformer';
import { validate } from 'class-validator';

@Injectable()
export class PPipe implements PipeTransform {
    async transform(value: any, metadata: ArgumentMetadata) {
        const DTO = plainToInstance(metadata.metatype, value);

        const errors = await validate(DTO);
        if(errors.length > 0) {
            throw new HttpException(errors, HttpStatus.BAD_REQUEST);
        }
        return value;
    }
}

五、注册全局DTO验证管道
main.ts 文件添加一下内容:
import { VersioningType } from '@nestjs/common';

app.useGlobalPipes(new ValidationPipe());
import { VersioningType, ValidationPipe } from '@nestjs/common';
import { NestFactory } from '@nestjs/core';
import { AppModule } from './app.module';
import * as session from 'express-session';
import { NestExpressApplication } from '@nestjs/platform-express/interfaces';
import { join } from 'path';
async function bootstrap() {
const app = await NestFactory.create<NestExpressApplication>(AppModule);
app.useGlobalPipes(new ValidationPipe());
await app.listen(3000);
}
bootstrap();
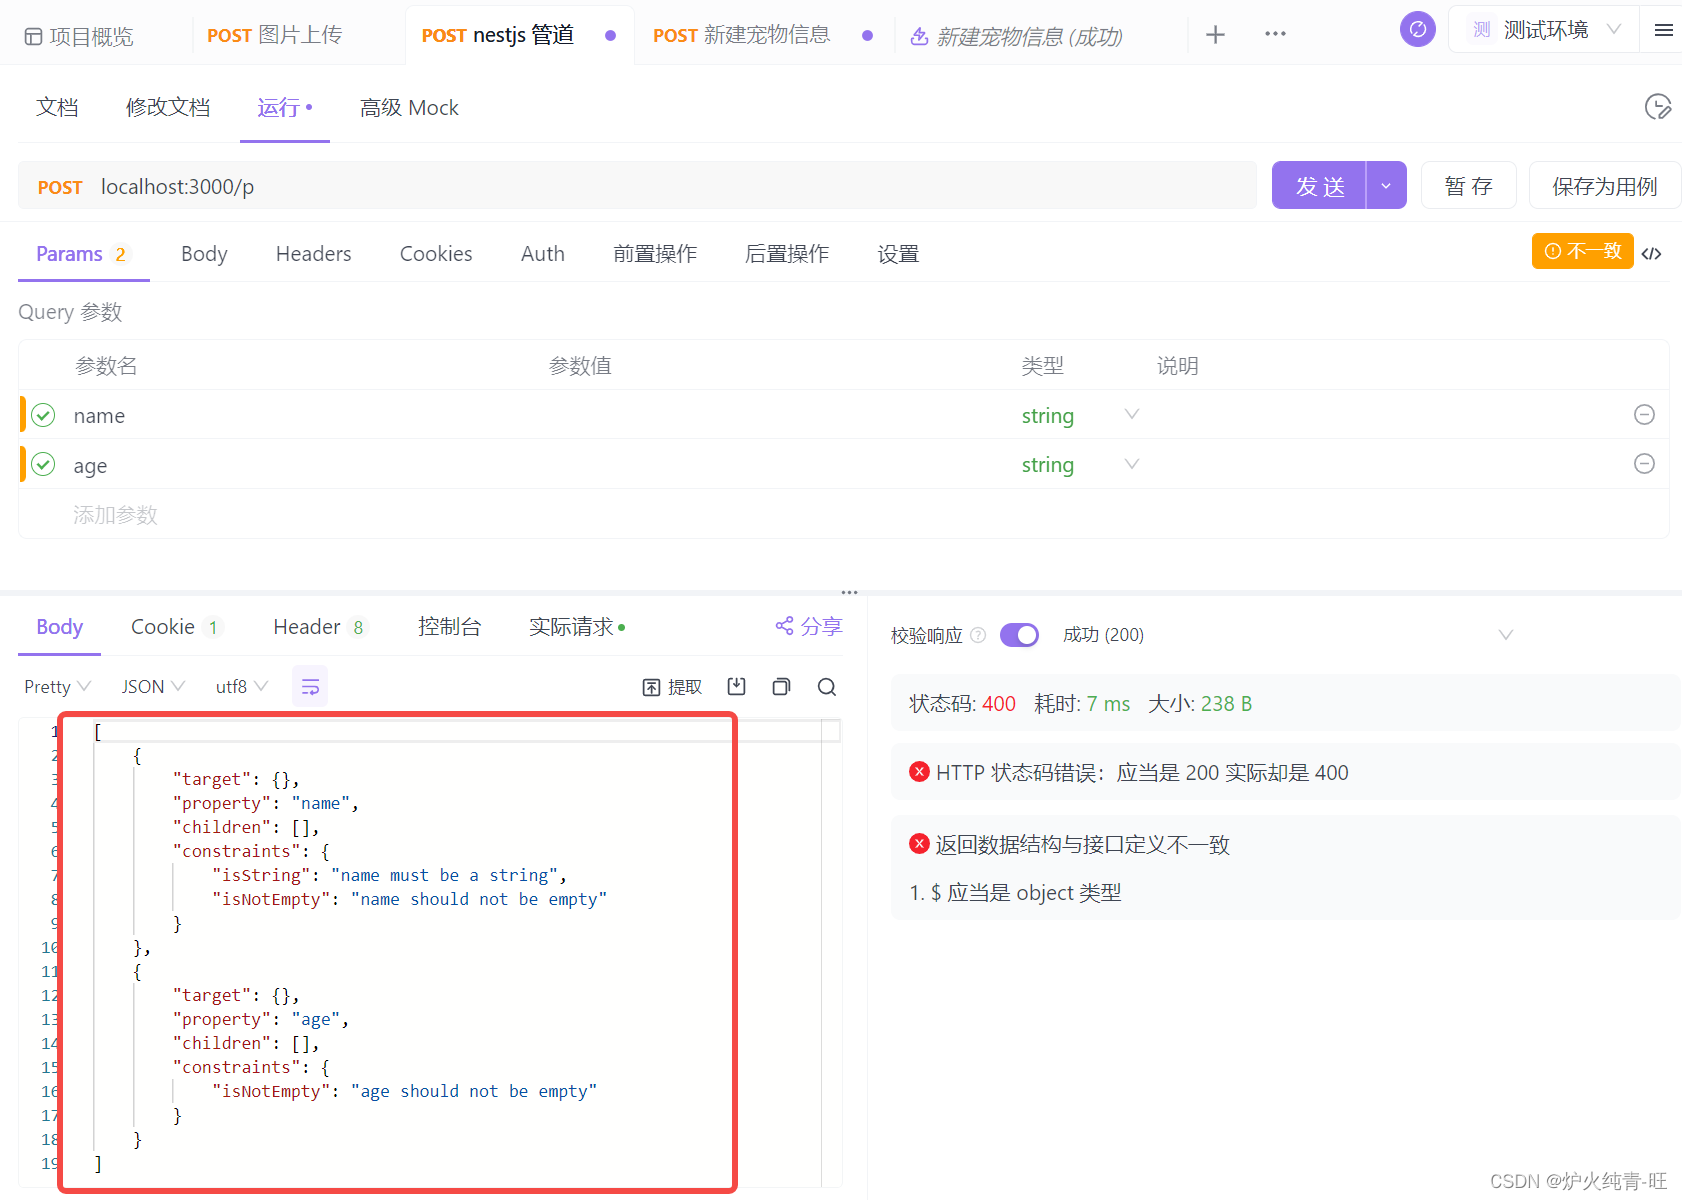
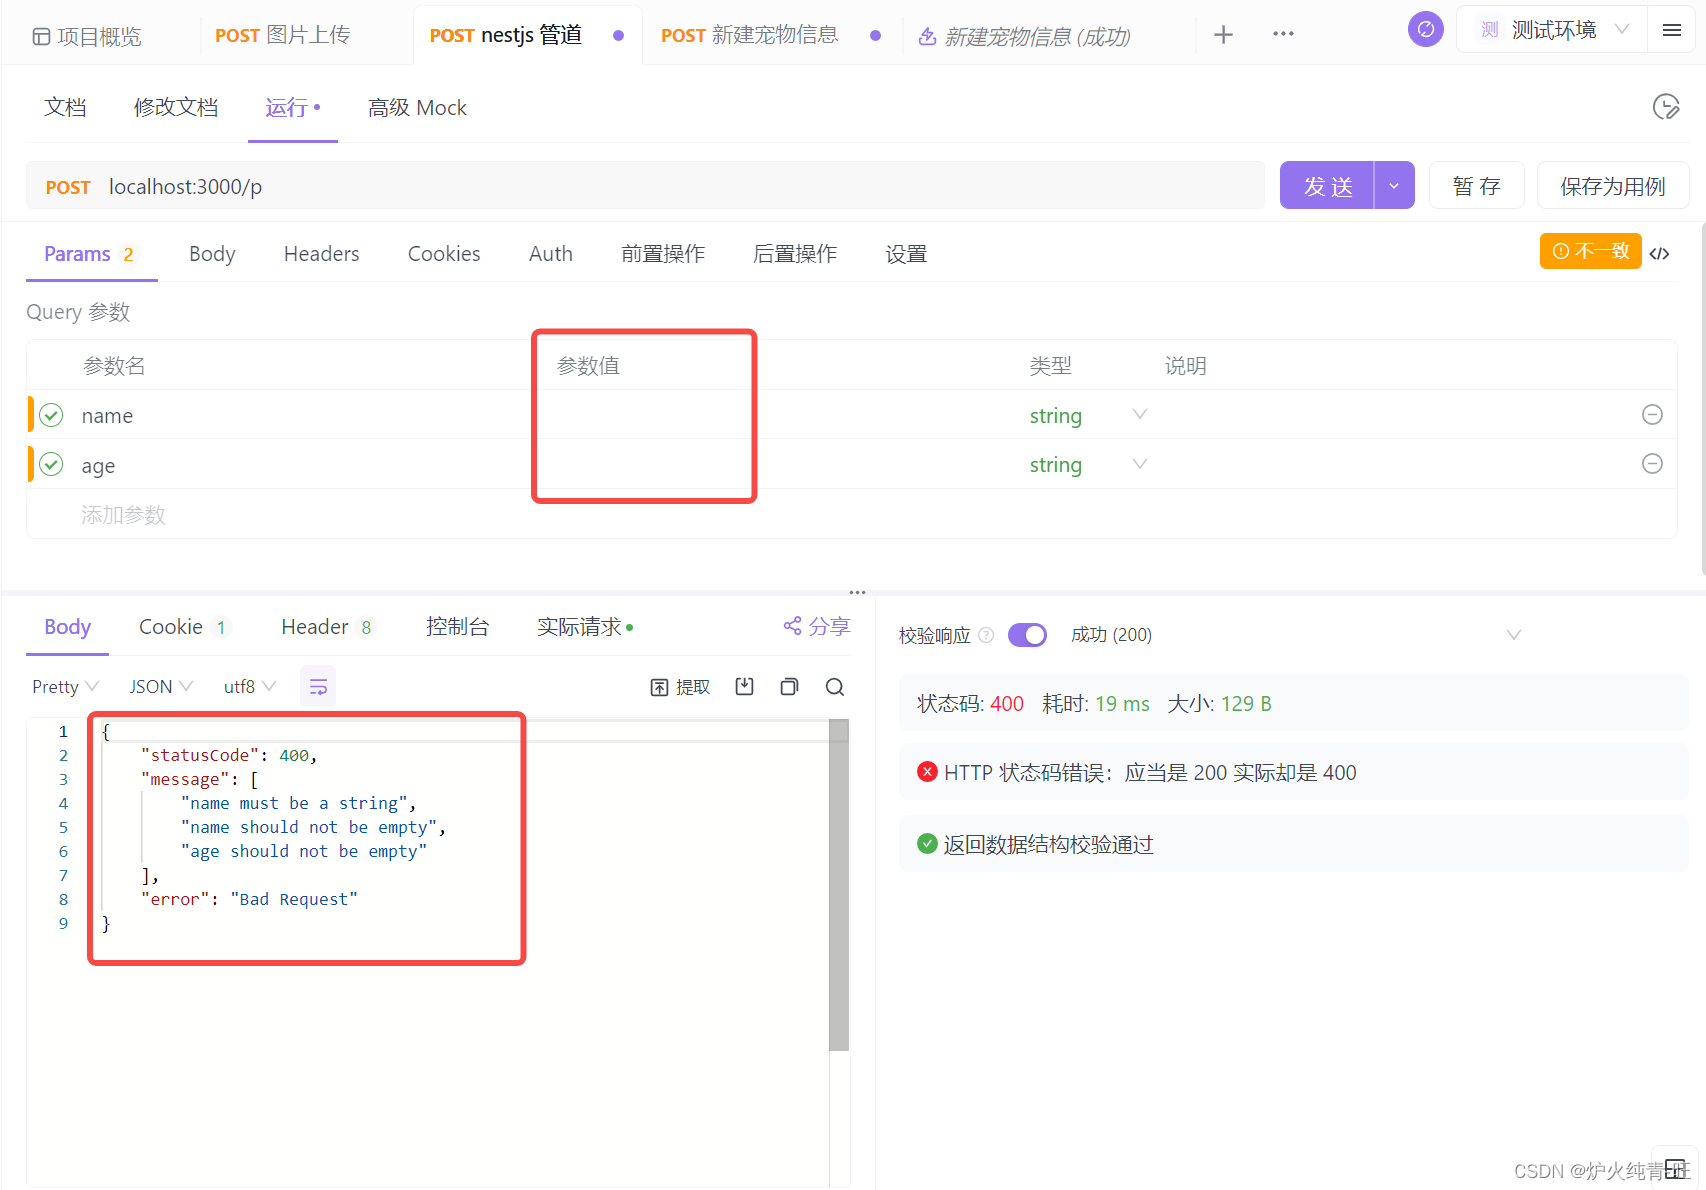
请求截图:


 2884
2884


 被折叠的 条评论
为什么被折叠?
被折叠的 条评论
为什么被折叠?
 到【灌水乐园】发言


