


工作中遇到了这样一个需求
需求:需要将一个自定义View或者自定义布局通过跨进程方式传递给第二个应用来展示,第一个应用负责布局的渲染,第二个应用不需要关心第一个应用的业务和实现,仅提供SurfaceView占位及展示
方案:调研后决定跨进程通过aidl来实现,数据则通过Surface来传递,由于aidl仅支持基本数据类型或者实现了Parcelable接口的类,Surface满足以上条件,并且xml布局可以通过inflate方式转换为bitmap,并且xml的易用性和可控性更高,同时Surface可以渲染xml转为的Bitmap,故选择Surface作为数据传递方式
技术方案已经确定,开干!
1.aidl开启
开启aidl的第一步,首先要在app目录下的build.gradle添加aidl的配置,添加完后别忘了还需要重新同步下项目
buildFeatures {
aidl = true
}
2.创建aidl文件
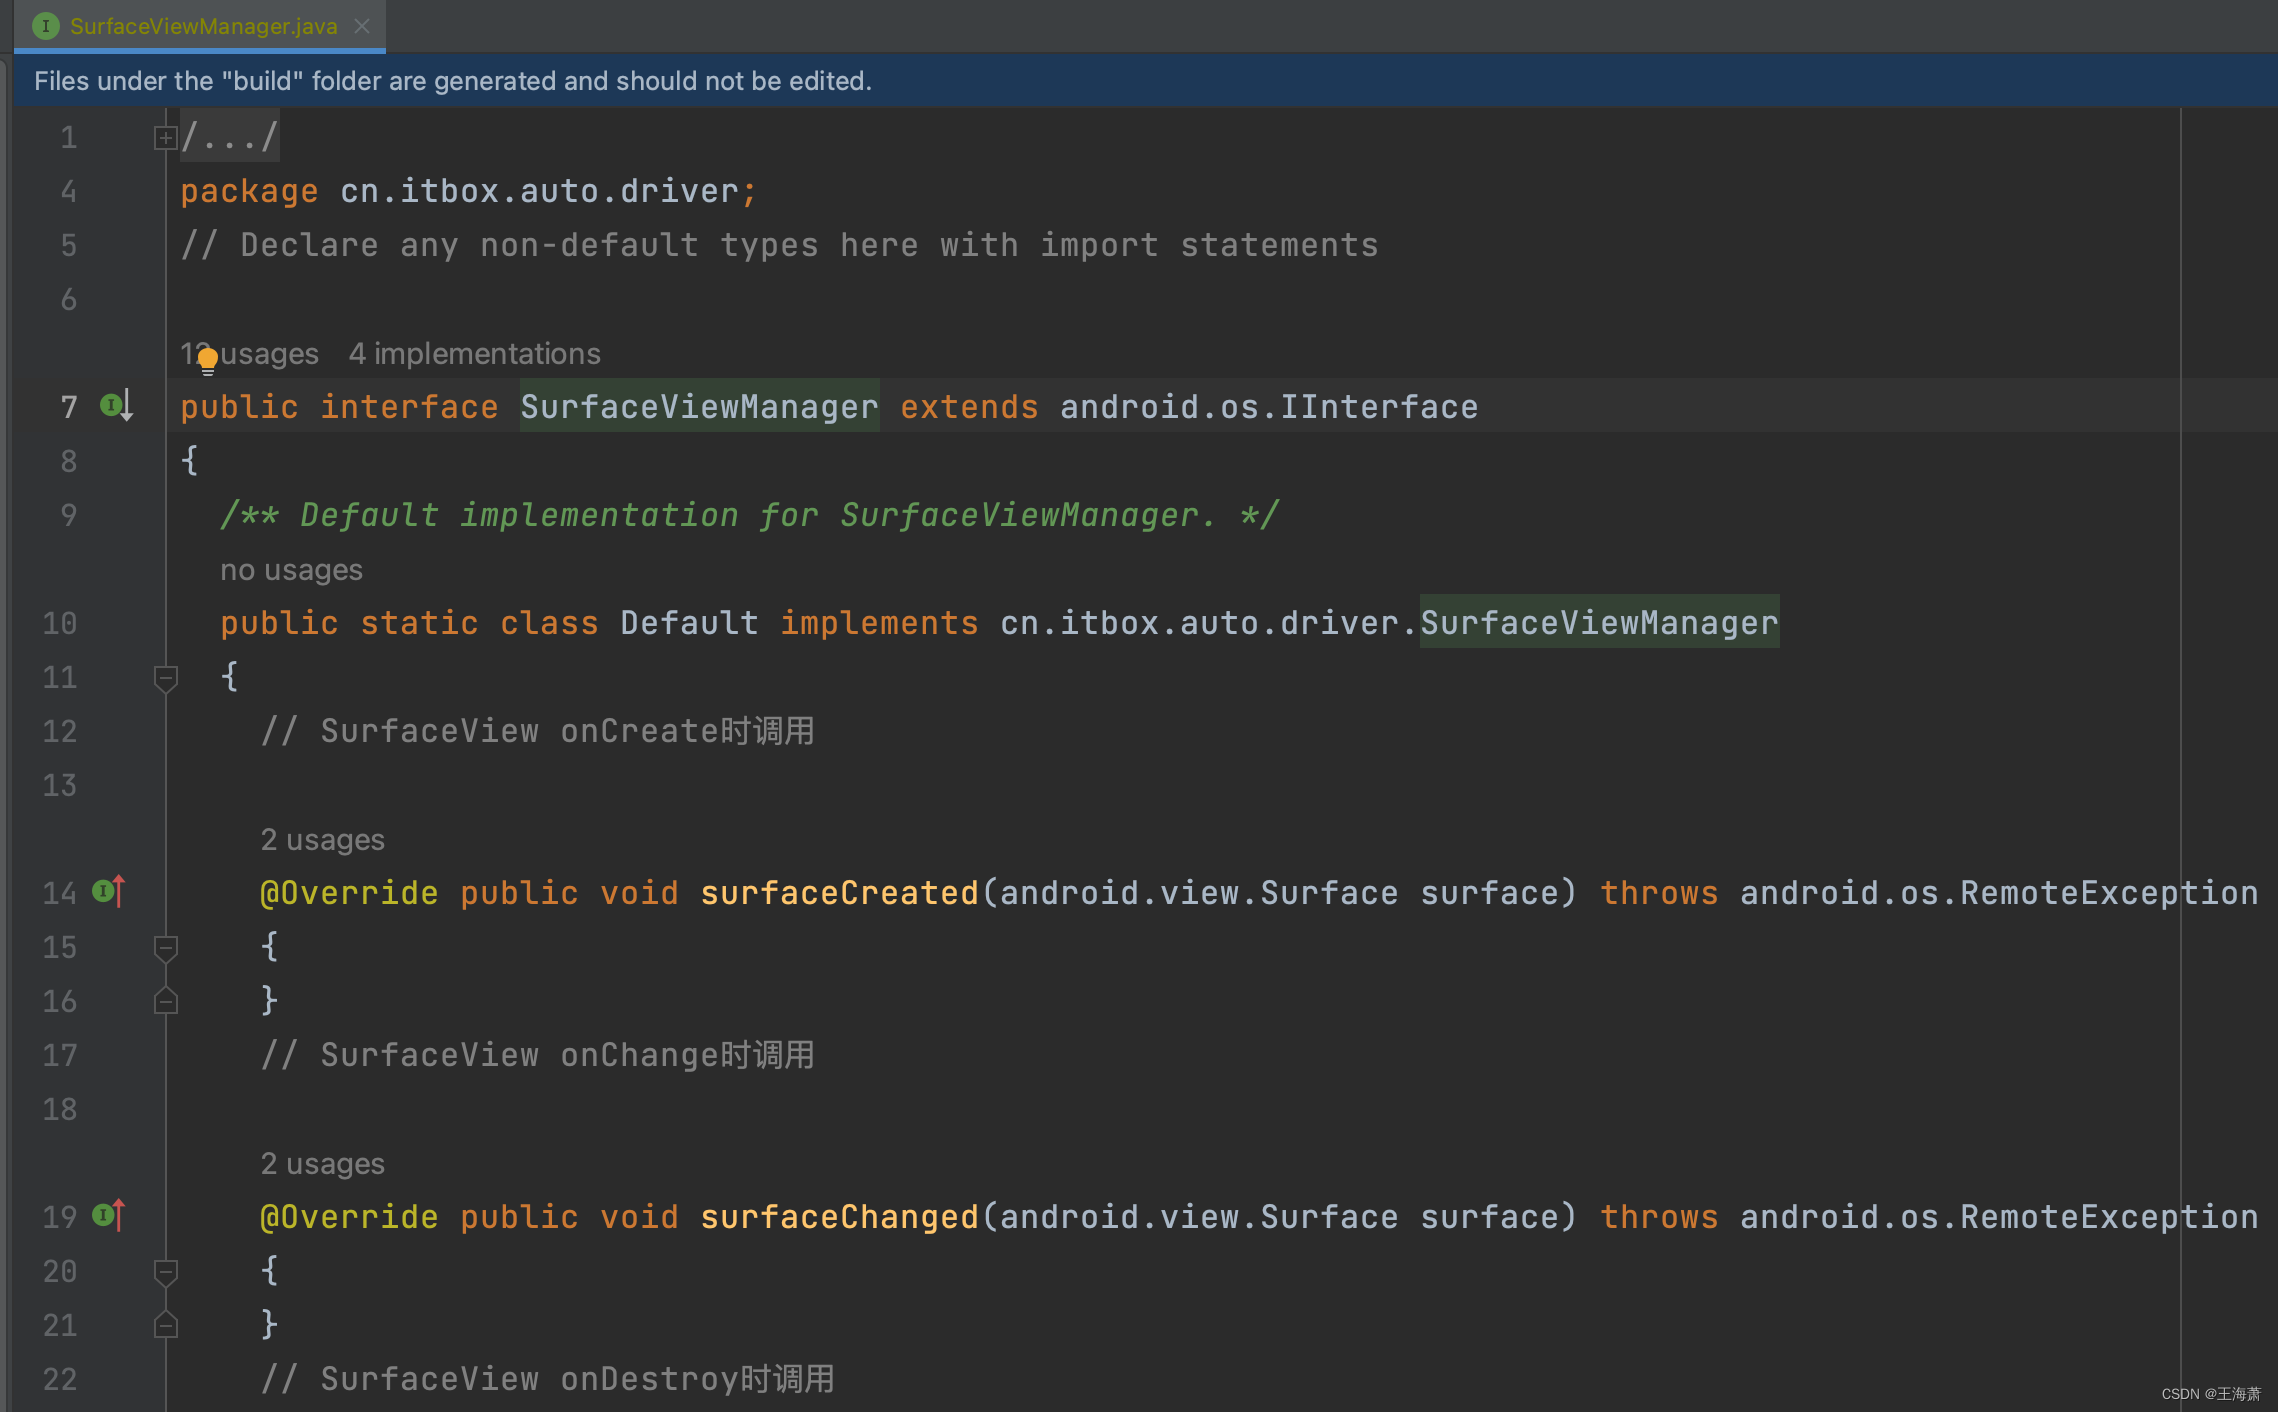
在AndroidStudio中在项目中右键可以看到创建aidl类型的文件,我们创建一个为SurfaceViewManager的aidl文件

创建后它会默认为我们生成一个专门的aidl目录
接下来,我们直接开始编辑所需要的方法
// SurfaceViewManager.aidl
package cn.itbox.auto.driver;

import android.view.Surface;
import android.view.MotionEvent;

// Declare any non-default types here with import statements

interface SurfaceViewManager {
    // SurfaceView onCreate时调用
    void surfaceCreated(in Surface surface);
    // SurfaceView onChange时调用
    void surfaceChanged(in Surface surface);
    // SurfaceView onDestroy时调用
    void surfaceDestroyed(in Surface surface);
    // 发送SurfaceView的Touch事件
    void sendTouchEvent(in MotionEvent event);
}
编写完后需要主动Make一下项目,这样才能为我们生成对应的java文件
3.Surface管理类和布局渲染
我们接下来就可以直接去实现这个接口对应的Stub,我们创建一个SurfaceManager去管理Surface的绘制过程(具体业务需要和自己的需求结合来实现),我这里是实现了两种xml布局的渲染,以及进度条刷新及展示
package cn.itbox.auto.driver.common.aidl

import android.graphics.Bitmap
import android.graphics.Canvas
import android.graphics.Paint
import android.graphics.PorterDuff
import android.graphics.Rect
import android.util.Log
import android.view.MotionEvent
import android.view.Surface
import android.view.View
import android.widget.ImageView
import android.widget.ProgressBar
import android.widget.TextView
import cn.itbox.auto.driver.R
import cn.itbox.auto.driver.SurfaceViewManager
import cn.itbox.auto.driver.app.DriverApplication.Companion.context
import cn.itbox.auto.driver.common.user.UserManager
import com.drake.interval.Interval
import org.xutils.common.util.LogUtil
import java.util.concurrent.TimeUnit

/**
 *  管理Surface跨端绘制
 *  @author wangzhe
 */
class SurfaceManager : SurfaceViewManager.Stub() {
    private var mCanvas: Canvas? = null
    private var mPaint: Paint? = null
    private var mSurface: Surface? = null
    private var homeView: View? = null
    private var naviView: View? = null
    private var progressBar: ProgressBar? = null
    private var ivCar: ImageView? = null
    private var ivLabel: ImageView? = null
    private var tvDriverName: TextView? = null
    private var progress = 0
    private val interval = Interval(1, TimeUnit.SECONDS).subscribe {
        LogUtil.i("progress : $progress")
        resetDrawNaviView()
        progress++
    }

    private fun resetDrawNaviView() {
        naviView = View.inflate(context, R.layout.small_widget_navi, null)
        tvDriverName = naviView?.findViewById(R.id.driverNameTextView)
        progressBar = naviView?.findViewById(R.id.naviProgressBar)
        ivCar = naviView?.findViewById(R.id.naviCarImageView)

        tvDriverName?.text = UserManager.driverInfo.name
        progressBar?.progress = progress
        ivCar?.x = 1000f * progress / 100
        draw(naviView)
    }

    override fun surfaceCreated(surface: Surface) {
        Log.i("SurfaceManager", "surfaceCreated: ")
        // 拿到客户端Surface
        mSurface = surface
        initView()
        //展示首页默认的布局样式
        draw(homeView)
    }

    private fun initView() {
        homeView = View.inflate(context, R.layout.small_widget_home, null)
        naviView = View.inflate(context, R.layout.small_widget_navi, null)
        progressBar = naviView?.findViewById(R.id.naviProgressBar)
        ivCar = naviView?.findViewById(R.id.naviCarImageView)
        ivLabel = naviView?.findViewById(R.id.labelImageView)
        tvDriverName = naviView?.findViewById(R.id.driverNameTextView)
        tvDriverName?.text = UserManager.driverInfo.name

    }

    override fun surfaceChanged(surface: Surface) {
        Log.i("SurfaceManager", "surfaceChanged: ")
    }

    override fun surfaceDestroyed(surface: Surface) {
        Log.i("SurfaceManager", "surfaceDestroyed: ")
    }

    //    @Override
    override fun sendTouchEvent(event: MotionEvent) {
        when (event.action) {
            MotionEvent.ACTION_DOWN -> {
            }

            MotionEvent.ACTION_MOVE -> {
            }

            MotionEvent.ACTION_UP -> {
                interval.start()
            }
        }
        LogUtil.i("摸到服务端的SurfaceView了" + event.action);
    }

    private fun draw(view: View?) {
        try {
            mPaint = Paint()
            val rect = Rect(0, 0, 2020, 1000)
            //获得canvas对象
            mCanvas = mSurface?.lockCanvas(rect)
            view?.measure(
                View.MeasureSpec.makeMeasureSpec(2000, View.MeasureSpec.AT_MOST),
                View.MeasureSpec.makeMeasureSpec(1280, View.MeasureSpec.AT_MOST)
            )
            val bitmap = Bitmap.createBitmap(1500, 1500, Bitmap.Config.ARGB_8888)
            val canvas = Canvas(bitmap)
            canvas.drawColor(0, PorterDuff.Mode.CLEAR)
            view?.layout(0, 0, 1500, 1000)
            view?.draw(canvas)
            mCanvas?.drawBitmap(bitmap, 0f, 0f, null)
        } catch (e: Exception) {
            e.printStackTrace()
        } finally {
            if (mCanvas != null) {
                //释放canvas对象并提交画布
                mSurface?.unlockCanvasAndPost(mCanvas)
                mCanvas = null
            }
            if (progress >= 100) {
                progress = 0
                interval.cancel()
            } else {
                progress++
            }
        }
    }
}
上述代码中,我们通过外部传入的Surface获取到Canvas(画布)对象,然后将xml进行inflate(充气),最后将inflate的布局转为bitmap渲染到Canvas中
4.Service创建
由于我们自身的项目是作为布局的提供者,建议是作为服务端来实现,因此我们这里要新建一个Service提供给其他应用来进行绑定
package cn.itbox.auto.driver.common.aidl

import android.app.Service
import android.content.Intent
import android.os.IBinder
import org.xutils.common.util.LogUtil

class SurfaceViewService : Service() {
    override fun onBind(intent: Intent): IBinder {
        // 将SurfaceManager作为Binder返回。
        return SurfaceManager().asBinder()
    }

    override fun onCreate() {
        LogUtil.e("onCreate")
        super.onCreate()
    }

    override fun onUnbind(intent: Intent?): Boolean {
        LogUtil.e("onUnbind")
        return super.onUnbind(intent)
    }

}
同时,不要忘了Service需要在清单文件中注册,需要注意的是exported要设置为true,不然其他应用会访问不到
<service
            android:name=".common.aidl.SurfaceViewService"
            android:exported="true" />
上述就是实现aidl服务端(提供Surface)以及渲染的全部代码了,接下来,我们可以自己实现一个客户端来进行自测
5.客户端(接收方)实现aidl
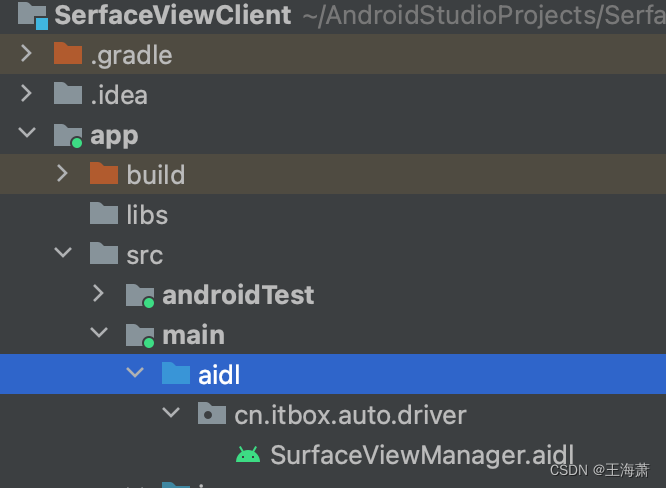
aidl要求文件名、文件路径、方法名在两个进程中必须完全一致,因此我们直接复制服务端的aidl文件过来即可,注意文件目录要保持一致(否则项目访问不到会崩溃)
接下来,直接去绑定服务端的Service即可,此过程不过多赘述
package cn.itbox.auto.test.serfaceviewclient;

import android.annotation.SuppressLint;
import android.app.Activity;
import android.content.ComponentName;
import android.content.Context;
import android.content.Intent;
import android.content.ServiceConnection;
import android.os.Bundle;
import android.os.IBinder;
import android.os.RemoteException;
import android.util.Log;
import android.view.MotionEvent;
import android.view.SurfaceHolder;
import android.view.SurfaceView;
import android.view.View;
import android.widget.Button;

import cn.itbox.auto.driver.SurfaceViewManager;

public class MainActivity extends Activity implements View.OnClickListener, SurfaceHolder.Callback, SurfaceView.OnTouchListener {

    Button bindServiceBt;
    Button createSurfaceBt;
    SurfaceView surfaceView;
    SurfaceViewManager manager;

    @Override
    protected void onCreate(Bundle savedInstanceState) {
        super.onCreate(savedInstanceState);
        setContentView(R.layout.activity_main);
        initView();
    }

    @SuppressLint("ClickableViewAccessibility")
    private void initView() {
        bindServiceBt = findViewById(R.id.bind_service);
        createSurfaceBt = findViewById(R.id.create_surface);
        surfaceView = findViewById(R.id.surface);
        bindServiceBt.setOnClickListener(this);
        createSurfaceBt.setOnClickListener(this);
        surfaceView.getHolder().addCallback(this);
        surfaceView.setClickable(true);
        surfaceView.setOnTouchListener(this);
    }

    @Override
    public void onClick(View view) {
        if (view.getId() == R.id.bind_service) {
            // 绑定service
            Intent intent = new Intent();
            intent.setClassName("cn.itbox.auto.driver", "cn.itbox.auto.driver.common.aidl.SurfaceViewService");
            bindService(intent, serviceConn, Context.BIND_AUTO_CREATE);
        } else if (view.getId() == R.id.create_surface) {
            // 将SurfaceView设为可见,这也是SurfaceView生命周期的开始。
            surfaceView.setVisibility(View.VISIBLE);
        }
    }

    ServiceConnection serviceConn = new ServiceConnection() {
        @Override
        public void onServiceConnected(ComponentName componentName, IBinder iBinder) {
            Log.e("MainActivity", "onServiceConnected: success");
            // 连接成功后拿到管理器
            manager = SurfaceViewManager.Stub.asInterface(iBinder);
        }

        @Override
        public void onServiceDisconnected(ComponentName componentName) {

        }
    };

    /**
     * 将SurfaceView的生命周期对应时间点完成绘制
     */
    @Override
    public void surfaceCreated(SurfaceHolder surfaceHolder) {
        try {
            if (manager != null)
                manager.surfaceCreated(surfaceHolder.getSurface());
        } catch (RemoteException e) {
            e.printStackTrace();
        }
    }

    @Override
    public void surfaceChanged(SurfaceHolder surfaceHolder, int i, int i1, int i2) {
        try {
            if (manager != null)
                manager.surfaceChanged(surfaceHolder.getSurface());
        } catch (RemoteException e) {
            e.printStackTrace();
        }
    }

    @Override
    public void surfaceDestroyed(SurfaceHolder surfaceHolder) {
        try {
            if (manager != null)
                manager.surfaceDestroyed(surfaceHolder.getSurface());
        } catch (RemoteException e) {
            e.printStackTrace();
        }
    }

    /**
     * 将SurfaceView的Touch事件传递给Service处理
     */
    @Override
    public boolean onTouch(View view, MotionEvent motionEvent) {
        try {
            if (manager != null)
                manager.sendTouchEvent(motionEvent);
        } catch (RemoteException e) {
            e.printStackTrace();
        }
        return false;
    }
}
布局也很简单,跨进程渲染的内容通过SurfaceView来展示
<?xml version="1.0" encoding="utf-8"?>
<LinearLayout xmlns:android="http://schemas.android.com/apk/res/android"
    xmlns:tools="http://schemas.android.com/tools"
    android:layout_width="match_parent"
    android:layout_height="match_parent"
    android:orientation="vertical"
    tools:context=".MainActivity">

    <SurfaceView
        android:id="@+id/surface"
        android:layout_width="match_parent"
        android:layout_height="350dp"
        android:visibility="gone" />

    <Button
        android:id="@+id/bind_service"
        android:layout_width="wrap_content"
        android:layout_height="wrap_content"
        android:text="连接服务!" />

    <Button
        android:id="@+id/create_surface"
        android:layout_width="wrap_content"
        android:layout_height="wrap_content"
        android:text="Surface created!" />

</LinearLayout>
至此,aidl传递客户端和服务端的全部实现完毕,开发者优先开启服务端后再开启客户端实现数据传递和展示自测
参考文献:Android Surface的跨进程绘制_surfaceview跨进程-CSDN博客
最后,原创不易希望大家能多点赞收藏支持,有什么不懂的也可以底下留言评论探讨


 325
325

 被折叠的 条评论
为什么被折叠?
被折叠的 条评论
为什么被折叠?
 到【灌水乐园】发言


