


开发环境集成(2中方式)
一.Gradle (推荐)
使用以下代码示例将Maven存储库的URL和ArcGIS Runtime SDK for Android依赖项添加到项目中。Esri的存储库不是开源的,所以你必须指定一个URL
在项目的build.grade:
allprojects {
    repositories {
        google()
        jcenter()

        // Add the following ArcGIS repository
        maven {
            url 'https://esri.bintray.com/arcgis'
        }
    }
}
2.添加依赖
 // Add ArcGIS Runtime SDK for Android dependency
    implementation 'com.esri.arcgis.android:arcgis-android:10.2.9'
3.应用程序模块build.gradle文件,在android块内
packagingOptions {
    exclude 'META-INF/LGPL2.1'
    exclude 'META-INF/LICENSE'
    exclude 'META-INF/NOTICE'
}
4.添加权限
  <uses-feature
        android:glEsVersion="0x00020000"
        android:required="true" />

    <uses-permission android:name="android.permission.INTERNET" />
    <uses-permission android:name="android.permission.WRITE_EXTERNAL_STORAGE" />
    <uses-permission android:name="android.permission.ACCESS_FINE_LOCATION" />
二.集成方式二:下载sdk
三.入门案例
布局文件:
<?xml version="1.0" encoding="utf-8"?>
<android.support.constraint.ConstraintLayout xmlns:android="http://schemas.android.com/apk/res/android"
    xmlns:tools="http://schemas.android.com/tools"
    android:layout_width="match_parent"
    android:layout_height="match_parent"
    tools:context="com.example.administrator.arcgis1029.Main2Activity">

    <com.esri.android.map.MapView
        android:id="@+id/mapview"
        android:layout_width="match_parent"
        android:layout_height="match_parent">
    </com.esri.android.map.MapView>

</android.support.constraint.ConstraintLayout>
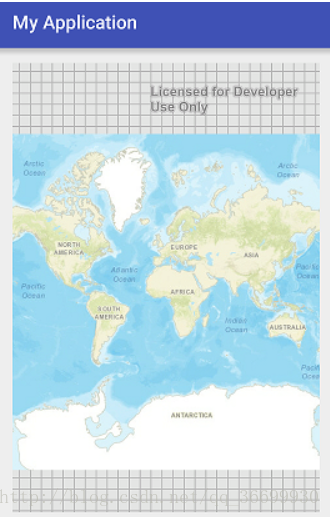
在MainActivity中获取控件,并添加一个开放的网络图层。利用ArcGISTiledMapServiceLayer图层添加。
public class Main2Activity extends AppCompatActivity {

    private MapView mMapView;

    private String mapServerUrl = "http://services.arcgisonline.com/ArcGIS/rest/services/World_Street_Map/MapServer";
    //private String mapServerUrl = "http://192.168.1.228:6080/arcgis/rest/services/jcsj/dzdt/MapServer";

    @Override
    protected void onCreate(Bundle savedInstanceState) {
        super.onCreate(savedInstanceState);
        setContentView(R.layout.activity_main2);

        mMapView = (MapView) findViewById(R.id.mapview);

        ArcGISTiledMapServiceLayer arcGISTiledMapServiceLayer = new ArcGISTiledMapServiceLayer(mapServerUrl);
        mMapView.addLayer(arcGISTiledMapServiceLayer);
    }

    protected void onResume() {
        super.onResume();
        mMapView.unpause();
    }

    @Override
    protected void onPause() {
        super.onPause();
        mMapView.pause();
    }
}
运行项目,效果图如下:
也可以在布局文件中直接指定位置:
<com.esri.android.map.MapView
  android:id="@+id/map"
  android:layout_width="fill_parent"
  android:layout_height="fill_parent"
  mapoptions.MapType="Streets"
  mapoptions.center="34.056215, -117.195668"
  mapoptions.ZoomLevel="16">
</com.esri.android.map.MapView>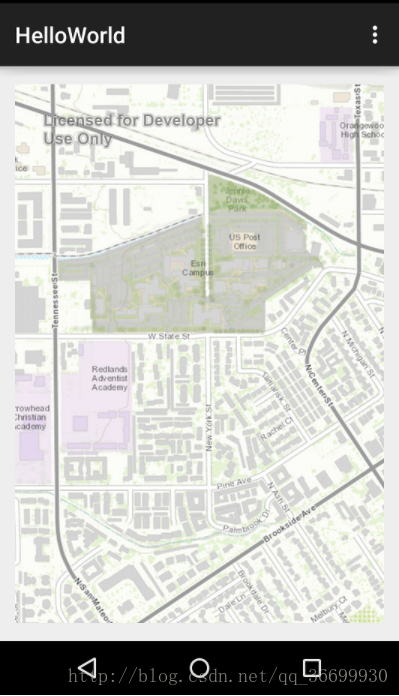


 241
241


 被折叠的 条评论
为什么被折叠?
被折叠的 条评论
为什么被折叠?
 到【灌水乐园】发言


