


树莓派3B+ 安装系统
系统镜像下载
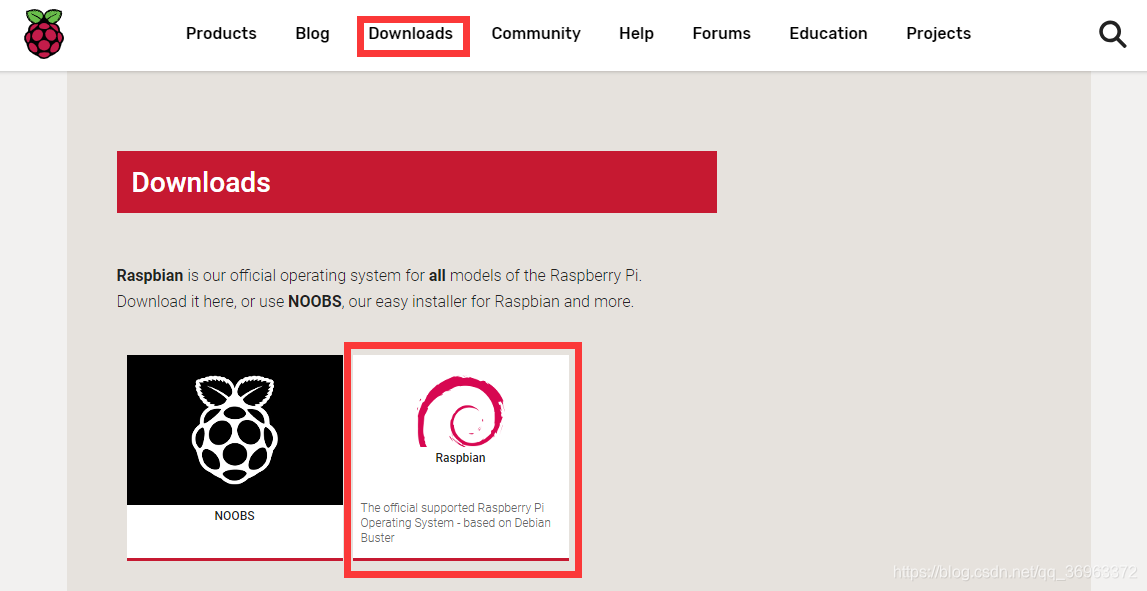
树莓派官方镜像下载地址:自行百度,官方网站首页,点击Downloads
安装镜像
- 准备一张8G以上的内存卡,推荐16G以上。
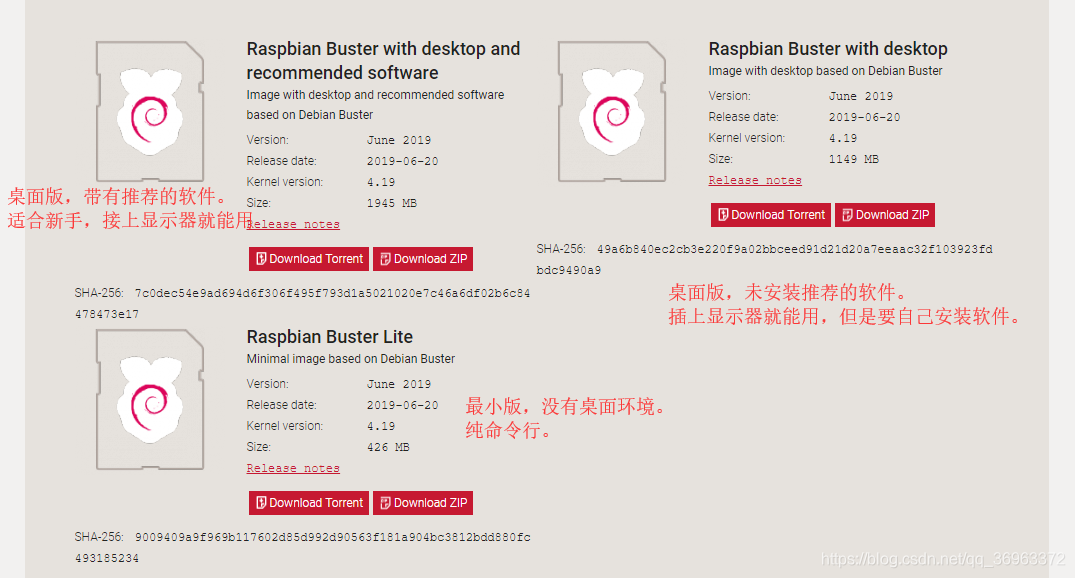
- 下载系统制作软件etcher,将下载到的img镜像写入到内存卡中(可以不用解压系统的zip压缩包)。
下载地址:https://www.balena.io/etcher/
配置基本环境
配置WiFi连接
- 将刷好系统的内存卡插入到Linux系统的电脑中,在 /etc/wpa_supplicant/wpa_supplicant.conf 文件中写入WiFi连接信息
network={
	ssid="WiFi名称1"
	psk="WiFi密码1"
}

network={
	ssid="WiFi名称2"
	psk="WiFi密码2"
}
修改镜像源
经过大量时间的使用,发现国内还是清华大学的镜像源更加稳定快速。
- 修改 /etc/apt/sources.list
# 将原有的镜像地址使用 # 号注释掉
# 复制原有的内容,将链接替换成 http://mirrors.tuna.tsinghua.edu.cn/raspbian/raspbian/

# deb http://raspbian.raspberrypi.org/raspbian/ buster main contrib non-free rpi
# Uncomment line below then 'apt-get update' to enable 'apt-get source'
# deb-src http://raspbian.raspberrypi.org/raspbian/ buster main contrib non-free rpi

deb http://mirrors.tuna.tsinghua.edu.cn/raspbian/raspbian/ buster main non-free contrib rpi
deb-src http://mirrors.tuna.tsinghua.edu.cn/raspbian/raspbian/ buster main non-free contrib rpi
- 修改 /etc/apt/sources.list.d/raspi.list
这个文件是备份的镜像源,用于更新树莓派内置的office、IDE等实用桌面软件。
# 将原有的镜像地址使用 # 号注释掉
# deb http://archive.raspberrypi.org/debian/ buster main
# Uncomment line below then 'apt-get update' to enable 'apt-get source'
#deb-src http://archive.raspberrypi.org/debian/ buster main
deb http://mirrors.tuna.tsinghua.edu.cn/raspberrypi/ buster main ui
刷新软件列表,更新系统组件
将内存卡插入到树莓派中,开机启动。
打开终端,输入:
sudo apt-get update

sudo apt-get upgrade
安装pip3并设置国内pip源
安装pip3
sudo apt install python3-pip
更新pip3
pip3 install -i https://pypi.tuna.tsinghua.edu.cn/simple pip3 -U
设置清华pip源
pip3 config set global.index-url https://pypi.tuna.tsinghua.edu.cn/simple
总结
网上有很多更换镜像源的方法,但是大都不全面,可能自己都没试过。
- 软件源地址中的 buster 是系统的Codename,和系统是相对应的。
- 在终端中执行 lab_release 命令,可以查看系统的Codename
启动后记得开启SSH
sudo raspi-config


 9275
9275

 被折叠的 条评论
为什么被折叠?
被折叠的 条评论
为什么被折叠?
 到【灌水乐园】发言


