


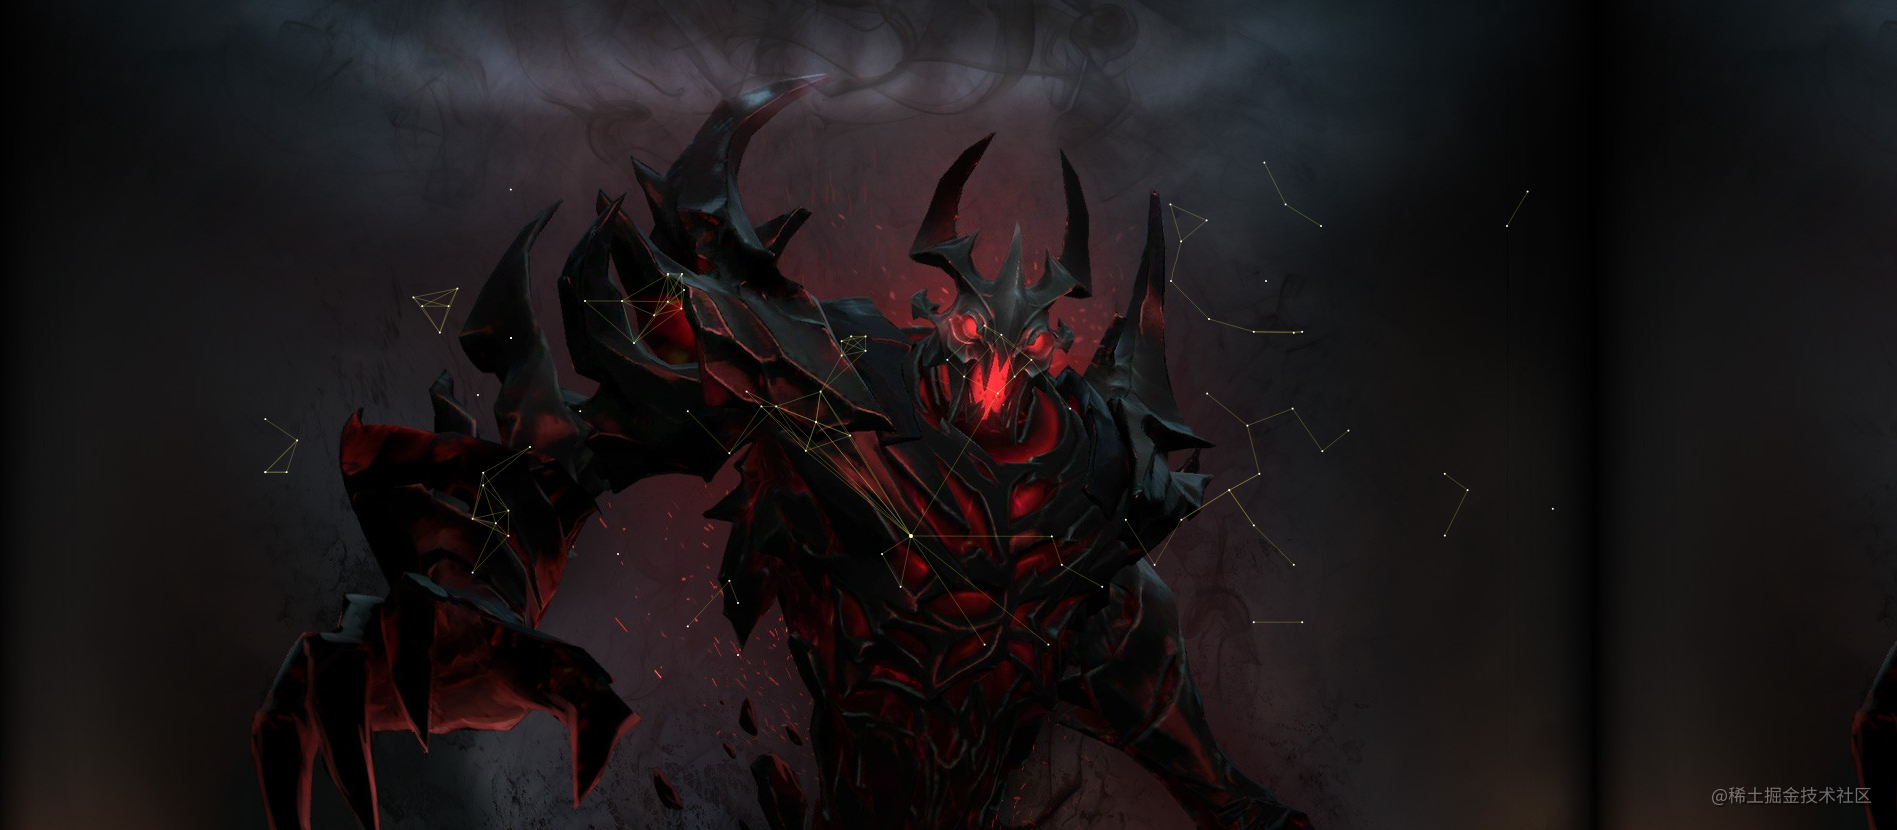
效果图
一个星星的实现
对视口进行处理:
// 获取视口的宽
var width = document.documentElement.clientWidth;
// 获取视口的高
var height = document.documentElement.clientHeight;
对canvas处理:
// 获取canvas
var canvas = document.getElementById("myCanvas");
// 获取画笔
var ctx = canvas.getContext("2d");
// 赋值canvas的宽
canvas.width = width;
// 赋值canvas的高
canvas.height = height;
// 改变填充色
ctx.fillStyle = "white";
处理星星:
// 定义星星x值
var x = parseInt(Math.random() * width);
// 定义星星y值
var y = parseInt(Math.random() * height);
// 星星移动速度的x方向
var x_speed = .6;
// 星星移动速度的y方向
var y_speed = .7;
// 星星的半径
var r = 2;
// 绘制星星
// 开启路径
ctx.beginPath();
// 绘制圆
ctx.arc(x, y, r, 0, Math.PI * 2);
// 闭合路径
ctx.closePath();
// 填充
ctx.fill();
最后一步设置定时器
// 开启定时器
var timer = setInterval(function() {
        // 清屏
        ctx.clearRect(0, 0, width, height);
        // 移动
        x -= x_speed;
        y -= y_speed;
        // 渲染
        // 开启路径
        ctx.beginPath();
        // 绘制圆
        ctx.arc(x, y, r, 0, Math.PI * 2);
        // 闭合路径
        ctx.closePath();
        // 填充
        ctx.fill();
}, 20)
优化为面向对象形式
第一步与上面不变,改变的是我们定义了start类
// 定义Star类
function Star(ctx, x, y, r) {
    this.ctx = ctx;
    this.x = x;
    this.y = y;
    this.r = r;
    this.x_speed = (parseInt(Math.random() * 3) + 1) * Math.pow(-1, parseInt(Math.random() * 10) + 1);
    this.y_speed = (parseInt(Math.random() * 3) + 1) * Math.pow(-1, parseInt(Math.random() * 10) + 1);
}
然后讲方法写到类上
// 方法要写在原型上
// 移动方法
Star.prototype.move = function() {
        this.x -= this.x_speed;
        this.y -= this.y_speed;
}
// 转向X方法
Star.prototype.changeX = function() {
        this.x_speed = - this.x_speed;
}
// 转向Y方法
Star.prototype.changeY = function() {
        this.y_speed = - this.y_speed;
}
然后进行渲染方法和初始化
// 渲染方法
Star.prototype.render = function() {
    // 开启路径
    this.ctx.beginPath();
    // 绘制圆
    this.ctx.arc(this.x, this.y, this.r, 0, Math.PI * 2);
    // 闭合路径
    this.ctx.closePath();
    // 填充
    this.ctx.fill();
}
// 初始化星星对象
var star = new Star(ctx, Math.random() * width, Math.random() * height, 2);
star.render();
最后修改定时器
// 开启定时器
var timer = setInterval(function() {
    // 清屏
    ctx.clearRect(0, 0, width, height);
    // 移动
    star.move();
    // 判断边界
    if (star.x < 0 || star.x > width) {
            star.changeX();
    }

    if (star.y < 0 || star.y > height) {
            star.changeY();
    }
    // 渲染
    star.render();
}, 20)
浏览器显示结果
多个星星处理
我们在面向对象的基础上修改start类的定义
	// 定义Star类
function Star(ctx, x, y, r) {
    this.ctx = ctx;
    this.x = x;
    this.y = y;
    this.r = r;
    this.x_speed = (parseInt(Math.random() * 3) + 1) * Math.pow(-1, parseInt(Math.random() * 10) + 1) / 5;
    this.y_speed = (parseInt(Math.random() * 3) + 1) * Math.pow(-1, parseInt(Math.random() * 10) + 1) / 5;
}
多个星星需要我们定义一个数组进行存储
// 定义数组 用于存放每一个星星对象
var arr = [];
// 初始化星星对象
for (var i = 0; i < 100; i++) {
        arr.push(new Star(ctx, Math.random() * width, Math.random() * height, 1));
}
然后定时器中使用数组循环
// 开启定时器
var timer = setInterval(function() {
    // 清屏
    ctx.clearRect(0, 0, width, height);
    arr.forEach(function(value, index) {
        // 移动
        value.move();
        // 判断边界
        if (value.x < 0 || value.x > width) {
                value.changeX();
        }
        if (value.y < 0 || value.y > height) {
                value.changeY();
        }
        // 渲染
        value.render();
    })
}, 20)
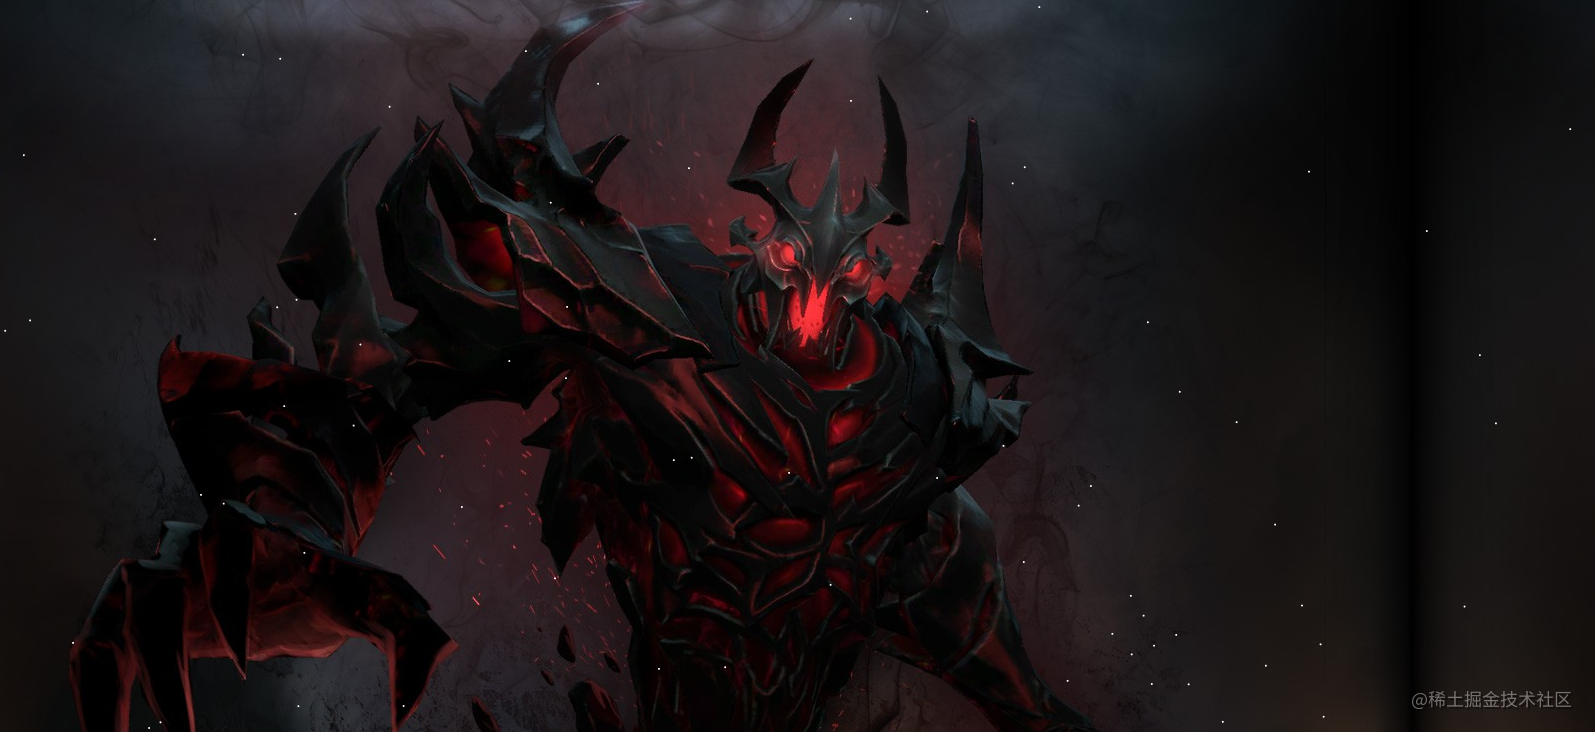
效果图如下
星星连线
定义Star类
function Star(ctx, x, y, r) {
    this.ctx = ctx;
    this.x = x;
    this.y = y;
    this.r = r;
    this.x_speed = (parseInt(Math.random() * 3) + 1) * Math.pow(-1, parseInt(Math.random() * 10) + 1) / 5;
    this.y_speed = (parseInt(Math.random() * 3) + 1) * Math.pow(-1, parseInt(Math.random() * 10) + 1) / 5;
}
这次我们需要对鼠标操作进行处理
// 创建鼠标星星对象
var mouse_star = new Star(ctx, 0, 0, 2);
document.onmousemove = function(e) {
    // 获取鼠标的位置
    var x = e.clientX;
    var y = e.clientY;
    // 赋值mouse_star对象中的x 和 y值
    mouse_star.x = x;
    mouse_star.y = y;
}
定时器中需要增加鼠标操作以及星星之间的关系处理
// 开启定时器
var timer = setInterval(function() {
    // 清屏
    ctx.clearRect(0, 0, width, height);
    // 渲染星星对象的方法
    mouse_star.render();
    arr.forEach(function(value, index) {
        // 移动
        value.move();
        // 判断边界
        if (value.x < 0 || value.x > width) {
                value.changeX();
        }

        if (value.y < 0 || value.y > height) {
                value.changeY();
        }
        // 渲染
        value.render();
    });

    // 循环判断
    arr.forEach(function(value, index) {
        // value表示每一个星星,我们应该拿着这个星星与其它所有星星作比较
        for (var i = index + 1; i < arr.length; i++) {
            if (Math.abs(value.x - arr[i].x) < 50 && Math.abs(value.y - arr[i].y) < 50) {
                // 连线
                line(value.x, value.y, arr[i].x, arr[i].y);
            }
        }

        // 判断星星与其它所有星星之间的关系
        if (Math.abs(value.x - mouse_star.x) < 150 && Math.abs(value.y - mouse_star.y) < 150) {
            // 连线
            line(value.x, value.y, mouse_star.x, mouse_star.y);
        }
    })
}, 20);
然后我们需要添加点击事件
// 给document添加点击事件
// 当点击的时候出现多个星星
document.onmousedown = function(e) {
    for (var i = 0; i < 5; i++) {
        arr.push(new Star(ctx, e.clientX, e.clientY, 1));
        arr.shift();
    }
}
最后进行封装
// 封装函数,传递两个点,绘制两个点之间的线段
function line(x1, y1, x2, y2) {
    // 开启路径
    ctx.beginPath();
    // 移动画笔到某个位置
    ctx.moveTo(x1, y1);
    // 绘制路径
    ctx.lineTo(x2, y2);
    // 关闭路径
    ctx.closePath();
    // 描边
    ctx.stroke();
}
完成代码,只需要新建一个html文件,复制全部代码粘贴就行,需要注意背景图片自己可以换一个
<!DOCTYPE html>
<html lang="en">
<head>
    <meta charset="UTF-8">
    <title>Document</title>
    <style type="text/css">
        * {
            margin: 0;
            padding: 0;
        }
        body, html {
            width: 100%;
            height: 100%;
            overflow: hidden;
        }
        canvas {
            background-image: url(imgs/sf.jpg);
        }
    </style>
</head>
<body>
    <canvas id="myCanvas"></canvas>
    <script type="text/javascript">
    // 获取视口的宽
    var width = document.documentElement.clientWidth;
    // 获取视口的高
    var height = document.documentElement.clientHeight;
    // 获取canvas
    var canvas = document.getElementById("myCanvas");
    // 获取画笔
    var ctx = canvas.getContext("2d");
    // 赋值canvas的宽
    canvas.width = width;
    // 赋值canvas的高
    canvas.height = height;
    // 改变填充色
    ctx.fillStyle = "white";
    // 改变线条颜色
    ctx.strokeStyle = "rgba(255, 255, 123, .4)";
    // 改变线宽
    ctx.lineWidth = ".3";
    // 定义Star类
    function Star(ctx, x, y, r) {
        this.ctx = ctx;
        this.x = x;
        this.y = y;
        this.r = r;
        this.x_speed = (parseInt(Math.random() * 3) + 1) * Math.pow(-1, parseInt(Math.random() * 10) + 1) / 5;
        this.y_speed = (parseInt(Math.random() * 3) + 1) * Math.pow(-1, parseInt(Math.random() * 10) + 1) / 5;
    }

    // 方法要写在原型上
    // 移动方法
    Star.prototype.move = function() {
        this.x -= this.x_speed;
        this.y -= this.y_speed;
    }

    // 转向X方法
    Star.prototype.changeX = function() {
        this.x_speed = - this.x_speed;
    }
    // 转向Y方法
    Star.prototype.changeY = function() {
        this.y_speed = - this.y_speed;
    }

    // 渲染方法
    Star.prototype.render = function() {
        // 开启路径
        this.ctx.beginPath();
        // 绘制圆
        this.ctx.arc(this.x, this.y, this.r, 0, Math.PI * 2);
        // 闭合路径
        this.ctx.closePath();
        // 填充
        this.ctx.fill();
    }

    // 定义数组 用于存放每一个星星对象
    var arr = [];
    for (var i = 0; i < 100; i++) {
        arr.push(new Star(ctx, Math.random() * width, Math.random() * height, 1));
    }


    // 创建鼠标星星对象
    var mouse_star = new Star(ctx, 0, 0, 2);
    document.onmousemove = function(e) {
        // 获取鼠标的位置
        var x = e.clientX;
        var y = e.clientY;
        // 赋值mouse_star对象中的x 和 y值
        mouse_star.x = x;
        mouse_star.y = y;
    }


// 开启定时器
var timer = setInterval(function() {
    // 清屏
    ctx.clearRect(0, 0, width, height);
    // 渲染星星对象的方法
    mouse_star.render();
    arr.forEach(function(value, index) {
        // 移动
        value.move();
        // 判断边界
        if (value.x < 0 || value.x > width) {
            value.changeX();
        }

        if (value.y < 0 || value.y > height) {
            value.changeY();
        }
        // 渲染
        value.render();
    });

    // 循环判断
    arr.forEach(function(value, index) {
        // value表示每一个星星,我们应该拿着这个星星与其它所有星星作比较
        for (var i = index + 1; i < arr.length; i++) {
            if (Math.abs(value.x - arr[i].x) < 50 && Math.abs(value.y - arr[i].y) < 50) {
                // 连线
                line(value.x, value.y, arr[i].x, arr[i].y);
            }
        }

        // 判断星星与其它所有星星之间的关系
        if (Math.abs(value.x - mouse_star.x) < 150 && Math.abs(value.y - mouse_star.y) < 150) {
            // 连线
            line(value.x, value.y, mouse_star.x, mouse_star.y);
        }
    })
}, 20);


    // 给document添加点击事件
    // 当点击的时候出现多个星星
    document.onmousedown = function(e) {
        for (var i = 0; i < 5; i++) {
            arr.push(new Star(ctx, e.clientX, e.clientY, 1));
            arr.shift();
        }
    }

    // 封装函数,传递两个点,绘制两个点之间的线段
    function line(x1, y1, x2, y2) {
        // 开启路径
        ctx.beginPath();
        // 移动画笔到某个位置
        ctx.moveTo(x1, y1);
        // 绘制路径
        ctx.lineTo(x2, y2);
        // 关闭路径
        ctx.closePath();
        // 描边
        ctx.stroke();
    }
    </script>
</body>
</html>
源码仓库和效果
每步的案例源代码已上传,需要的可以下载自己看看,可以用于网站背景效果。点击源码下载
在线效果图,点击体验星星连线
进入页面后,鼠标连接多个线或者多次点击,体验效果。
最后
微信搜索【前端每日技巧】关注公众号,写作不易,希望能点赞👍️加收藏❤️和转发。


 477
477


 被折叠的 条评论
为什么被折叠?
被折叠的 条评论
为什么被折叠?
 到【灌水乐园】发言


