


导航:
创建一个SpringBoot 项目+ Spring Test 测试
1. pom.xml:
<?xml version="1.0" encoding="UTF-8"?>
<project xmlns="http://maven.apache.org/POM/4.0.0" xmlns:xsi="http://www.w3.org/2001/XMLSchema-instance"
	xsi:schemaLocation="http://maven.apache.org/POM/4.0.0 https://maven.apache.org/xsd/maven-4.0.0.xsd">
	<modelVersion>4.0.0</modelVersion>
	<parent>
		<groupId>org.springframework.boot</groupId>
		<artifactId>spring-boot-starter-parent</artifactId>
		<version>2.2.0.RELEASE</version>
		<relativePath/> <!-- lookup parent from repository -->
	</parent>
	<groupId>com.example</groupId>
	<artifactId>demo</artifactId>
	<version>0.0.1-SNAPSHOT</version>
	<name>demo</name>
	<description>Demo project for Spring Boot</description>

	<properties>
		<java.version>1.8</java.version>
	</properties>

	<dependencies>

		<dependency>
			<groupId>org.springframework.boot</groupId>
			<artifactId>spring-boot-starter-web</artifactId>

		</dependency>
		<!--springboot程序测试依赖,如果是自动创建项目默认添加-->
		<dependency>
			<groupId>org.springframework.boot</groupId>
			<artifactId>spring-boot-starter-test</artifactId>
			<scope>test</scope>
		</dependency>
	</dependencies>

	<build>
		<plugins>
			<plugin>
				<groupId>org.springframework.boot</groupId>
				<artifactId>spring-boot-maven-plugin</artifactId>
			</plugin>
		</plugins>
	</build>

</project>
1.2 创建启动类:
package com.example.demo;

import org.springframework.boot.SpringApplication;
import org.springframework.boot.autoconfigure.SpringBootApplication;

@SpringBootApplication
public class DemoApplication {

	public static void main(String[] args) {
		SpringApplication.run(DemoApplication.class, args);
	}

}
1.3 创建Controller类
package com.example.demo.echarts;
import org.springframework.web.bind.annotation.RequestMapping;
import org.springframework.web.bind.annotation.RestController;
import java.util.*;

import static com.cdmtc.core.CdmtcECharts.createEcharts;

/**
 * @program: demo
 * @description:
 * @author: zhang lei
 * @create: 2019-11-06
 */
@RequestMapping
@RestController
public class DemoController {
    @RequestMapping("sayHello")
    public String sayHello(){
        return "Success";
    }
1.4 创建application.properties/ application.yml
这里的话,简单的SpringBoot项目就算启动成功了,在配置文件中可以什么都不用写;启动直接启动DemoApplication即可;然后打开浏览器访问:
localhost:8080/sayHello如果浏览器返回了 “Success” 则表示项目创建成功
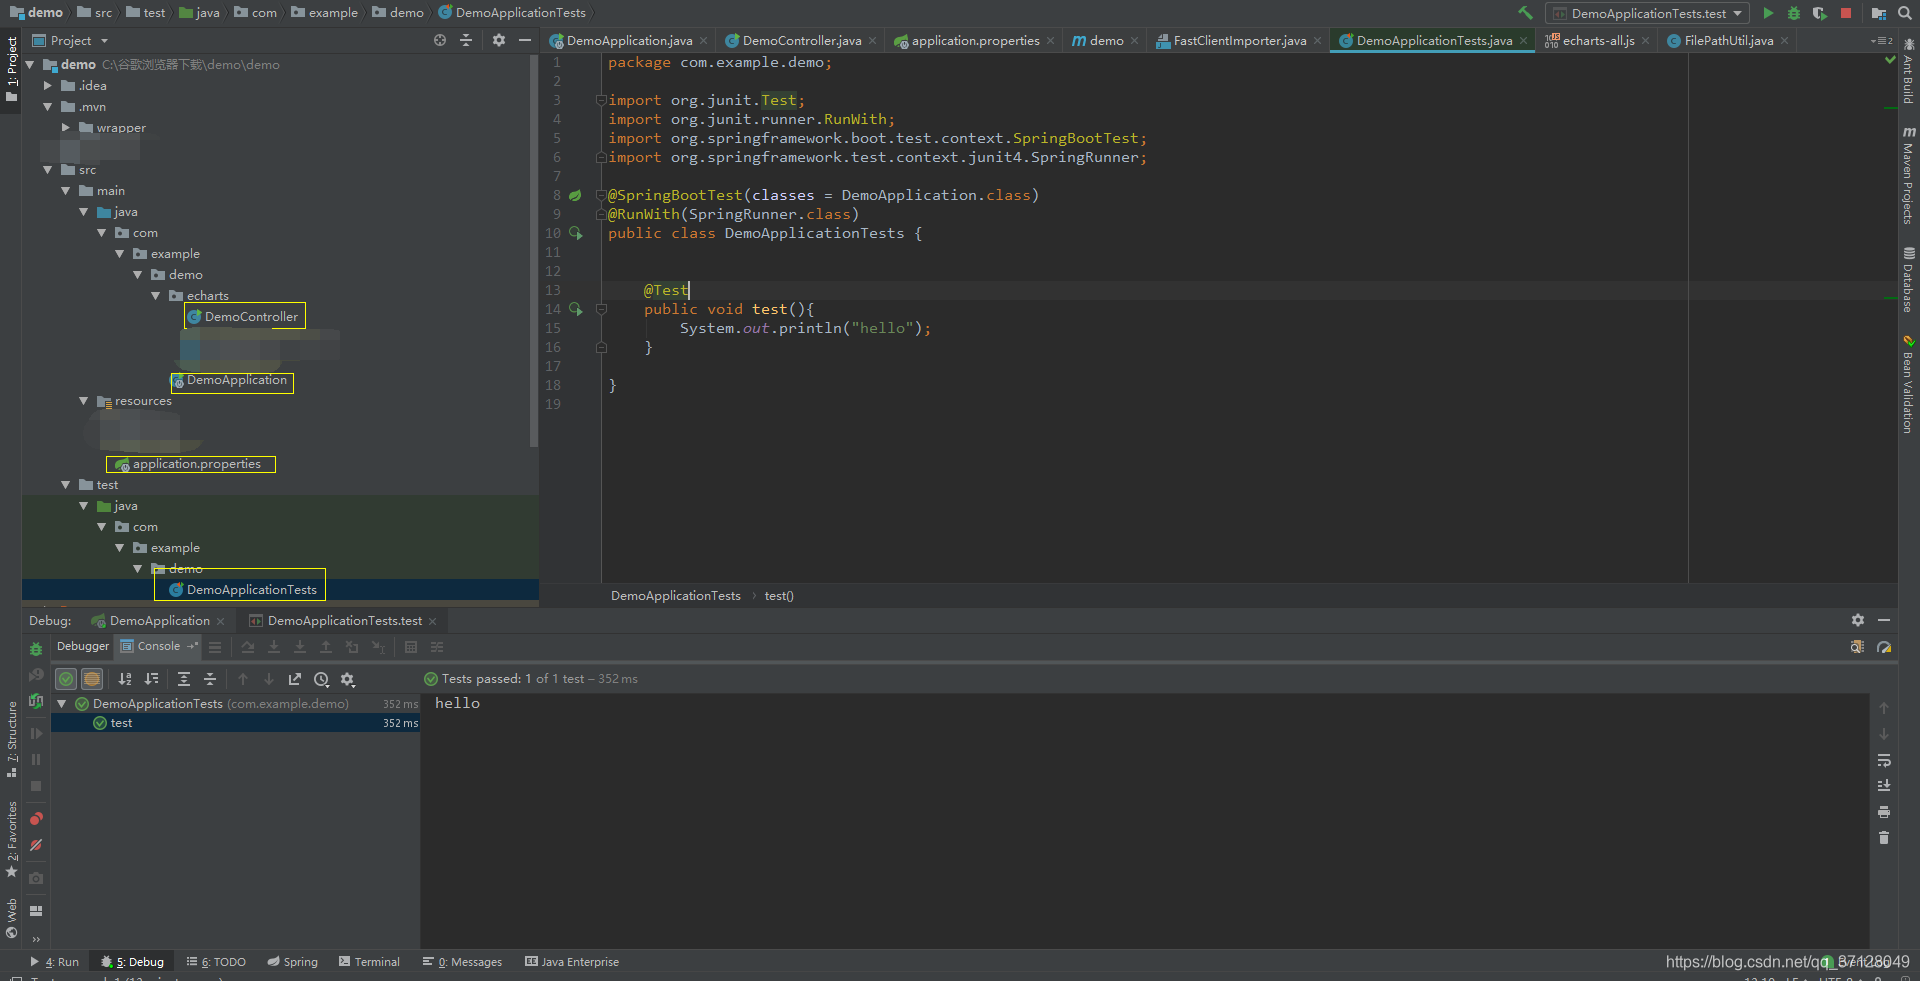
1.5 创建SpringBootTest 类: DemoApplicationTests.java
package com.example.demo;

import org.junit.Test;
import org.junit.runner.RunWith;
import org.springframework.boot.test.context.SpringBootTest;
import org.springframework.test.context.junit4.SpringRunner;

@SpringBootTest(classes = DemoApplication.class)
@RunWith(SpringRunner.class)
public class DemoApplicationTests {


    @Test
    public void test(){
        System.out.println("hello,word~");
    }

}
这里点击运行,如果控制台打印
hello,word~则表示测试类创建成功;
注意,DemoApplication 必须在其他的java类前面或者同级目录;
1.6 目录结构如图所示:


 1780
1780


 被折叠的 条评论
为什么被折叠?
被折叠的 条评论
为什么被折叠?
 到【灌水乐园】发言


