packagecom.com.myapplication;importandroidx.fragment.app.FragmentActivity;importandroid.os.Bundle;importcom.google.android.gms.maps.CameraUpdateFactory;importcom.google.android.gms.maps.GoogleMap;importcom.google.android.gms.maps.OnMapReadyCallback;importcom.google.android.gms.maps.SupportMapFragment;importcom.google.android.gms.maps.model.LatLng;importcom.google.android.gms.maps.model.MarkerOptions;importcom.com.myapplication.databinding.ActivityMapsBinding;publicclassMapsActivityextendsFragmentActivityimplementsOnMapReadyCallback{privateGoogleMap mMap;privateActivityMapsBinding binding;@OverrideprotectedvoidonCreate(Bundle savedInstanceState){super.onCreate(savedInstanceState);
binding =ActivityMapsBinding.inflate(getLayoutInflater());setContentView(binding.getRoot());// Obtain the SupportMapFragment and get notified when the map is ready to be used.SupportMapFragment mapFragment =(SupportMapFragment)getSupportFragmentManager().findFragmentById(R.id.map);
mapFragment.getMapAsync(this);}/**
* Manipulates the map once available.
* This callback is triggered when the map is ready to be used.
* This is where we can add markers or lines, add listeners or move the camera. In this case,
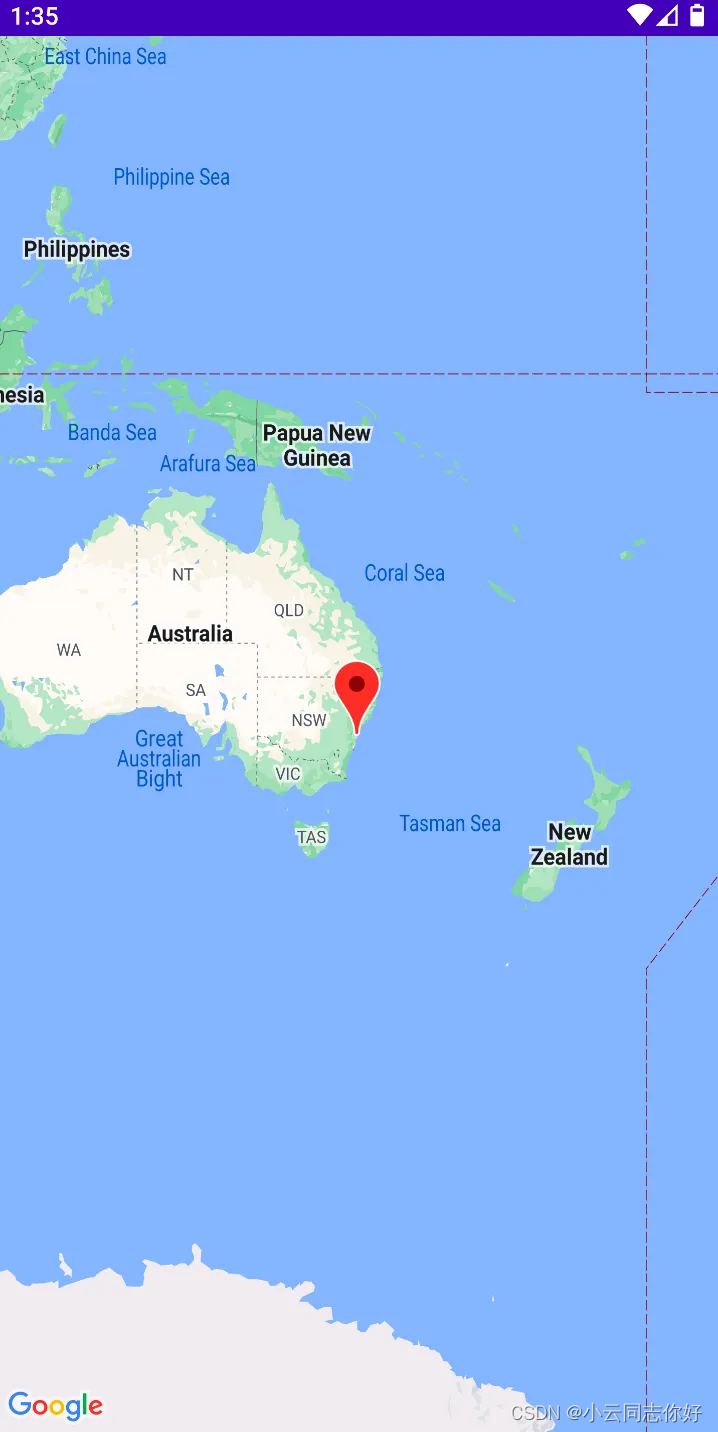
* we just add a marker near Sydney, Australia.
* If Google Play services is not installed on the device, the user will be prompted to install
* it inside the SupportMapFragment. This method will only be triggered once the user has
* installed Google Play services and returned to the app.
*/@OverridepublicvoidonMapReady(GoogleMap googleMap){
mMap = googleMap;// Add a marker in Sydney and move the cameraLatLng sydney =newLatLng(-34,151);
mMap.addMarker(newMarkerOptions().position(sydney).title("Marker in Sydney"));
mMap.moveCamera(CameraUpdateFactory.newLatLng(sydney));}}
16.activity_maps.xml
<?xml version="1.0" encoding="utf-8"?><fragment xmlns:android="http://schemas.android.com/apk/res/android"
xmlns:map="http://schemas.android.com/apk/res-auto"
xmlns:tools="http://schemas.android.com/tools"
android:id="@+id/map"
android:name="com.google.android.gms.maps.SupportMapFragment"
android:layout_width="match_parent"
android:layout_height="match_parent"
tools:context=".MapsActivity"/>17.AndroidManifest.xml 17.AndroidManifest.xml
<?xml version="1.0" encoding="utf-8"?><manifest xmlns:android="http://schemas.android.com/apk/res/android"package="com.com.myapplication"><application
android:allowBackup="true"
android:icon="@mipmap/ic_launcher"
android:label="@string/app_name"
android:roundIcon="@mipmap/ic_launcher_round"
android:supportsRtl="true"
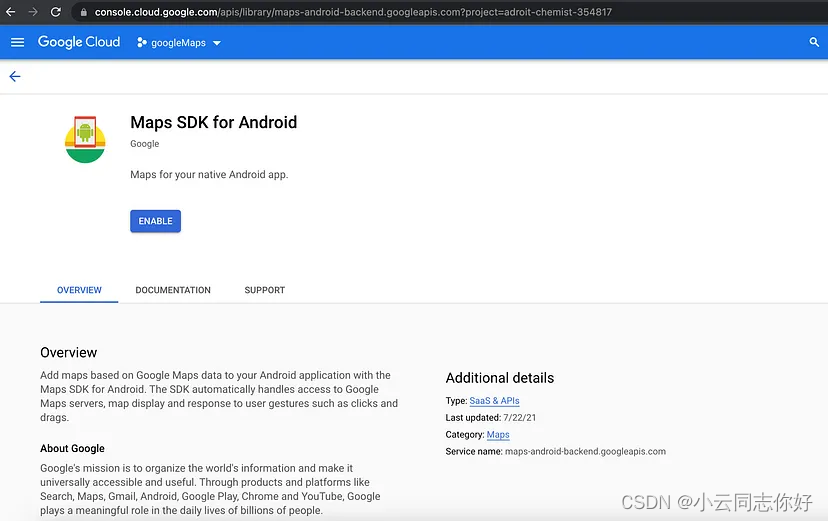
android:theme="@style/Theme.MyApplication"><!--TODO:Before you run your application, you need a GoogleMapsAPIkey.
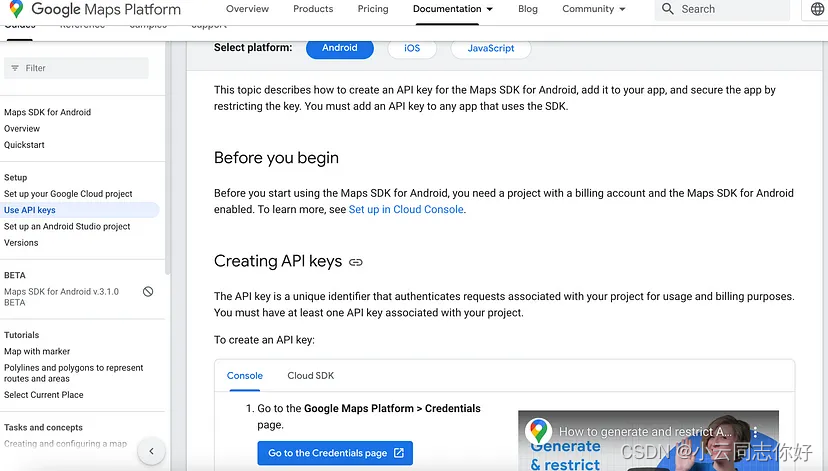
To get one, follow the directions here:
https://developers.google.com/maps/documentation/android-sdk/get-api-key
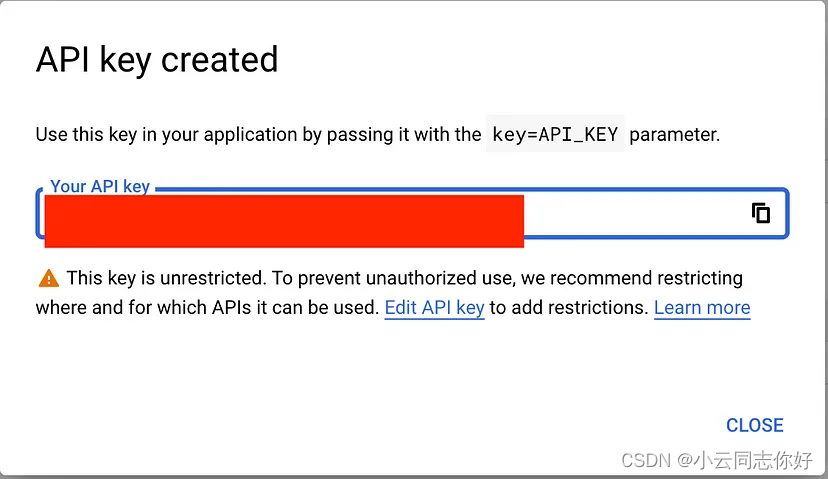
Once you have your API key (it starts with"AIza"), define a new property in your
project's local.properties file (e.g.MAPS_API_KEY=Aiza...), and replace the
"YOUR_API_KEY" string in this file with"${MAPS_API_KEY}".--><meta-data
android:name="com.google.android.geo.API_KEY"
android:value="xxx"/><activity
android:name=".MapsActivity"
android:exported="false"
android:label="@string/title_activity_maps"/><activity
android:name=".MainActivity"
android:exported="true"><intent-filter><action android:name="android.intent.action.MAIN"/><category android:name="android.intent.category.LAUNCHER"/></intent-filter></activity></application></manifest>


 被折叠的 条评论
为什么被折叠?
被折叠的 条评论
为什么被折叠?
 到【灌水乐园】发言


