


Elasticsearch学习
1. 安装客户端
-
我用的是win10所以选windows

-
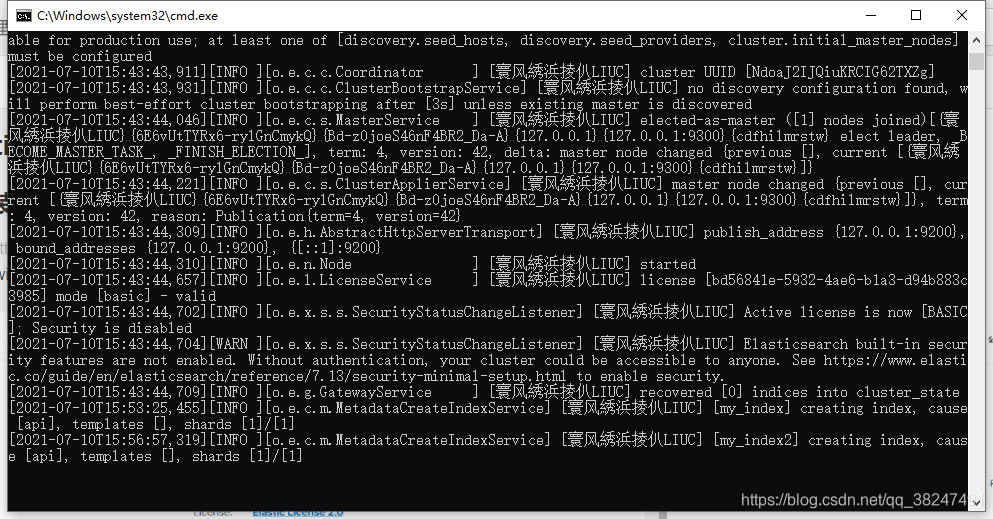
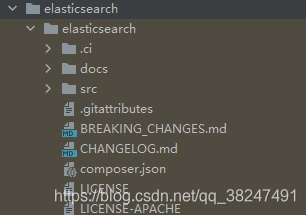
解压文件并进入到
bin目录, 打开elasticsearch.bat文件

-
终端上面中文会有乱码,解决方式 在
./config/jvm.options配置文件中设置字符集格式,加入
-Dfile.encoding=GBK
接下来关闭ssl认证
在 ES/config/elasticsearch.yml 文件中把 xpack.security.http.ssl:enabled 设置成 false 即可
# Enable encryption for HTTP API client connections, such as Kibana, Logstash, and Agents
xpack.security.http.ssl:
  enabled: false
  keystore.path: certs/http.p12
2. php扩展文件
- 打开
composer.json文件,在require内追加"elasticsearch/elasticsearch": "~7.0" - 在
cmoposer.json的同级目录执行composer install进行安装 - 安装成功
3. 开始根据需求使用代码了,引入命名空间
<>php
use Elasticsearch\ClientBuilder;
索引常用的方法
$params = [
    'index' => ['my_index']
];
$response = $client->indices()->create($params); // 创建索引
$response = $client->indices()->delete($params); // 删除索引
$response = $client->indices()->putSettings($params); // 修改索引
$response = $client->indices()->getSettings($params); // 获取索引
详细请见文件:

文档常用的方法
$response = $client->get($params);
$response = $client->update($params);
$response = $client->delete($params);
$results = $client->search($params);// 搜索方法
使用工具查看可视化数据 (1)
- 安装nodeJS(自行百度)
- 安装grunt配置
npm install -g grunt-cli - 下载应用文件
- github
https://github.com/mobz/elasticsearch-head - codechina
https://codechina.csdn.net/mirrors/mobz/elasticsearch-head?utm_source=csdn_github_accelerator更快一些
- github
- head工具的根目录执行
npm install安装依赖 - 设置elasticsearch访问方式
- 打开elasticsearch的
根目录/config/elasticsearch.yml - 末尾添加
- 打开elasticsearch的
http.cors.enabled: true
http.cors.allow-origin: “*”
http.cors.enabled 开启跨域访问支持,默认为false
http.cors.allow-origin 跨域访问允许的域名地址,我直接用的全部,线上尽量不要用
- 回到bin目录打开
elasticsearch.bat - 去工具的根目录执行
npm run start

安装完成

使用工具查看可视化数据 (2:官方)
-
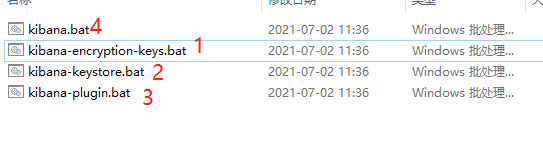
点击下载kibana
-
解压后先运行其他文件,最后运行
bin/kibana.bat
-
键入链接 打开网站

配置文件
server.port: 5601
server.host: "localhost"
server.name: "liuchostname"
elasticsearch.hosts: ["http://localhost:9200"]
i18n.locale: "zh-CN"
– 2021-7-19 16:10:44
mysql和es7数据同步
数据表尽量设置 updatetime,createtime,deletetime 使用时间排序 来对es7的数据进行创建修改删除
- 安装
logstash-7.13.3 - 下载
mysql-connector-java-8.0.25.jar并且放入目录\logstash-7.13.3\logstash-core\lib\jars - 编写同步的代码 在
config内创建mysql.conf
 # logstash主要是三大块,input:数据源,filter:过滤器对数据进行过滤,output:输出;这三块都有很多插件方便使用
input {
    stdin {}
    jdbc{
        #  建立连接的方式           通过jdbc:数据库:ip地址: 端口号: 数据库名称
        jdbc_connection_string => "jdbc:mysql://localhost:3306/serach?userSSL=true&useUnicode=true&characterEncoding=UTF-8&serverTimezone=Asia/Shanghai"

        # 数据库账号
        jdbc_user => "serach"

        # 数据库密码
        jdbc_password => "serach"

        # 数据库链接驱动
        jdbc_driver_library => "D:/***/***/***/logstash-7.13.3/logstash-core/lib/jars/mysql-connector-java-8.0.25.jar"

        # 驱动类名  [com.mysql.jdbc.Driver]这个类名太老了, 下面是新的
        jdbc_driver_class => "com.mysql.cj.jdbc.Driver"

        jdbc_paging_enabled => "true"
        jdbc_page_size => "50000"

        #记录最后一次运行的结果,用于[增量更新]
        # record_last_run => true

        #[增量更新]上面运行结果的保存位置
        #last_run_metadata_path => "/data/jdbc-position.txt"

        # 全量同步数据
        statement => "select * from user limit 6 "
        # statement => "select * from user where id > :sql_last_value" [增量更新]同步数据

        # 设置监听间隔  各字段含义(由左至右)分、时、天、月、年,全部为*默认含义为每分钟都更新
        schedule => "* * * * *"
    }
}

output {
    stdout {
        codec => json_lines
    }
    elasticsearch {
        hosts => "http://localhost:9200"
        index => "table"
        document_id => "%{id}"
    }
}
- 切换进入到
\logstash-7.13.3\bin执行cmd命令
logstash.bat -f D:\***\***\***\logstash-7.13.3\config\mysql.conf
完工
参考链接: https://blog.51cto.com/u_15065305/2945264?xiangguantuijian&01


 415
415


 被折叠的 条评论
为什么被折叠?
被折叠的 条评论
为什么被折叠?
 到【灌水乐园】发言


