


Rust学习与实践 (二) GTK4.0 GUI
这里我使用的是blueprint这一个工具来进行UI界面的设计
一、BluePrint编译器
首先安装它的编译器
sudo apt install blueprint-compiler
二、创建项目
cargo new p01_hello_blueprint
创建结果如下图所示

进入到项目目录下
cd p01_hello_blueprint/

三、添加依赖包
cargo add gtk-blueprint

cargo add gtk4
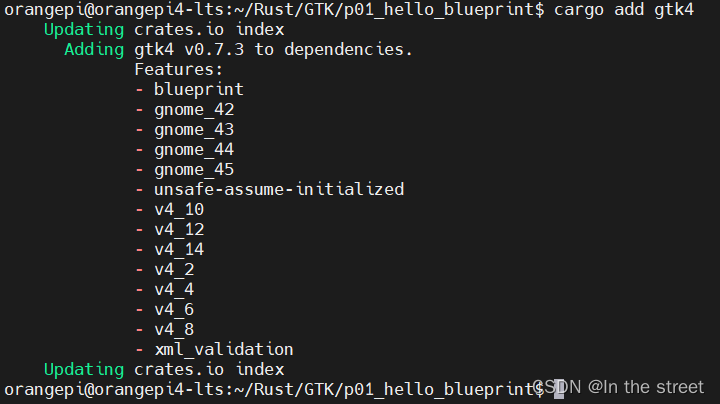
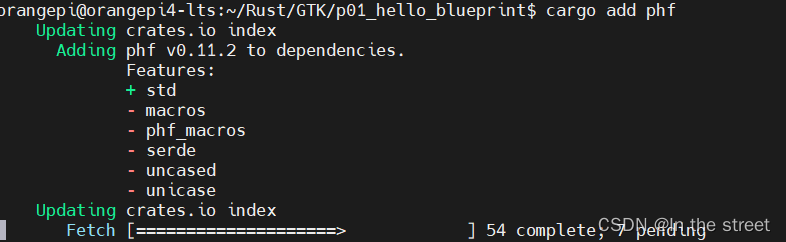
cargo add phf
四、编辑src/main.blp
using Gtk 4.0;

ApplicationWindow MyAppWindow{
  default-width: 600;
  default-height: 300;
  title: _("Hello, Blueprint!");

  Box welcome {
    orientation: vertical;
    valign: center;
    halign: center;

    Image {
      name: "logo";
      icon-name: "re.sonny.Workbench";
      pixel-size: 196;
      margin-bottom: 30;

      styles [
        "icon-dropshadow",
      ]
    }

    Label {
      label: "Welcome to Workbench";
      margin-bottom: 30;

      styles [
        "title-1",
      ]
    }

    Box subtitle {
      orientation: vertical;
      halign: center;
      margin-bottom: 30;

      Label {
        label: "Learn and prototype with\nGNOME technologies";
        justify: center;
      }
    }

    Box {
      orientation: vertical;
      homogeneous: true;
      halign: center;

      Box {
        margin-bottom: 6;

        Image {
          icon-name: "update-symbolic";
          margin-end: 12;
          icon-size: normal;
        }

        Label {
          label: "Edit Style or UI to update the Preview";
        }
      }

      Box {
        margin-bottom: 6;

        Image {
          icon-name: "media-playback-start-symbolic";
          margin-end: 12;
          icon-size: normal;
        }

        Label {
          label: "Hit";
        }

        ShortcutsShortcut {
          accelerator: "<Control>Return";
          margin-start: 12;
        }

        Label {
          label: "to format and run Code";
        }
      }

      Box {
        margin-bottom: 6;

        Image {
          icon-name: "media-floppy-symbolic";
          margin-end: 12;
          icon-size: normal;
        }

        Label {
          label: "Changes are automatically saved and restored";
        }
      }

      Box {
        margin-bottom: 6;

        Image {
          icon-name: "library-symbolic";
          margin-end: 12;
          icon-size: normal;
        }

        Label {
          label: "Browse the Library for demos and examples";
        }
      }

      Box {
        margin-bottom: 6;

        Image {
          icon-name: "user-bookmarks-symbolic";
          margin-end: 12;
          icon-size: normal;
        }

        Label {
          label: "Checkout the Bookmarks menu to learn and get help";
        }
      }
    }
  }
}
五、编辑src/main.rs
use gtk4 as gtk;
use gtk4::Builder;
use gtk_blueprint::include_blp;
use gtk::Application;
use gtk::prelude::*;


gtk_blueprint::gen_blp_map!("");

fn main() {

    // Create app
    let application = Application::builder()
        .application_id("org.example.HelloWorld")
        .build();

    // Init app window and show it
    application.connect_activate(|app| {
        // You also can parse blueprint with Parser::parse
        // and then use it in gtk4::Builder
        let builder = Builder::new();
        let _ = builder.add_from_string(include_blp!("src/main.blp"));
        let window = builder.object::<gtk::ApplicationWindow>("MyAppWindow").unwrap();

        window.set_application(Some(app));

        window.present();
        println!("Hello World");
    });

    // Run app
    application.run();
}
六、安装系统依赖环境
sudo apt install pkg-config librust-gobject-sys-dev libgdk-pixbuf-2.0-dev libcairo2-dev libgtk-4-dev
七、编译程序
cargo build
会下载程序包

八、运行程序
cargo run
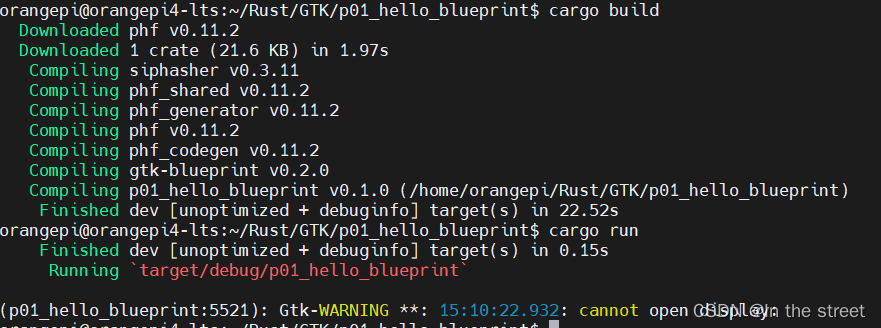
由于开发板没有接显示器,所以无法正常运行,在命令行设置一下远程服务器(你的电脑)来显示界面
export DISPLAY=192.168.8.4:0.0
再次运行,效果如下图所示
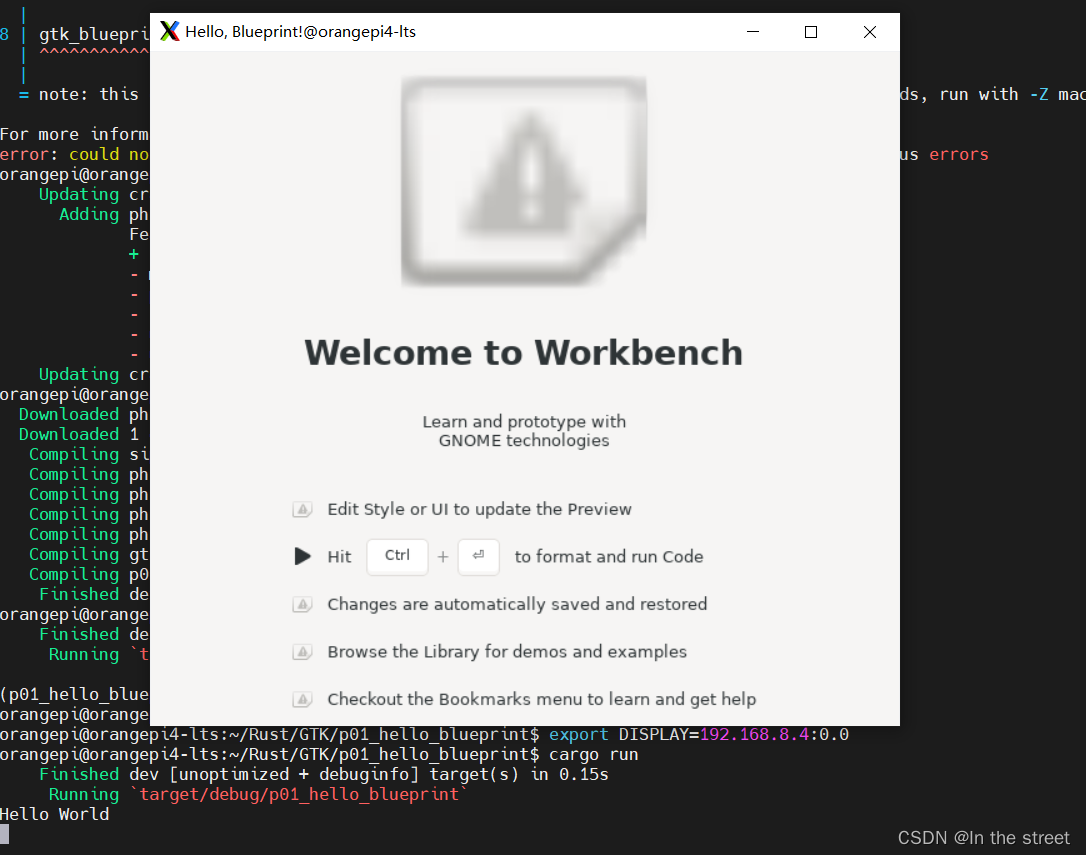
远程的效果有点怪怪的
UI设计可以使用Ubuntu下的Workbench
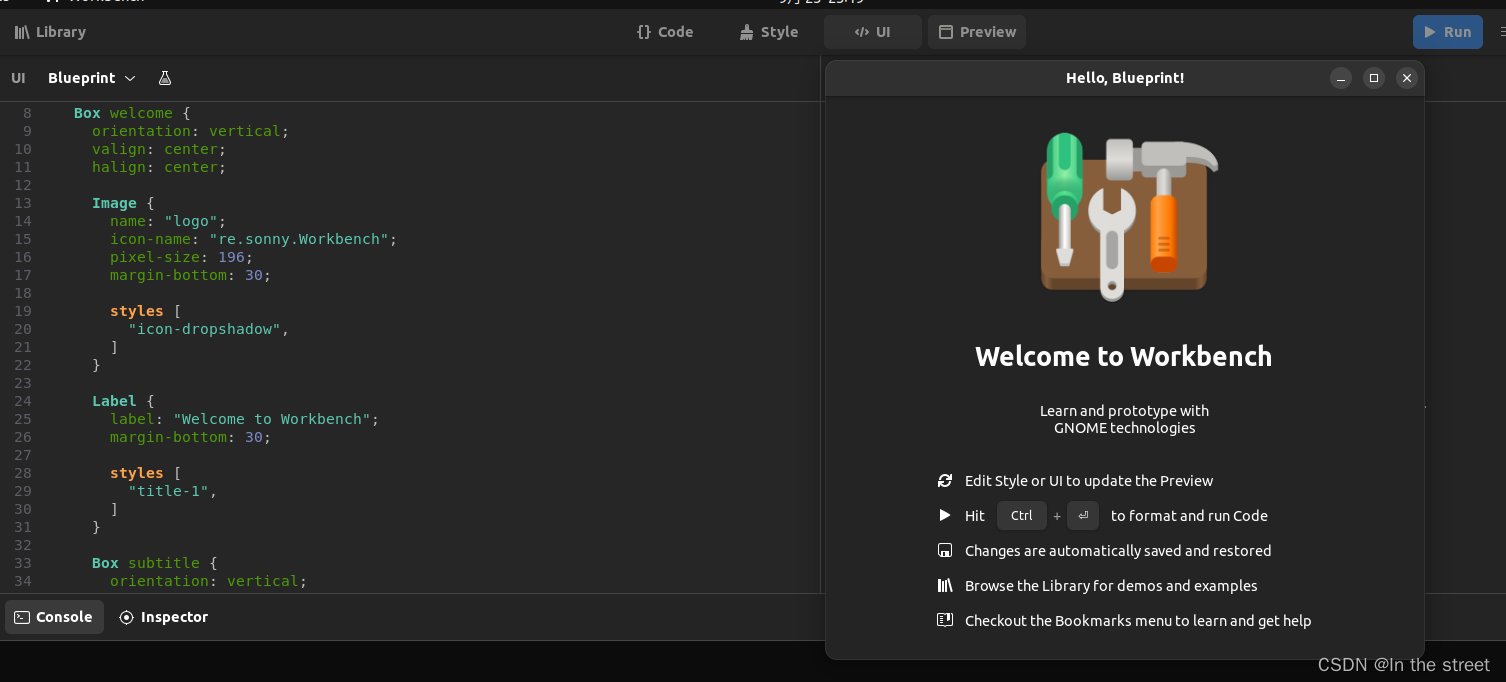
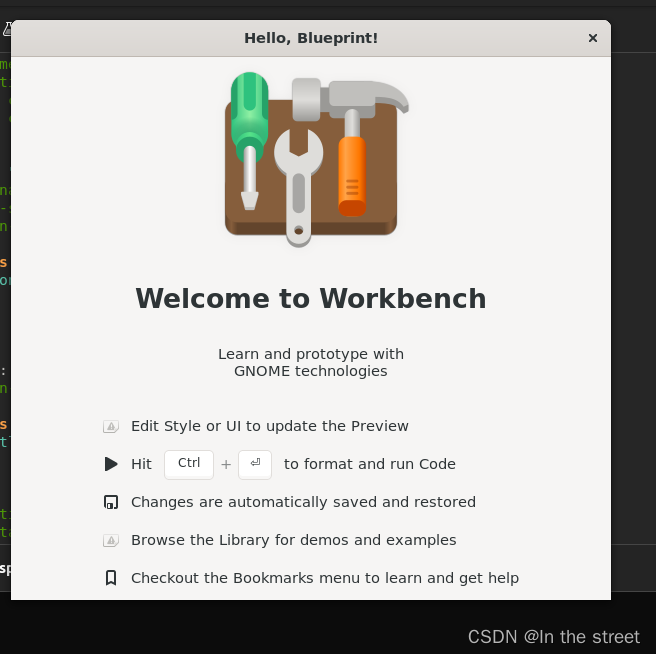
所见即所得的方式,不知道为什么在Windows上面看起来那么丑,甚至图片都没有显示,有钱建议配个屏幕,因为ubuntu运行起来是这样的
踩坑
在更新了blp文件之后,需要删除target/debug/deps/下的可执行文件,这样在运行cargo run命令时才会重新生成二进制文件(猜测是把资源文件也集成到了可执行程序里面了,查看大小由70多M)


 2640
2640


 被折叠的 条评论
为什么被折叠?
被折叠的 条评论
为什么被折叠?
 到【灌水乐园】发言


