


一、新建项目
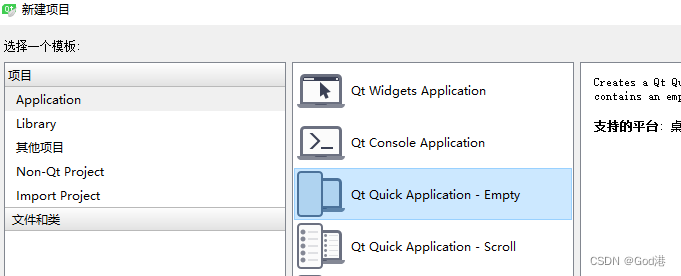
1.选择Qt Quick Application Empty
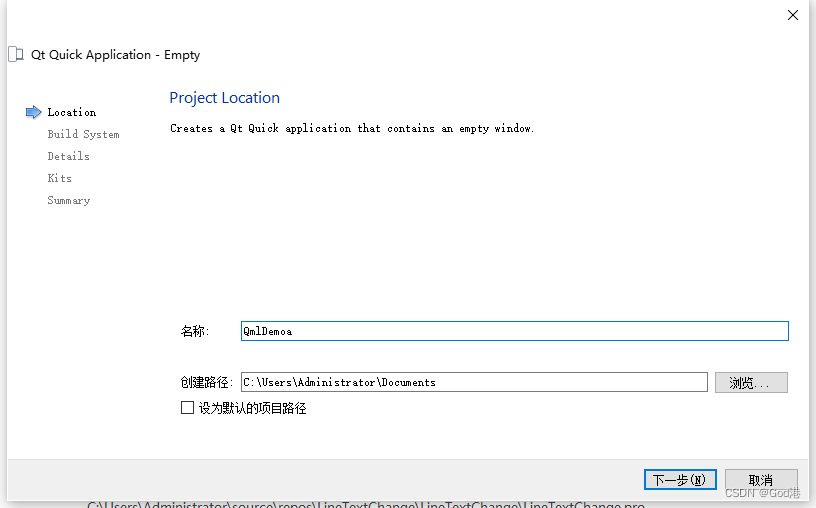
2.命名为QmlDemoa,然后全部为下一步
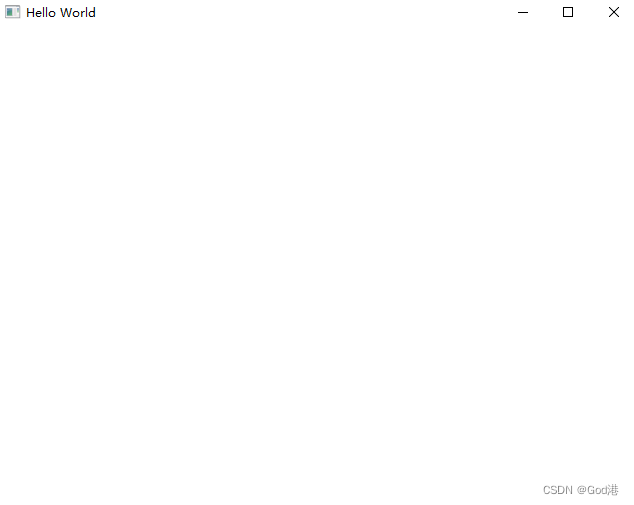
3.此时工程目录和演示效果

二、新建另一个组件
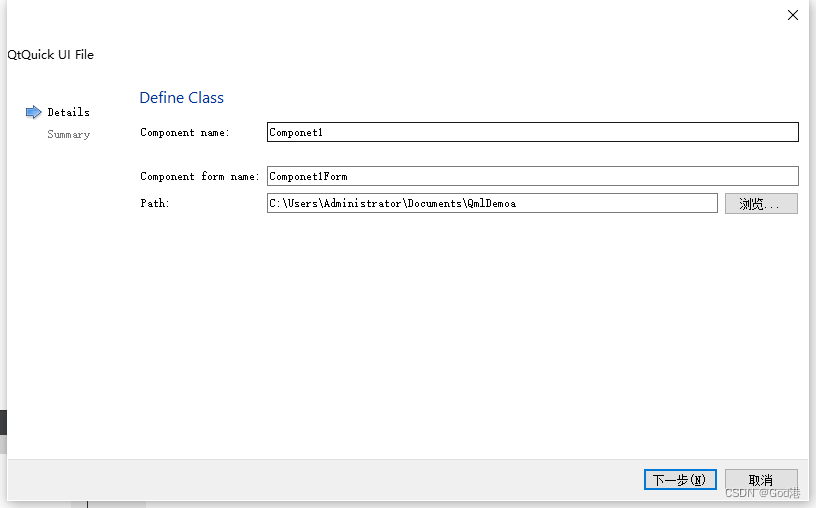
1.选择QtQuick UI File
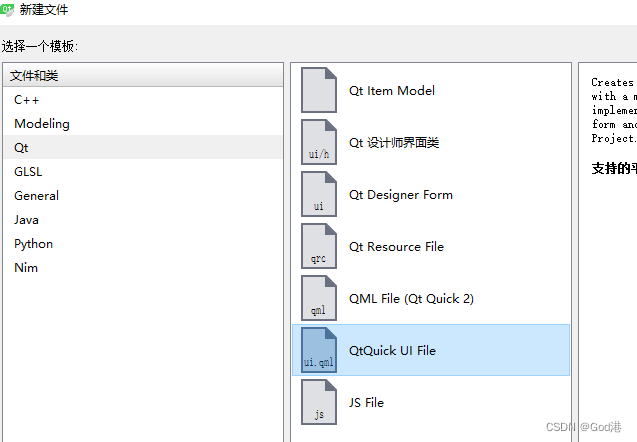
这里英文打错了:component1
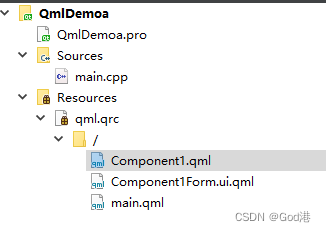
2.当前工程的结构
3.设计新的qml的内容我们可以直接用qml.ui进行拖拽设计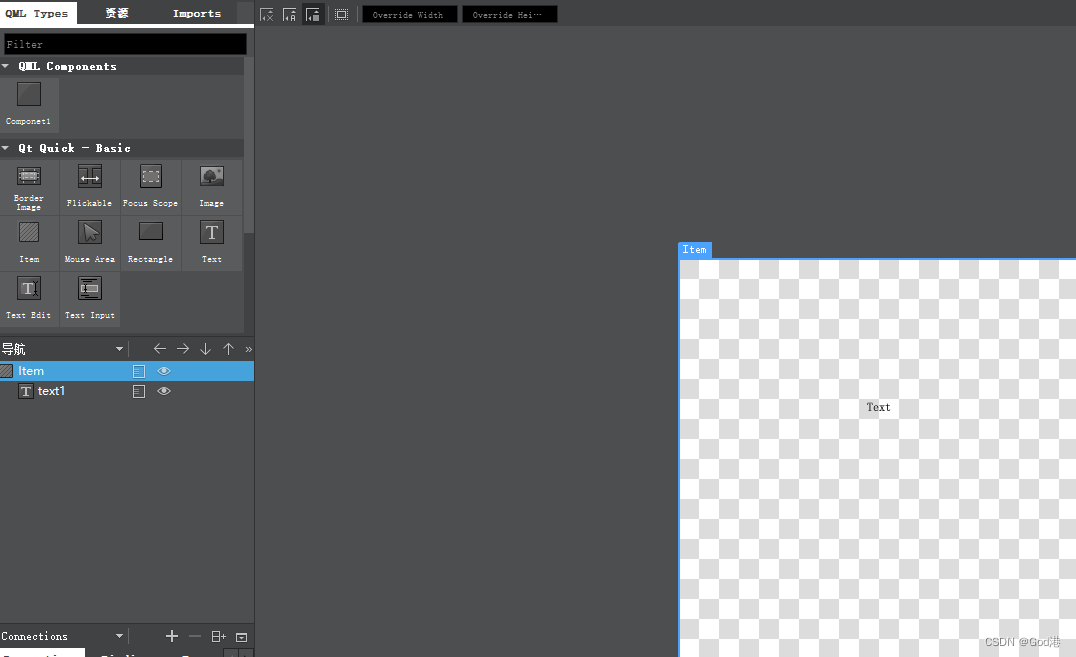
本次演示我就用代码的方式进行添加。
工程目录中生成的component.qml和component1.ui.qml两个其实都可以用,qml可以调用ui中的任意元素,如果直接在ui中拖拽,会自动生成代码在ui.qml。当然我们代码可以写在任意文件,全凭个人喜好。
三、代码
component1.qml
import QtQuick 2.4

Rectangle {
    property alias mouseArea:mouseArea
    property alias topRect:topRect//define the property name
    width: 360
    height: 360//set form's width and height
    MouseArea{
        id:mouseArea//name
        anchors.fill: parent
    }
    //the first rectangle
    Rectangle{
        rotation:45//define the rotation angle
        //set the position,size and color
        x:40
        y:50
        width: 100
        height: 100
        color: "blue"
    }
    //the second rectangle
    Rectangle{
        id:topRect//id
        opacity: 0.5
        scale: 0.8 //scale the size
        x:135
        y:60
        width: 100
        height: 100
        radius: 8
        gradient: Gradient{
            GradientStop{position: 0.0;color:"yellow"}
            GradientStop{position:1.0;color: "red"}
        }
        border{width: 3;color: "green"}
    }
}
main.qml
import QtQuick 2.9
import QtQuick.Window 2.2

Window {
    visible: true
    width: 640
    height: 480
    title: qsTr("Hello World")
    Component1
    {

    }
}
四、总结
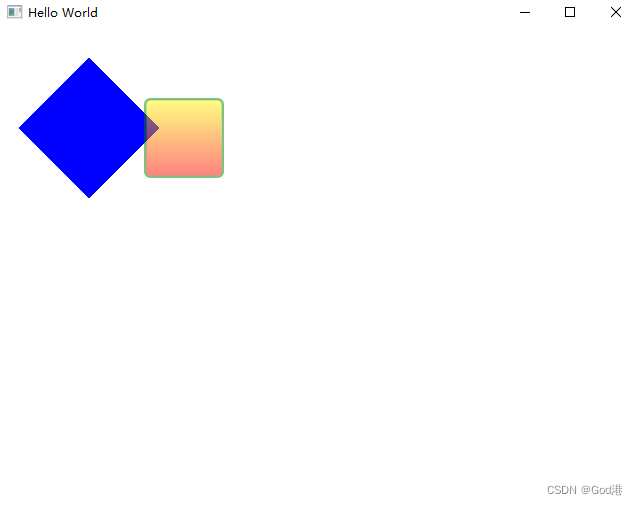
这样,一个简单的qml应用程序搭建完成,组件式开发现在事互联网很盛行的方式,曾经学习的VUE3大规模运用,好处在于耦合度较好,便于后期代码的维护,毕竟一个软件程序的声明周期,20%的时间在开发,80%的时间在维护。
五、效果图
demo下载地址:https://download.csdn.net/download/qq_38491692/85448974


 8630
8630


 被折叠的 条评论
为什么被折叠?
被折叠的 条评论
为什么被折叠?
 到【灌水乐园】发言


