1.添加依赖
1.1添加springboot整合junit依赖
 	<dependency>
            <groupId>org.springframework.boot</groupId>
            <artifactId>spring-boot-starter-test</artifactId>
            <scope>test</scope>
            <exclusions>
                <exclusion>
                    <groupId>org.junit.vintage</groupId>
                    <artifactId>junit-vintage-engine</artifactId>
                </exclusion>
            </exclusions>
        </dependency>
1.2添加junit依赖
 	  <dependency>
            <groupId>junit</groupId>
            <artifactId>junit</artifactId>
            <scope>test</scope>
        </dependency>
2.编写测试类
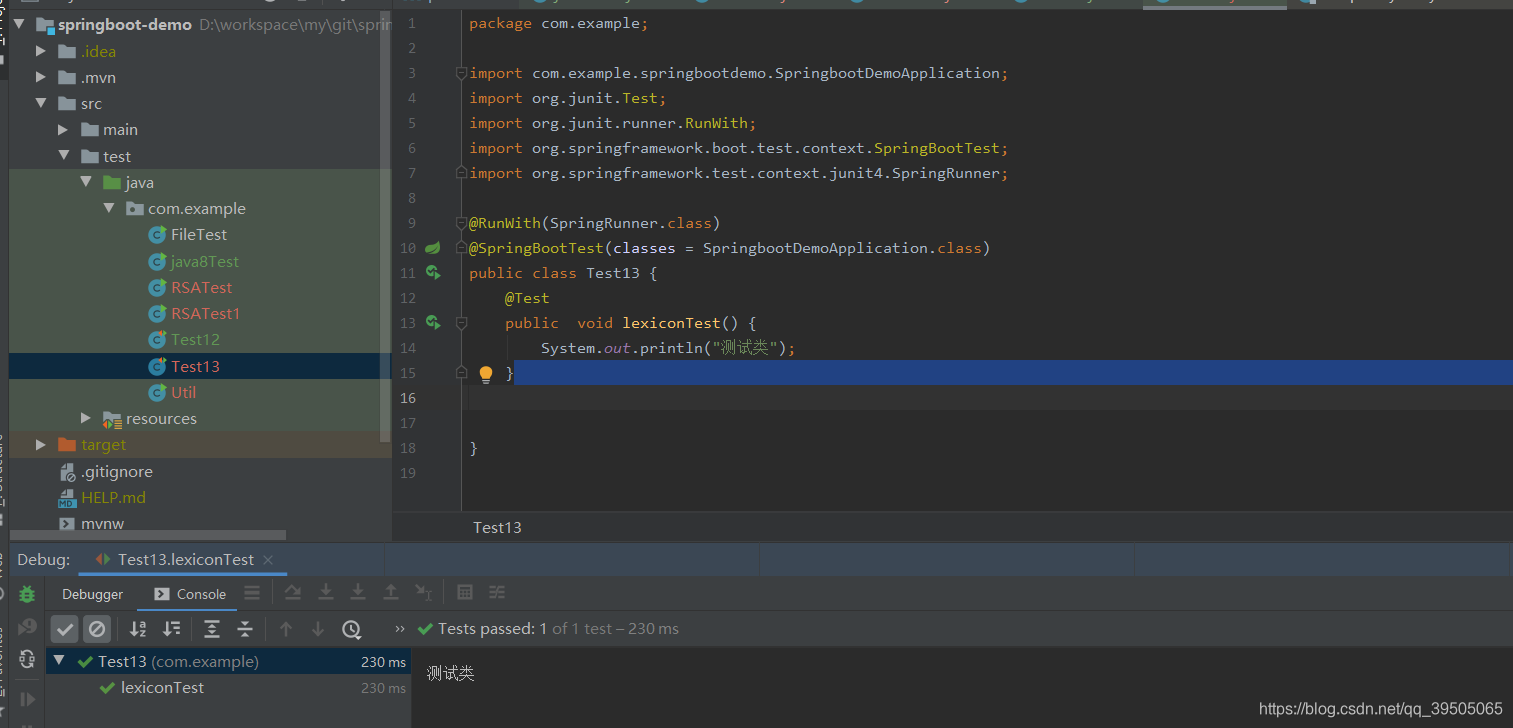
package com.example;

import com.example.springbootdemo.SpringbootDemoApplication;
import org.junit.Test;
import org.junit.runner.RunWith;
import org.springframework.boot.test.context.SpringBootTest;
import org.springframework.test.context.junit4.SpringRunner;

@RunWith(SpringRunner.class)
@SpringBootTest(classes = SpringbootDemoApplication.class)
public class Test13 {
    @Test
    public  void lexiconTest() {
        System.out.println("测试类");
    }
}
3.添加注解:
@RunWith(SpringRunner.class)
@SpringBootTest(classes = SpringbootDemoApplication.class)
解释:
@RunWith:启动器
--@RunWith就是一个运行器
--@RunWith(JUnit4.class)就是指用JUnit4来运行
--@RunWith(SpringJUnit4ClassRunner.class),让测试运行于Spring测试环 境,以便在测试开始的时候自动创建Spring的应用上下文
@RunWith(Suite.class)的话就是一套测试集合
@RunWith(SpringRunner.class)让测试在Spring容器环境下执行。如测试类中无此注解,将导致service,dao等自动注入失败
- 因为SpringRunner.class继承了SpringJUnit4ClassRunner.class且没有进行任何修改 所以
@RunWith(SpringRunner.class)基本等同于
@RunWith(SpringJUnit4ClassRunner.class)


 706
706


 被折叠的 条评论
为什么被折叠?
被折叠的 条评论
为什么被折叠?
 到【灌水乐园】发言


