


本文章所使用的的相关环境说明:
操作系统:CentOS Linux release 7.5.1804 (Core) (新环境)
第三方yum源:(可百度自行寻找并配置,如:清华大学源,163源,搜狐、阿里云yum源等国内第三方yum源都可以)
wget -O /etc/yum.repos.d/CentOS-Base.repo http://mirrors.aliyun.com/repo/Centos-7.repo
wget -O /etc/yum.repos.d/epel.repo http://mirrors.aliyun.com/repo/epel-7.repo
通过升级SSH服务修复安全漏洞
SSH服务用于远程连接服务器,但是如果ssh服务存在漏洞,黑客就可以通过ssh服务远程控制服务器。
例如:以下版本范围内都存在漏洞。
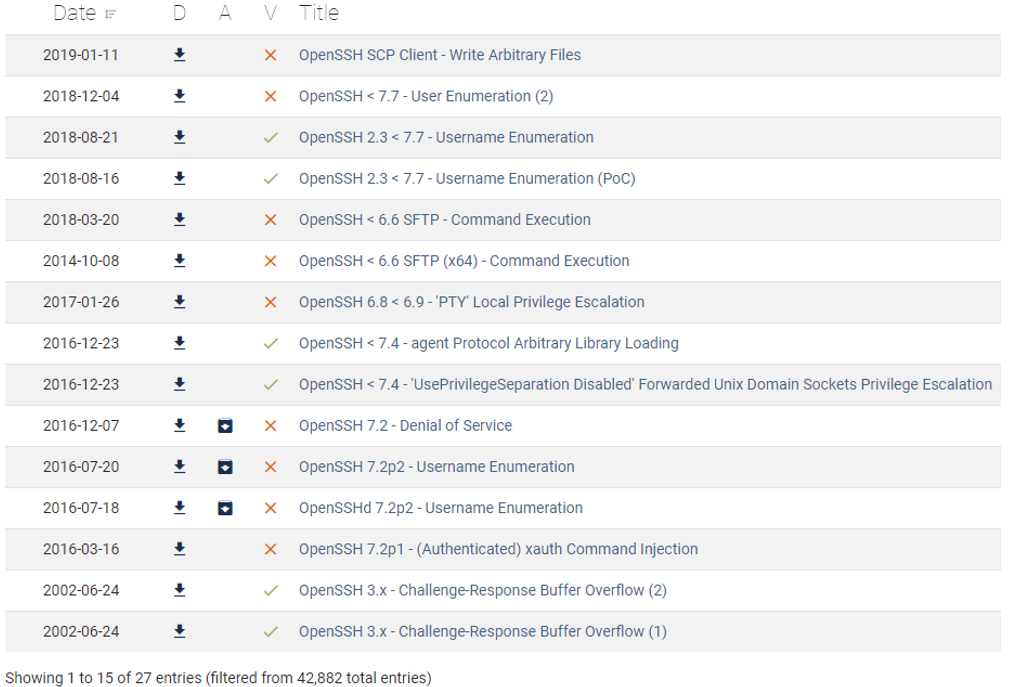
更新ssh版本修复漏洞
版本升级的两种方法:(本文章推荐使用第二种编译安装方式)
方法一:使用yum升级ssh的版本
如果你的ssh版本过低可以通过yum直接升级sshd服务。如果可以使用yum升级尽量使用yum进行升级,因为yum升级维护起来很方便。
先看一下当前的ssh版本

此方法需要自行寻找一下第三方openssh的最新版本的yum仓库地址,并在本地配置后方可使用yum直接升级
[root@servera ~]# yum update openssh -y方法二:源码编译安装openssh
如果想安装到最新版本的openssh则需要使用源码安装。
配置备用连接方式telnet,以防止配置失败不能连接服务器。
[root@servera ~]# yum install xinetd telnet-server -y检查配置文件,如果存在/etc/xinetd.d/telnet文件则需要修改配置使root用户可以通过telnet登陆,如果不存在该文件则无需配置。
[root@servera ~]# ll /etc/xinetd.d/telnet
ls: cannot access /etc/xinetd.d/telnet: No such file or directory

扩展:/etc/xinetd.d/telnet文件配置
改:
  disable = no
为:
  disable = yes
配置telnet登录的终端类型,添加pst终端,文件末尾添加即可。
[root@servera ~]# vim /etc/securett
pts/0
pts/1
pts/2
pts/3

配置开机自启
systemctl enable xinetd && systemctl start xinetd
systemctl start telnet.socket
telnet连接服务器,xshell协议选择telnet。
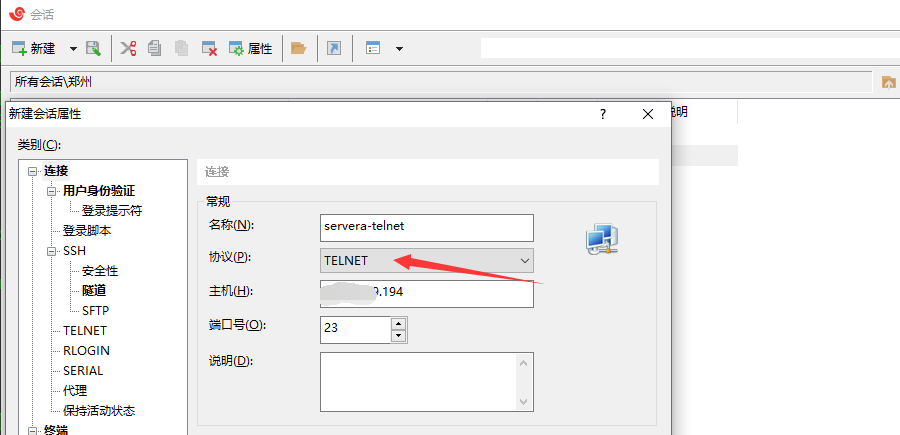
确定-登录连接,输入root用户和密码登录到服务器
1、先安装相关的依赖库:
yum -y install gcc gcc-c++ zlib zlib-devel openssl openssl-devel pam-devel libselinux-devel2、下载openssh的源码包
wget -c https://cdn.openbsd.org/pub/OpenBSD/OpenSSH/portable/openssh-8.3p1.tar.gz3、先备份一下现有的ssh配置文件
mkdir /opt/sshbak && mv /etc/ssh/* /opt/sshbak/4、创建新的安装目录
mkdir /usr/local/sshd5、解压源码包,进行编译安装
[root@servera ~]# tar xf openssh-8.3p1.tar.gz -C /usr/local/src/
# 进入到源码目录下,开始检查环境、编译、安装等
[root@servera ~]# cd /usr/local/src/openssh-8.3p1/
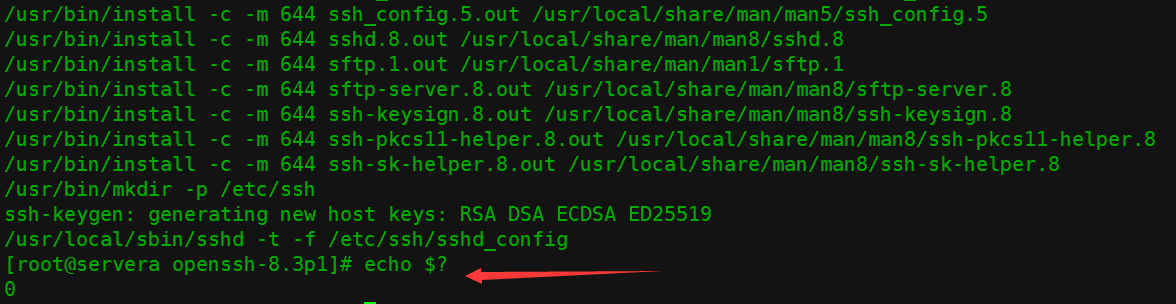
[root@servera openssh-8.3p1]# ./configure --with-md5-passwords --with-pam --with-selinux --with-privsep-path=/usr/local/sshd/ --sysconfdir=/etc/ssh && make -j4 && make install编译安装完成!
6、修改sshd服务端的新配置文件,使root用户可以远程登录。(建议先备份一下/etc/ssh/下生成的相关配置文件,也可以直接把之前的配置文件copy到此目录下使用)
备份新生成的文件
# cp -a /etc/ssh/*  /bak/sshbak-`date +%F`

#修改服务端配置文件
[root@servera openssh-8.3p1]# vim /etc/ssh/sshd_config
# ①允许root远程登录
改:
32 #PermitRootLogin prohibit-password
为:
32 PermitRootLogin yes

② 允许使用公钥认证
改:(去掉注释即可)
37 #PubkeyAuthentication yes
为:
37 PubkeyAuthentication yes

# 禁止解析
改:(去掉注释即可,此处是优化项如果使用DNS解析速度会很慢)
98 #UseDNS no
为:
98 UseDNS no
7、拷贝开机启动脚本
拷贝开机启动脚本
[root@servera openssh-8.3p1]# cp -a contrib/redhat/sshd.init /etc/init.d/sshd
# 使用sed或手动修改一下启动脚本中的路径信息
[root@servera openssh-8.3p1]# sed -i 's#SSHD=/usr/sbin/sshd#SSHD=/usr/local/sbin/sshd#g' /etc/init.d/sshd
[root@servera openssh-8.3p1]# sed -i 's#/usr/bin/ssh-keygen#/usr/local/bin/ssh-keygen#g' /etc/init.d/sshd
8、加入到开机启动服务列表并设置为开机自启动
chkconfig --add sshd && chkconfig sshd on删除或移走原有的sshd服务启动脚本
[root@servera openssh-8.3p1]# mv /usr/lib/systemd/system/sshd.service /opt/sshbak/服务管理测试
/etc/init.d/sshd restart
netstat -ntup | grep 22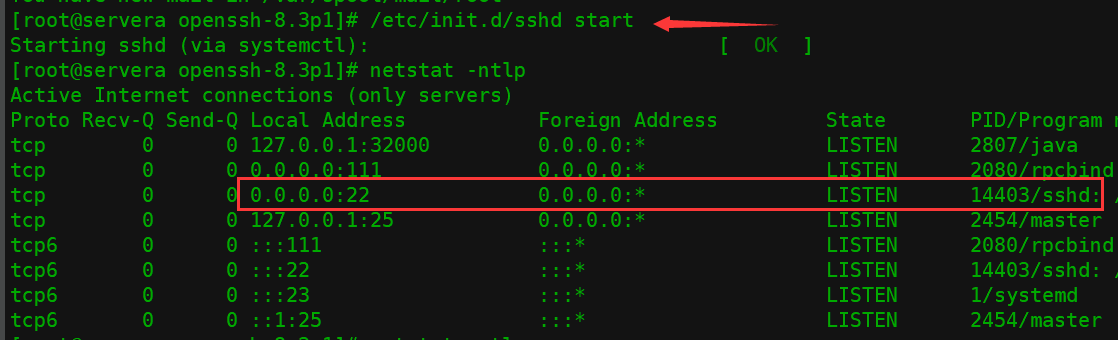
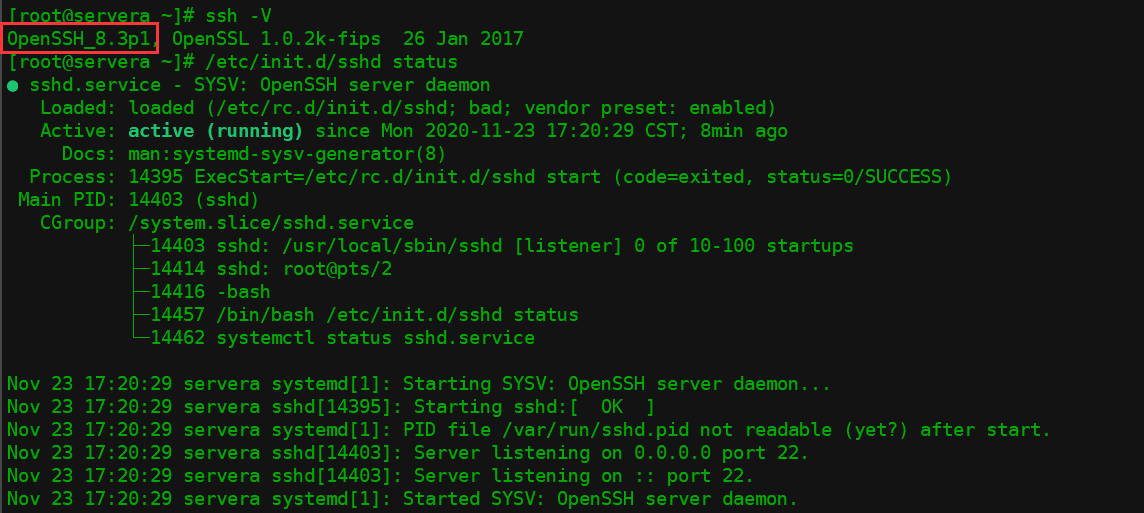
先查看一下ssh的版本和服务状态
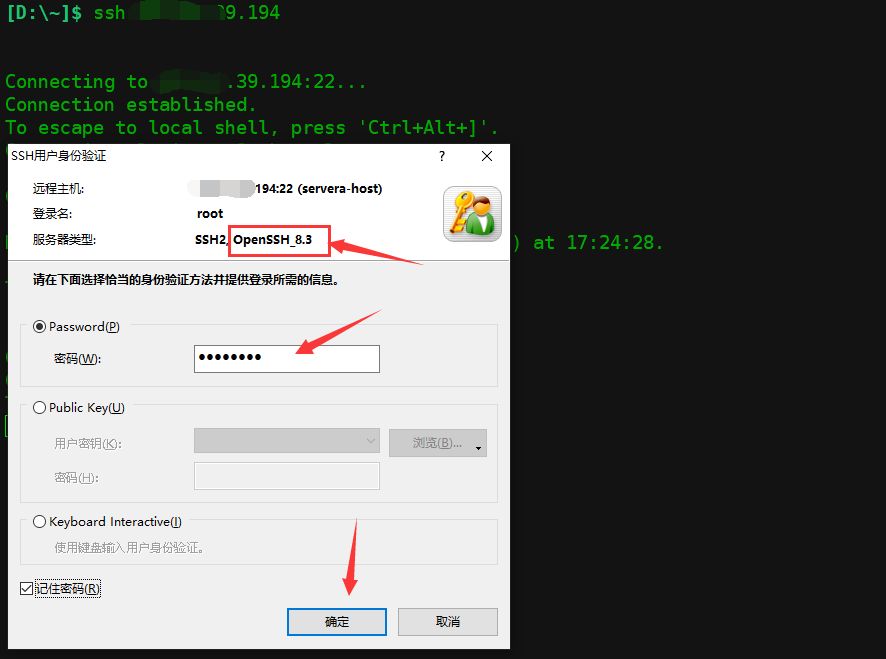
使用远程工具连接到服务器,此时ssh的版本已升级为8.3版本,升级成功
sshd服务成功登录后可以禁用telnet服务
systemctl disable xinetd.service && systemctl stop xinetd.service
systemctl disable telnet.socket && systemctl stop telnet.socket
如果想要隐藏掉远程登录时的版本信息内容,可以使用以下方法重新编译安装即可
重新编译安装ssh,使其连接时屏蔽SSHD版本信息,提升安全性
[root@servera openssh-8.3p1]# cd /usr/local/src/openssh-8.3p1

[root@servera openssh-8.3p1]# vim version.h
改:第3行内容
 3 #define SSH_VERSION   "OpenSSH_8.3"

为:修改为
 3 #define SSH_VERSION   "ctyun_cloud"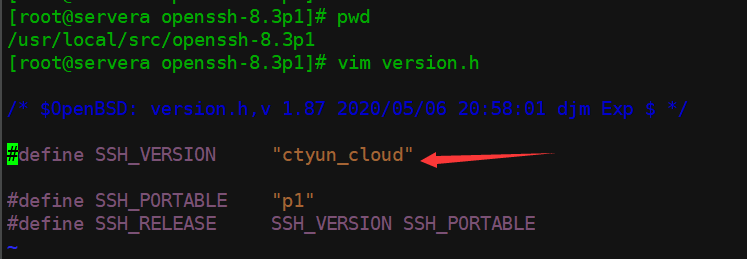
再次编译安装
[root@servera openssh-8.3p1]# ./configure --with-md5-passwords --with-pam --with-selinux --with-privsep-path=/usr/local/sshd/ --sysconfdir=/etc/ssh && make -j4 && make install
# 重新编译不会改变配置文件,直接重新启动服务使版本信息生效
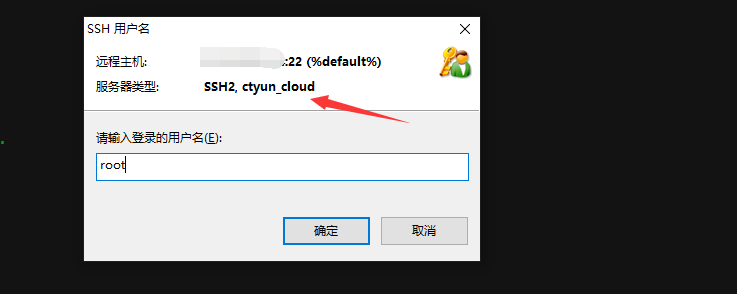
systemctl restart sshd新建选项卡连接sshd,此时ssh的版本信息已被修改为我们自定义的版本信息内容


 5591
5591


 被折叠的 条评论
为什么被折叠?
被折叠的 条评论
为什么被折叠?
 到【灌水乐园】发言


