


itk.js读取dicom文件时,我们只需要用到
readImageDICOMFileSeries即可
其余的均为vtk.js中调用
let files_paths = [];
//path为dicom文件
files_paths.push(path);
const fetchFiles = files_paths.map((file_path, index) => {
    const path = file_path;
    return axios.get(path, { responseType: 'blob' }).then((response) => {
        const jsFile = new File([response.data], `${index}.dcm`);
        return jsFile;
    });
});
Promise.all(fetchFiles).then((path) => {
    readImageDICOMFileSeries(path).then(({ webWorker, image }) => {
        imageData = vtkITKHelper.convertItkToVtkImage(image);
        //下面的操作放在promise.all中,否者会报错
        const view3d = document.getElementById('view3d');
        const fullScreenRenderer = vtkFullScreenRenderWindow.newInstance({
            container:view3d,
            background: [0, 0, 0],
        });
        const renderer = fullScreenRenderer.getRenderer();
        const renderWindow = fullScreenRenderer.getRenderWindow();

        const actor = vtkVolume.newInstance();
        const mapper = vtkVolumeMapper.newInstance({ sampleDistance: 1.1 });//体渲染映射;
        mapper.setSampleDistance(1.3);//体渲染距离原色
        mapper.setInputData(imageData);
        actor.setMapper(mapper);

        const sampleDistance =
            0.7 *
            Math.sqrt(
                imageData
                    .getSpacing()
                    .map((v) => v * v)
                    .reduce((a, b) => a + b, 0),
            );
        mapper.setSampleDistance(sampleDistance);

        renderer.addVolume(actor);
        renderer.resetCamera();
        renderWindow.render();

    });
});
其中我们调用体渲染的时候一定记得加入下面的引入,否则,我们会看不到渲染的实体
import 'vtk.js/Sources/Rendering/Profiles/Volume';
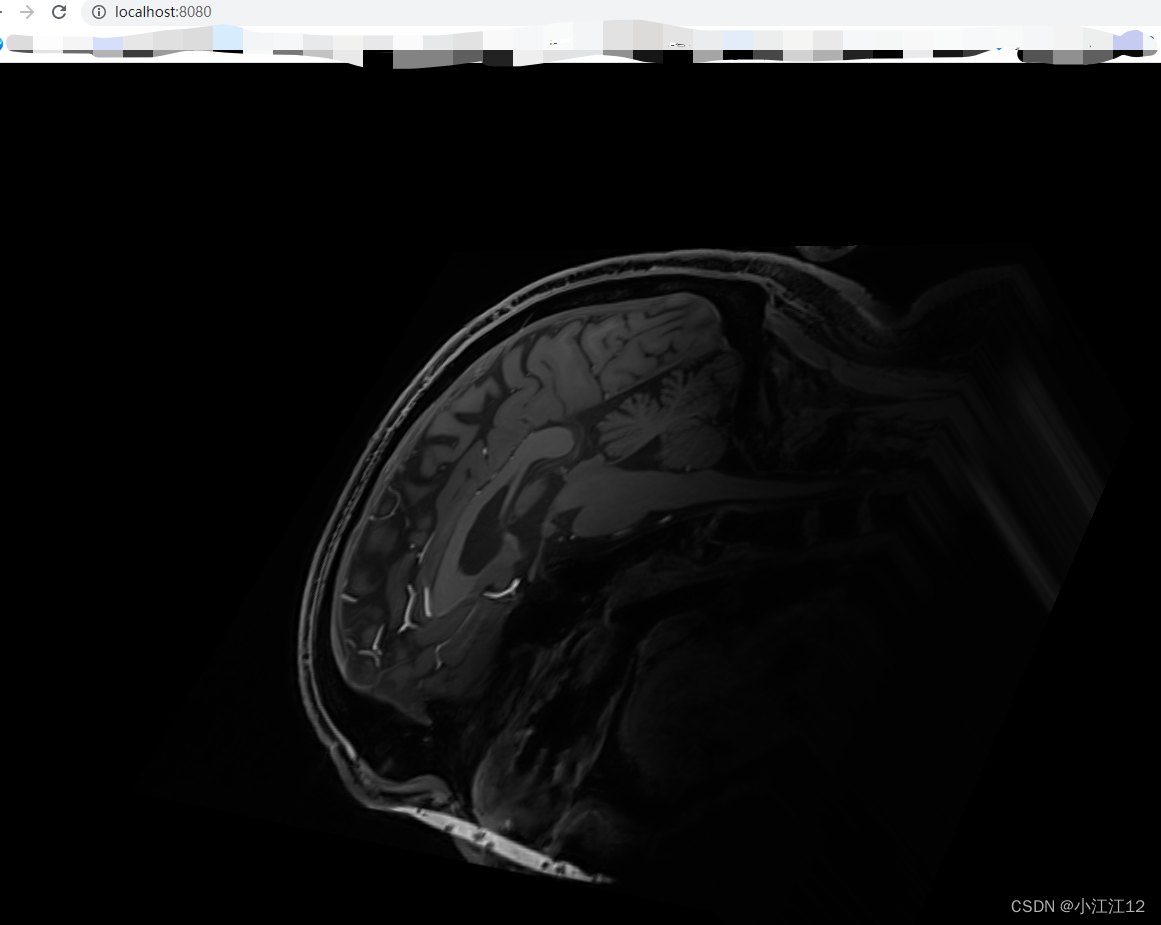
最终我们得到一个渲染的dicom文件实体


 499
499


 被折叠的 条评论
为什么被折叠?
被折叠的 条评论
为什么被折叠?
 到【灌水乐园】发言


