


1、说明
本次案例是利用WRF进行Nested Model Runs的嵌套模拟,下面的实例来自官网Nested Model Runs。如果还没安装和配置好WRF,可以先看我这篇博客WRF模型配置。如果之前没有做过单个域WRF模拟的同学,建议可以先试试单个域的WRF模拟WRF案例运行-Single Domain Case。
2、Nested Model Runs的基本流程
WRF使用基本上会涉及到嵌套,因为嵌套可以在局地使用分辨率更高的数据来节约计算资源,同时达到提高局地模拟精度的目的。嵌套主要有两种方式:单向嵌套和双向嵌套。
2.1 双向嵌套
双向嵌套是一种在不同网格分辨率下同时运行多个域并相互通信的方法。粗域为嵌套域提供边界值,然后嵌套域将其计算反馈给粗域。(feedback=1)
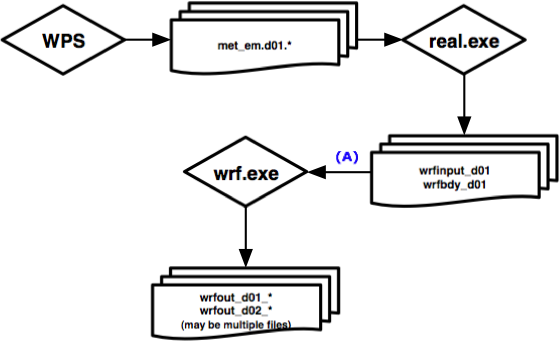
2.1.1 Two-way nested run, with one input file(双向嵌套,一个输入文件)
本例的预处理步骤类似于单个域设置。当执行多个嵌套域的时候,唯一的区别发生在wrf.exe执行阶段。嵌套的子区域不需要另外准备初始场数据(比如Static Geographic Data和 Grided Meteorological Data),嵌套子区域的静态数据和气象数据都是由粗域插值而成。流程如下所示。
优势:嵌套区域的模拟时间可以晚于粗域。
劣势:嵌套区域的模拟精度可能降低,影响模拟质量。
#在namelist.input中
input_from_file=.true.,.false.,
2.1.2 Two-way nested run, with two input files(双向嵌套,两个输入文件)
在wrf.exe运行时,有两个输入文件wrfinput_do1和wrfinput_do2,这种嵌套方式也有两种方法,主要的区别在于:
(1)嵌套区域都有静态地理数据和气象数据,都来自wrfinput_do2。推荐使用此方法
(2)嵌套区域的静态地理数据来自wrfinput_do2,但是气象数据由粗域插值而成。当嵌套域的模拟时间晚于粗域的时候,可以使用该方法。
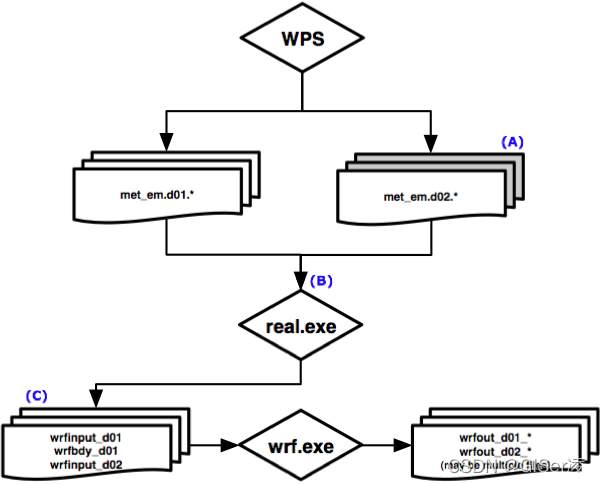
上面流程图中,A:WPS可以设置为嵌套域生成多个met_em.d02.*文件,但只需要初始时间。B:到目前为止,上述情况(1)和(2)的步骤是一样的。C:嵌套域将始终从粗略域获取其边界条件,因此不会创建wrfbdy_d02。需要生成嵌套域和粗域的geo_em.dox,粗区域的met_em.do1(所有时刻),嵌套区域met_em.do2(初始时刻),母区域和子区域的wrfinput_dox。
2.2 单向嵌套
单向嵌套是一种不同网格分辨率的多个域同时运行的方法,但唯一的通信来自粗域,它为嵌套区域提供边界值。但是嵌套域不会将计算结果返回给粗域。 此方法的运行方式与 双向嵌套相同,但需在 namelist.input 文件中设置 feedback=0。
2.2.1 使用ndown.exe嵌套
仅在已经有一个域已经运行了很长时间(几个月或几年)的时候,然后
决定使用更高分辨率来对嵌套区域进行研究,当觉得如果重新在来成本太高,就可以使用ndown.exe。
3、Nested Domain (2-way, 2 Input Files)
本次实例使用双向嵌套,两个输入文件
3.1 Geogrid
(1)确保在WPS文件夹下
test@test:~/Build_WRF/WPS-4.1$
(2)编辑namelist.wps
test@test:~/Build_WRF/WPS-4.1$ nano namelist.wps
对namelist.wps做以下改变:
&share
 wrf_core = 'ARW',
 max_dom = 2,
 start_date = '2016-10-06_00:00:00','2016-10-06_00:00:00',
 end_date   = '2016-10-08_00:00:00','2016-10-06_00:00:00',
 interval_seconds = 21600
 io_form_geogrid = 2,
/

&geogrid
 parent_id         =   1,1,
 parent_grid_ratio =   1,3,
 i_parent_start    =   1,23,
 j_parent_start    =   1,46,
 e_we              =  91,88,
 e_sn              =  100,79,
geog_data_res = 'default','default',
 dx = 27000,
 dy = 27000,
 map_proj = 'mercator',
 ref_lat   = 28,
 ref_lon   = -79,
 truelat1  = 30.0,
 truelat2  = 60.0,
 stand_lon = -79,
 geog_data_path = '/home/test/Build_WRF/WPS_GEOG/'
/
&ungrib
 out_format = 'WPS',
 prefix = 'FILE',
/

&metgrid
 fg_name = 'FILE'
 io_form_metgrid = 2,
/
如果你还不知道静态地理如何如下载,且不知道放在哪个文件夹,请看先看完这篇博客WRF案例运行-Single Domain Case,再进行下一步的操作。
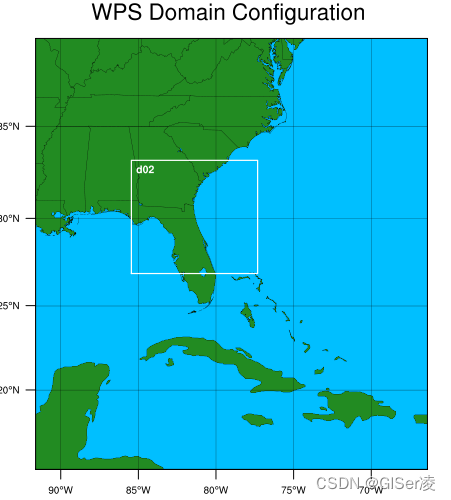
(3)在运行geogrib.exe之前,可以先确保这个域在正确的位置
test@test:~/Build_WRF/WPS-4.1$ ncl util/plotgrids_new.ncl
(4)运行geogrib.exe
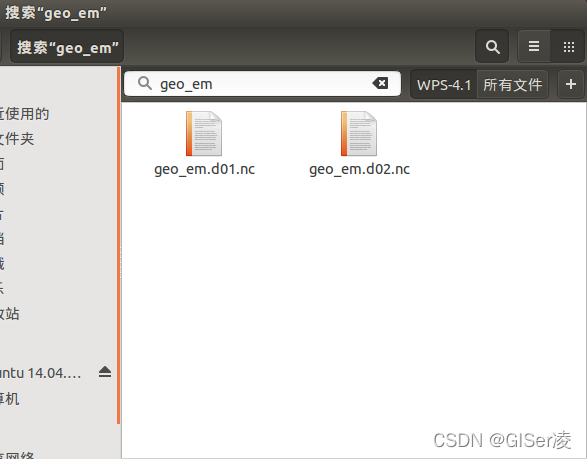
test@test:~/Build_WRF/WPS-4.1$ ./geogrid.exe
运行完后,看到Successful completion of geogrid,说明运行成功了,并且在WPS中生成以下两个文件。
3.2 Geogrid
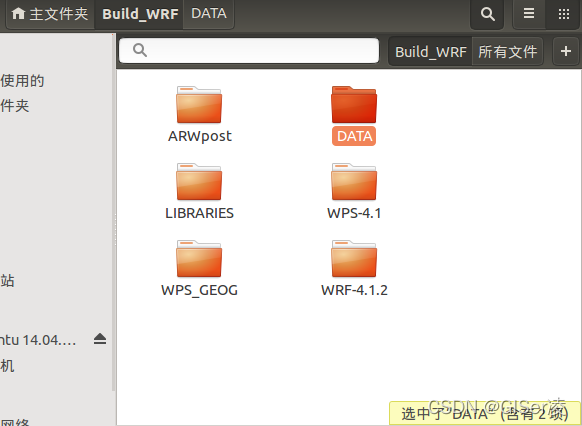
(1)在WPS和WRF同一个文件夹下建立DATA文件夹
test@test:~/Build_WRF/WPS-4.1$ cd ..
test@test:~/Build_WRF$ mkdir DATA
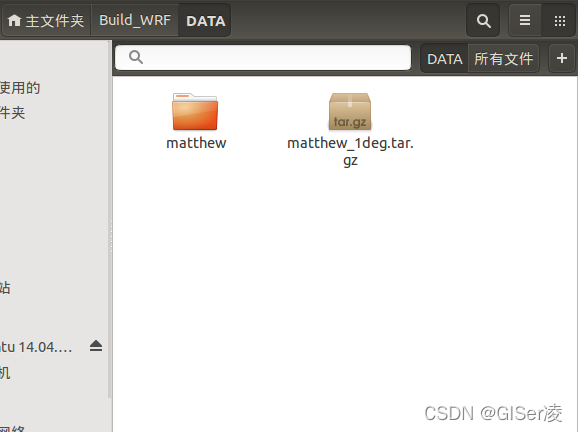
(2)下载Matthew case study data数据,放入刚刚创立的DATA文件夹中,并进行解压。
test@test:~/Build_WRF$ cd DATA/
test@test:~/Build_WRF/DATA$ tar -xf matthew_1deg.tar.gz
(3)连接 GFS Vtable:
test@test:~/Build_WRF/DATA$ cd ..
test@test:~/Build_WRF$ cd WPS-4.1/
test@test:~/Build_WRF/WPS-4.1$ ln -sf ungrib/Variable_Tables/Vtable.GFS Vtable
(4)通过link_grib.csh脚本来连接GRIB data
test@test:~/Build_WRF/WPS-4.1$ ./link_grib.csh ../DATA/matthew/fnl
在WPS文件夹中可以看到以下文件:
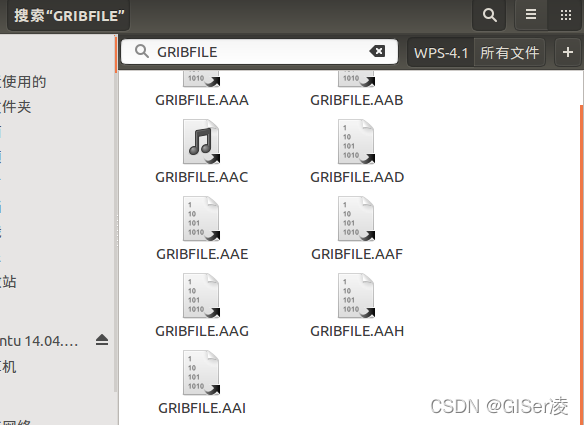
GRIBFILE.AAA -> …/DATA/matthew/fnl_20161006_00_00.grib2
GRIBFILE.AAB -> …/DATA/matthew/fnl_20161006_06_00.grib2
GRIBFILE.AAC -> …/DATA/matthew/fnl_20161006_12_00.grib2
GRIBFILE.AAD -> …/DATA/matthew/fnl_20161006_18_00.grib2
GRIBFILE.AAE -> …/DATA/matthew/fnl_20161007_00_00.grib2
GRIBFILE.AAF -> …/DATA/matthew/fnl_20161007_06_00.grib2
GRIBFILE.AAG -> …/DATA/matthew/fnl_20161007_12_00.grib2
GRIBFILE.AAH -> …/DATA/matthew/fnl_20161007_18_00.grib2
GRIBFILE.AAI -> …/DATA/matthew/fnl_20161008_00_00.grib2
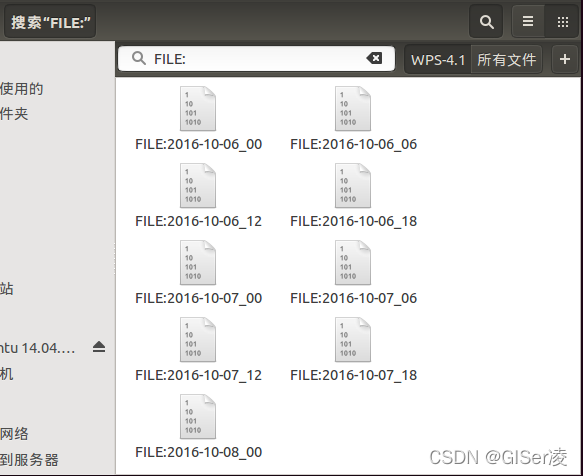
(5)运行ungrib.exe
test@test:~/Build_WRF/WPS-4.1$ ./ungrib.exe
在WPS文件加下产生以下文件:
3.3 Metgrid
将输入数据插值到模型域中
test@test:~/Build_WRF/WPS-4.1$ ./metgrid.exe
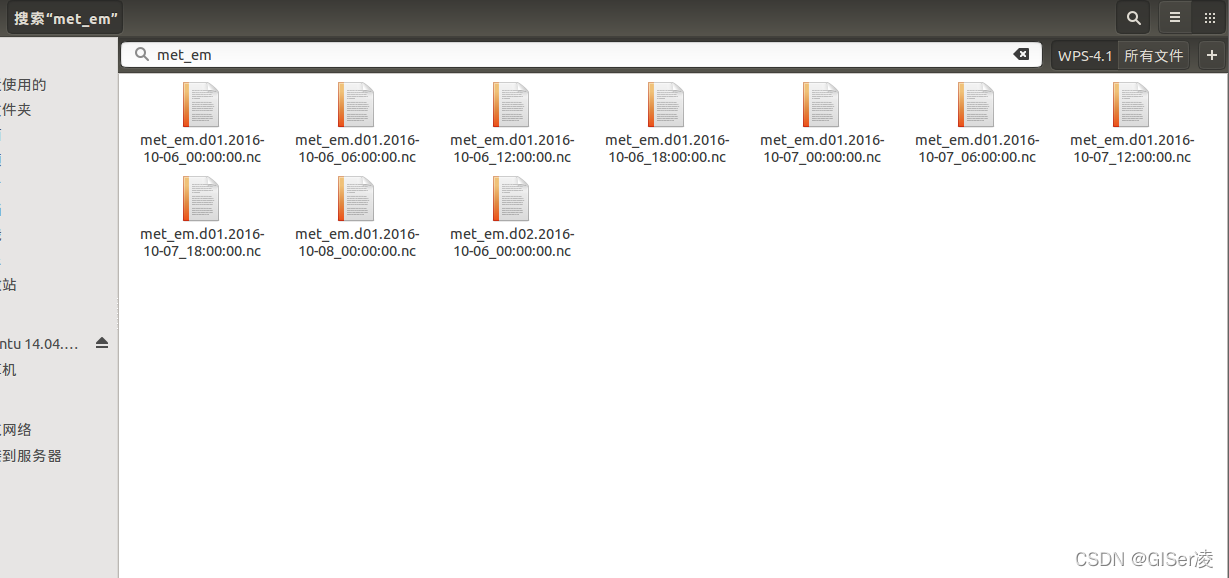
wps文件夹中将会产生以下文件:
met_em.d01.2016-10-06_00:00:00.nc
met_em.d01.2016-10-06_06:00:00.nc
met_em.d01.2016-10-06_12:00:00.nc
met_em.d01.2016-10-06_18:00:00.nc
met_em.d01.2016-10-07_00:00:00.nc
met_em.d01.2016-10-07_06:00:00.nc
met_em.d01.2016-10-07_12:00:00.nc
met_em.d01.2016-10-07_18:00:00.nc
met_em.d01.2016-10-08_00:00:00.nc
met_em.d02.2016-10-06_00:00:00.nc
3.4 Real and WRF
使用嵌套区域都有静态地理数据和气象数据都有数据的方法。
(1)确保运行在WRF的test的em_real文件夹下
test@test:~/Build_WRF/WPS-4.1$ cd ..
test@test:~/Build_WRF$ cd WRF-4.1.2/
test@test:~/Build_WRF/WRF-4.1.2$ cd test
test@test:~/Build_WRF/WRF-4.1.2/test$ cd em_real
test@test:~/Build_WRF/WRF-4.1.2/test/em_real$
(2)编辑namelist.input
本次实例namelist.input中进行如下设置:
&time_control
 run_days                            = 0,
 run_hours                           = 48,
 run_minutes                         = 0,
 run_seconds                         = 0,
 start_year                          = 2016,2016,
 start_month                         = 10,10,
 start_day                           = 06,06,
 start_hour                          = 00,00,
 end_year                            = 2016,2016,
 end_month                           = 10,10,
 end_day                             = 08,08,
 end_hour                            = 00,00,
 interval_seconds                    = 21600
 input_from_file                     = .true.,.true.
 history_interval                    = 180,60
 frames_per_outfile                  = 1000,1000,
 restart                             = .false.,
 restart_interval                    = 5000,
 io_form_history                     = 2
 io_form_restart                     = 2
 io_form_input                       = 2
 io_form_boundary                    = 2
 /

 &domains
 time_step                           = 150,
 time_step_fract_num                 = 0,
 time_step_fract_den                 = 1,
 max_dom                             = 2,
 e_we                                = 91,88,
 e_sn                                = 100,79
 e_vert                              = 35,35
 p_top_requested                     = 5000,
 num_metgrid_levels                  = 32,
 num_metgrid_soil_levels             = 4,
 dx                                  = 27000,9000
 dy                                  = 27000,9000
 grid_id                             = 1,2,
 parent_id                           = 1,1,
 i_parent_start                      = 1,23,
 j_parent_start                      = 1,46,
 parent_grid_ratio                   = 1,3,
 parent_time_step_ratio              = 1,3,
 feedback                            = 1,
 smooth_option                       = 0,
 sfcp_to_sfcp = .true.
 /

 &physics
 physics_suite                       = 'CONUS'
 mp_physics                          = 8,8,
 cu_physics                          = 3,3,
 ra_lw_physics                       = 4,4,
 ra_sw_physics                       = 4,4,
 bl_pbl_physics                      = 2,2,
 sf_sfclay_physics                   = 2,2,
 sf_surface_physics                  = 2,2,
 radt                                = 10,10,
 bldt                                = 0,0,
 cudt                                = 5,
 icloud                              = 1,
 num_land_cat                        = 21,
 sf_urban_physics                    = 0,0,
 /

 &fdda
 /

 &dynamics
 w_damping                           = 0,
 diff_opt                            = 2,2,
 km_opt                              = 4,4,
 diff_6th_opt                        = 0,
 diff_6th_factor                     = 0.12,
 base_temp                           = 290.
 damp_opt                            = 3,
 zdamp                               = 5000.,5000.,
 dampcoef                            = 0.,0.,
 khdif                               = 0,0,
 kvdif                               = 0,0,
 non_hydrostatic                     = .true.,.true.,
 moist_adv_opt                       = 1,1,
 scalar_adv_opt                      = 1,1,
 /

 &bdy_control
 spec_bdy_width                      = 5,
 specified                           = .true.,.false.
 /

 &grib2
 /

 &namelist_quilt
 nio_tasks_per_group = 0,
 nio_groups = 1,
 /
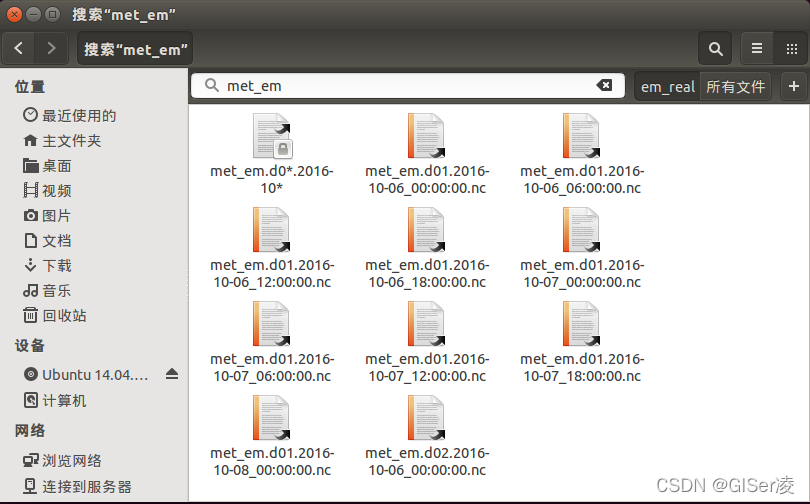
(3)连接由metgrid.exe创建的met_em文件
test@test:~/Build_WRF/WRF-4.1.2/test/em_real$ ln -sf ../../../WPS-4.1/met_em.d0*.2016-10* .
确保em_real中有以下文件:
(4)运行real.exe
test@test:~/Build_WRF/WRF-4.1.2/test/em_real$ ./real.exe
得到以下文件:
wrfinput_d01
wrfbdy_d01
wrfinput_d02
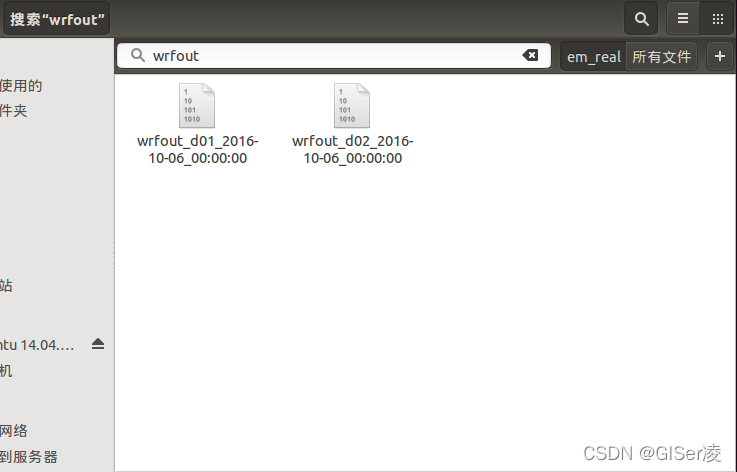
(5)运行wrf.exe
test@test:~/Build_WRF/WRF-4.1.2/test/em_real$ ./wrf.exe
可能是我的笔记本电脑的原因,大概运行了4个小时才出结果,得到以下文件:
wrfout_d01_2016-10-06_00:00:00
wrfout_d02_2016-10-06_00:00:00
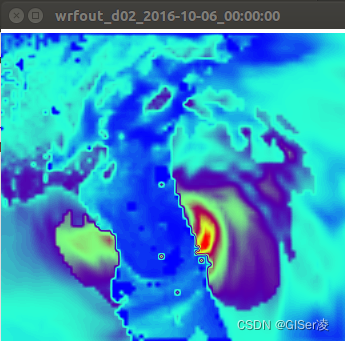
(6)查看输出结果
test@test:~/Build_WRF/WRF-4.1.2/test/em_real$ ncview wrfout_d02_2016-10-06_00:00:00
如下图,我选择的是3d vars=LH,总共模拟了48个小时,可以明显看出台风过境带来的变化。
结语:以上就是WRF官网嵌套实例的全部内容,如果有错误还请大家批评指正!


 1356
1356


 被折叠的 条评论
为什么被折叠?
被折叠的 条评论
为什么被折叠?
 到【灌水乐园】发言


