


初始化一个SpringBoot项目
打开官方在线项目生成地址(https://start.spring.io/)
了解SpringBoot提供的内置监听器
- ApplicationStartingEvent:应用程序开始启动时触发
- ApplicationEnvironmentPreparedEvent:应用程序环境准备好时触发,此时上下文还没有创建
- ApplicationContextInitializedEvent:应用程序上下文创建之前触发
- ApplicationPreparedEvent:应用程序上下文创建完成后触发,此时所有的bean已经加载完成
- ApplicationStartedEvent:应用程序启动完成时触发
- ApplicationReadyEvent:应用程序已经准备好接收请求时触发
- ApplicationFailedEvent:应用程序启动失败时触发
方式一:实现ApplicationListener并添加listeners
新增监听器
创建监听器文件夹,把自定义的监听器都放在里面:
自定义的监听器需要实现ApplicationListener接口,传入的泛型是“SpringBoot提供的内置监听器”中的类,然后重写onApplicationEvent方法,实现哪个类就会在哪一步骤调用,比如我下面实现的是ApplicationStartedEvent,就会在程序启动完成时触发onApplicationEvent方法
public class StartedListener implements ApplicationListener<ApplicationStartedEvent> {

    @Override
    public void onApplicationEvent(ApplicationStartedEvent event) {
        System.out.println("程序启动成功");
    }
}
使监听器生效
要使监听器生效,还需要在启动类中添加监听器
@SpringBootApplication
public class DemoApplication {

	public static void main(String[] args) {
		new SpringApplicationBuilder(DemoApplication.class).listeners(new StartedListener()).run(args);
	}

}
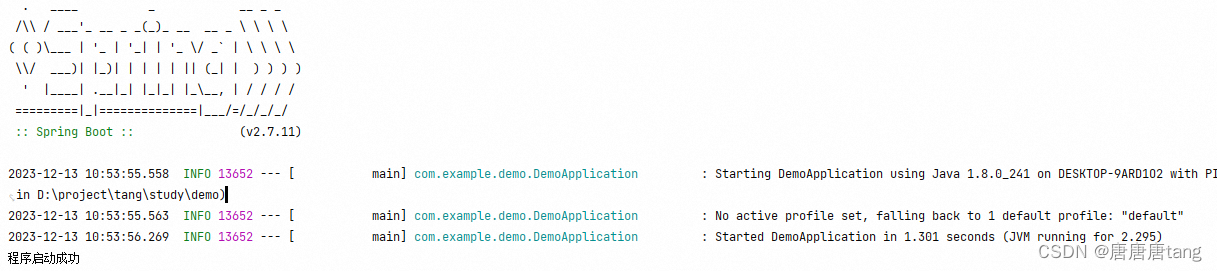
测试运行效果
启动完成时,打印“程序启动成功”
方式二:在META-INF/spring.factories中配置监听器
新增监听器
package com.example.demo.listener;
import org.springframework.boot.context.event.ApplicationPreparedEvent;
import org.springframework.context.ApplicationListener;
public class PreparedListener implements ApplicationListener<ApplicationPreparedEvent> {

    @Override
    public void onApplicationEvent(ApplicationPreparedEvent event) {
        System.out.println("应用程序上下文创建完成后触发,此时所有的bean已经加载完成");
    }
}
配置spring.factories使监听器生效
在resource文件夹下创建META-INF/spring.factories文件:

文件内容:
org.springframework.context.ApplicationListener=com.example.demo.listener.PreparedListener
运行效果

方式三:使用@EventListener注解
@Component
public class MyApplicationListener {
//监听单个事件
@EventListener
public void listenerApplicationStarted(ApplicationStartedEvent event) {
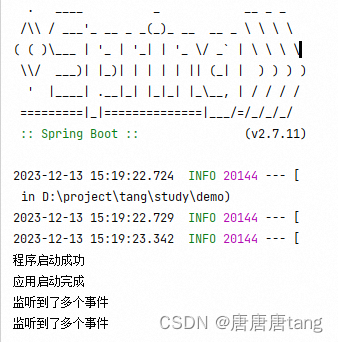
System.out.println("应用启动完成");
}
//监听多个事件
@EventListener({ApplicationReadyEvent.class, ApplicationStartedEvent.class})
public void listenerApplication() {
System.out.println("监听到了多个事件");
}
}
运行效果:
参考博客:https://blog.csdn.net/weixin_40972073/article/details/131073017?ops_request_misc=%257B%2522request%255Fid%2522%253A%2522170243810216800213034294%2522%252C%2522scm%2522%253A%252220140713.130102334…%2522%257D&request_id=170243810216800213034294&biz_id=0&utm_medium=distribute.pc_search_result.none-task-blog-2allsobaiduend~default-2-131073017-null-null.142v96pc_search_result_base9&utm_term=springboot%E7%9B%91%E5%90%AC%E5%99%A8&spm=1018.2226.3001.4187


 483
483


 被折叠的 条评论
为什么被折叠?
被折叠的 条评论
为什么被折叠?
 到【灌水乐园】发言


