


因为淋过雨,所以想为你撑把伞~
背景介绍
最近白嫖的阿里云服务器,想着尝试一下在服务器上跑沐神的教程,但是每次都需要去打开浏览器–>扫码登录–>输入指令,而且服务器上浏览器也没安装好,没有图形界面的jupyter notebook…看到沐神通过端口映射将服务器上的端口映射到本地打开了,就也想尝试一下,网上看了许多教程都或多或少存在各种问题,故此想写一个全面的更新的记录
Jupyter notebook最近也悄悄更新到7.0的版本了,故此在设置教程上也出现了许多变化。
其他教程(旧配置)
一下是在互联网垃圾堆中淘到的一些教程
教程1
报错如下:
>>> from notebook.auth import passwd
Traceback (most recent call last):
  File "<stdin>", line 1, in <module>
ModuleNotFoundError: No module named 'notebook.auth'
>>>
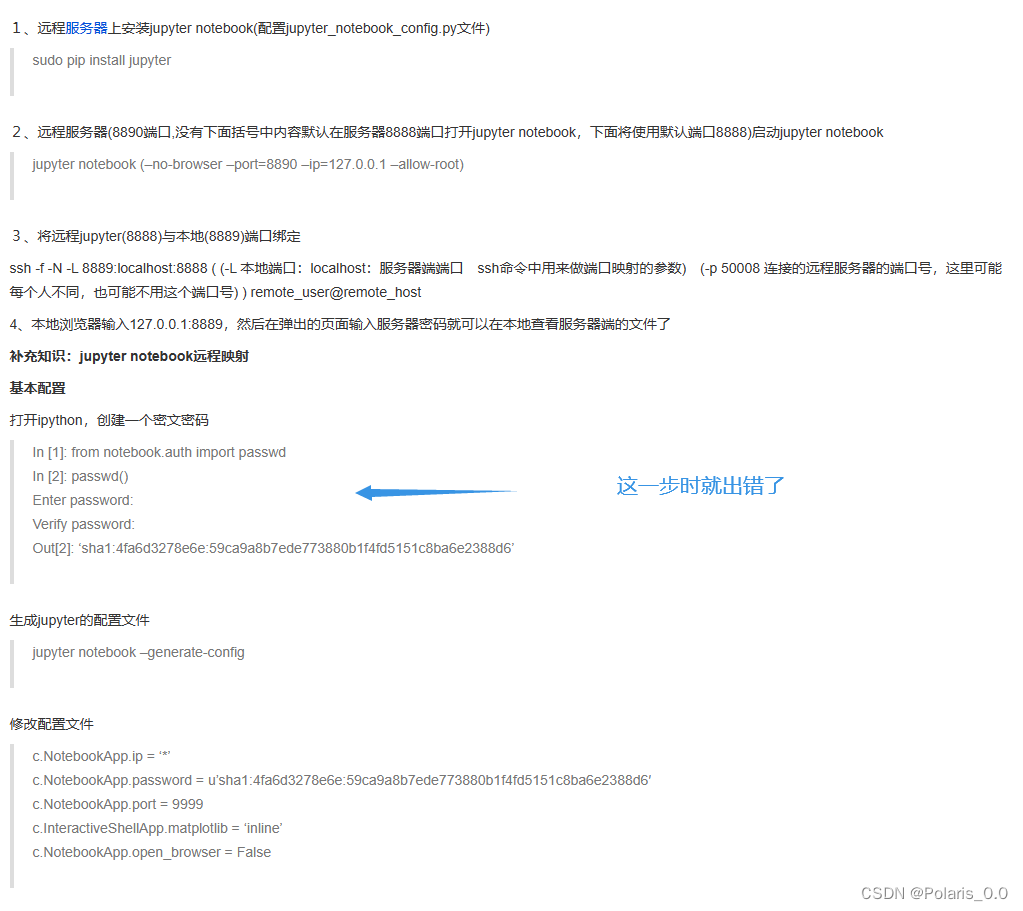
教程2
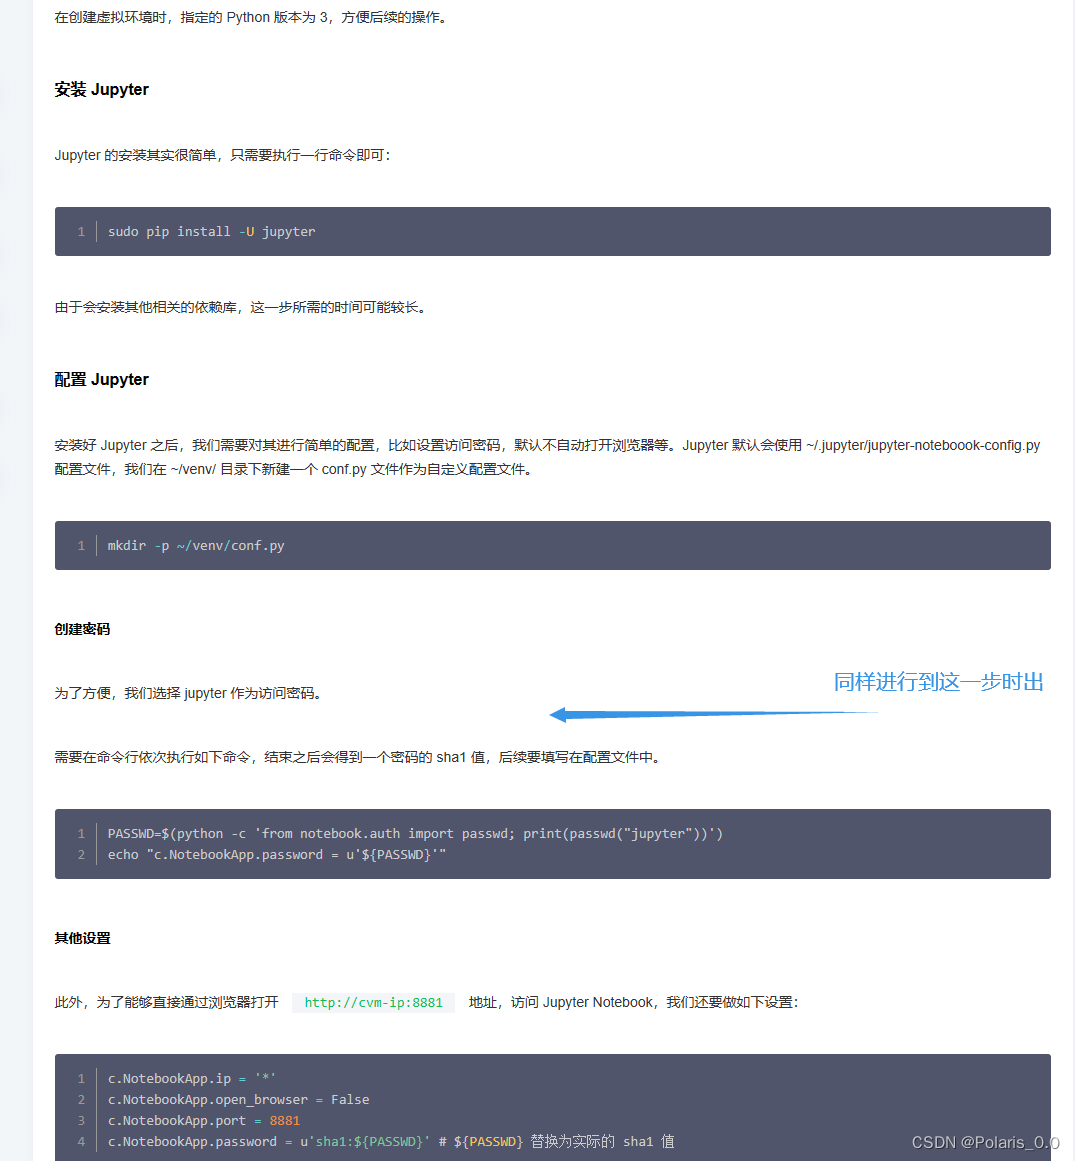
报错情况如下:
>>> PASSWD=$(python -c 'from notebook.auth import passwd; print(passwd("jupyter"))')
  File "<stdin>", line 1
    PASSWD=$(python -c 'from notebook.auth import passwd; print(passwd("jupyter"))')
           ^
SyntaxError: invalid syntax
>>>
新解决方案
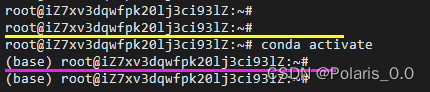
- 首先将环境切换至conda环境
conda activate
-
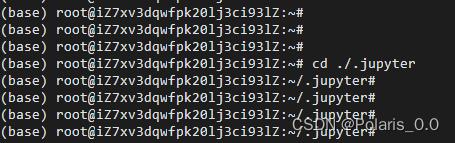
在命令行输入
cd ./.jupyter后再输入jupyter notebook --generate-config生成config文件
可以看到在root目录的.jupyter文件夹中多了一个.config.py文件
-
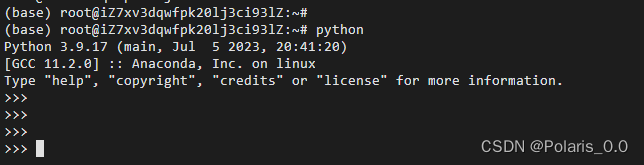
进入python编辑界面并键入代码
在命令行输入python进入python IDLE界面
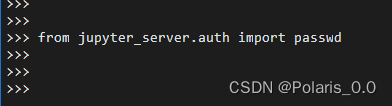
然后依次输入:from jupyter_server.auth import passwd以及passwd()后产生一串代码作为访问密钥
该图为输入密码时直接回车产生的结果:
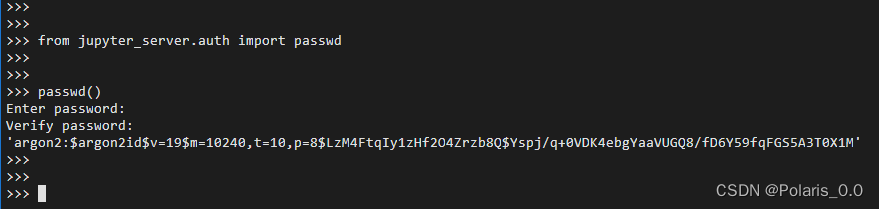
也可以输入passwd(algorithm='sha1')生成hash密码

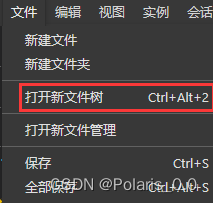
之后在实例左上角打开文件树文件--->打开新文件树
点开.jupyter文件夹双击打开jupyter_notebook_config.py文件,然后使用查找ctrl+F查找并修改以下代码c.ServerApp.ip = '0.0.0.0' c.ServerApp.password = '' c.ServerApp.open_browser = False c.ServerApp.port = 8888 c.ServerApp.allow_remote_access = True
点击保存,然后在命令行输入jupyter notebook -config运行,之后便可以了
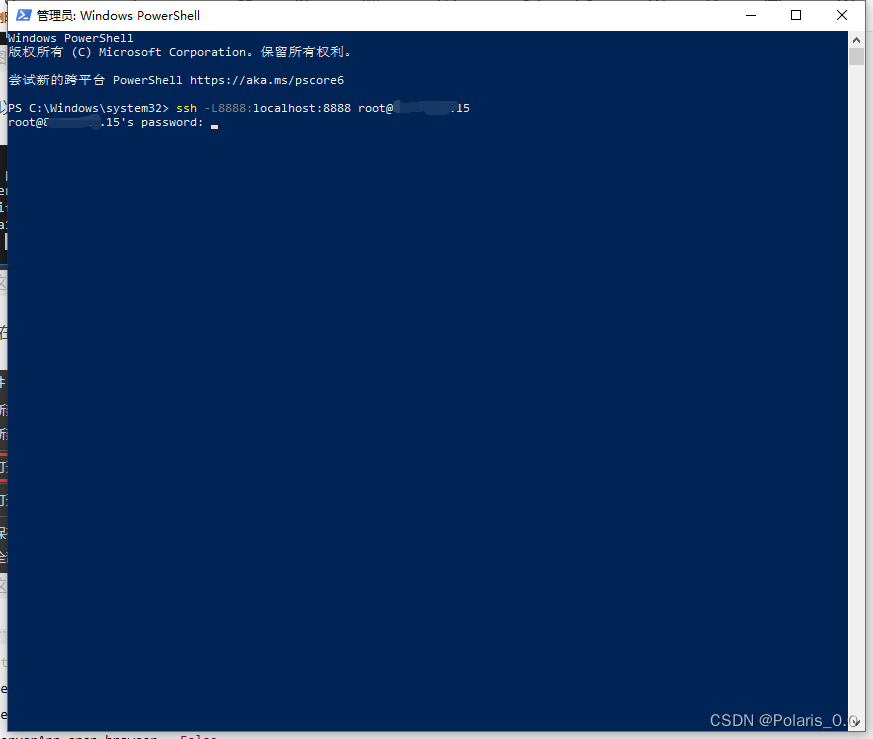
接着在powershell中运行指令:
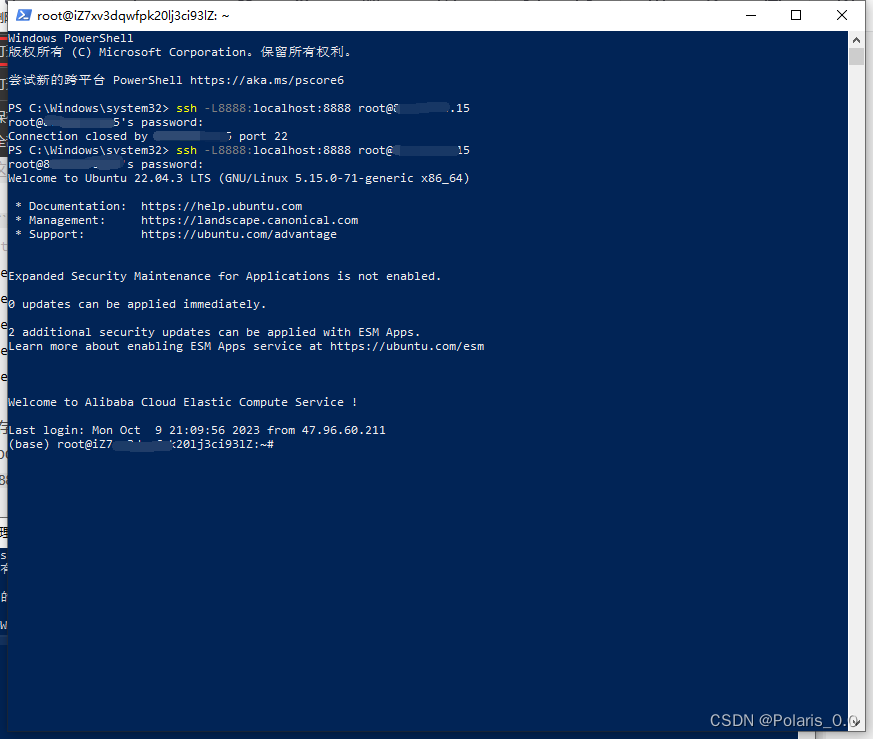
ssh -L8888:localhost:8888 root@xxx.xxx.xxx.xx,接着输入密码便可在本地电脑上进行远程访问了
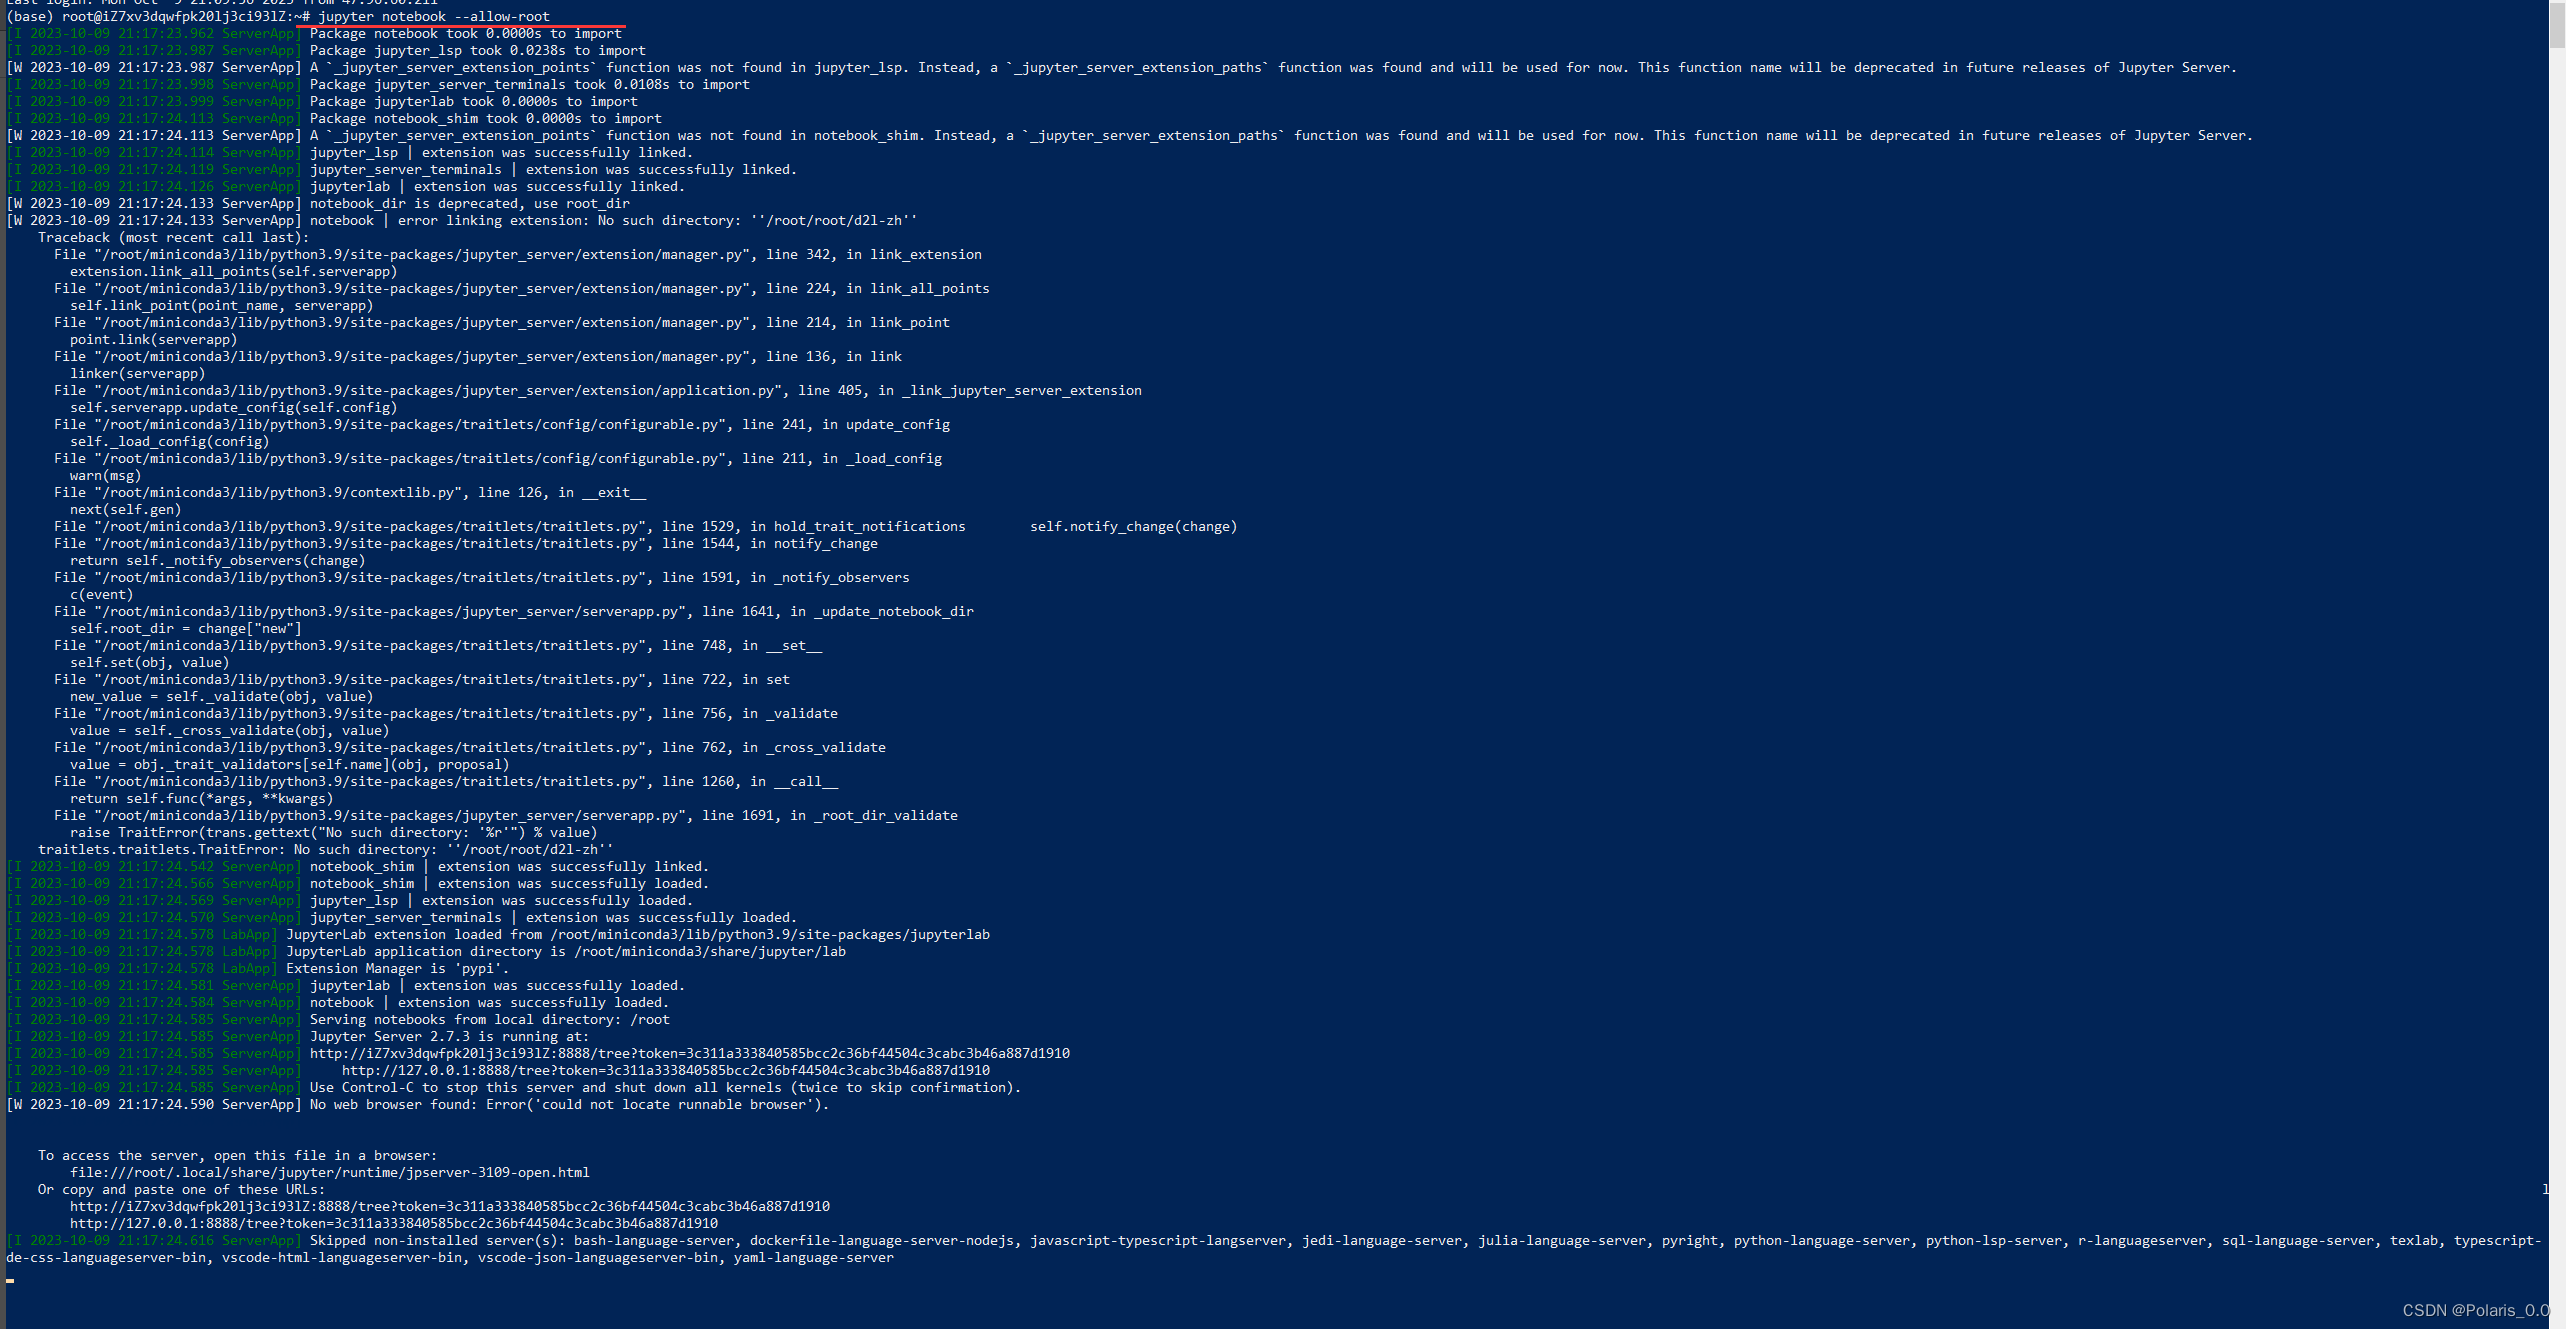
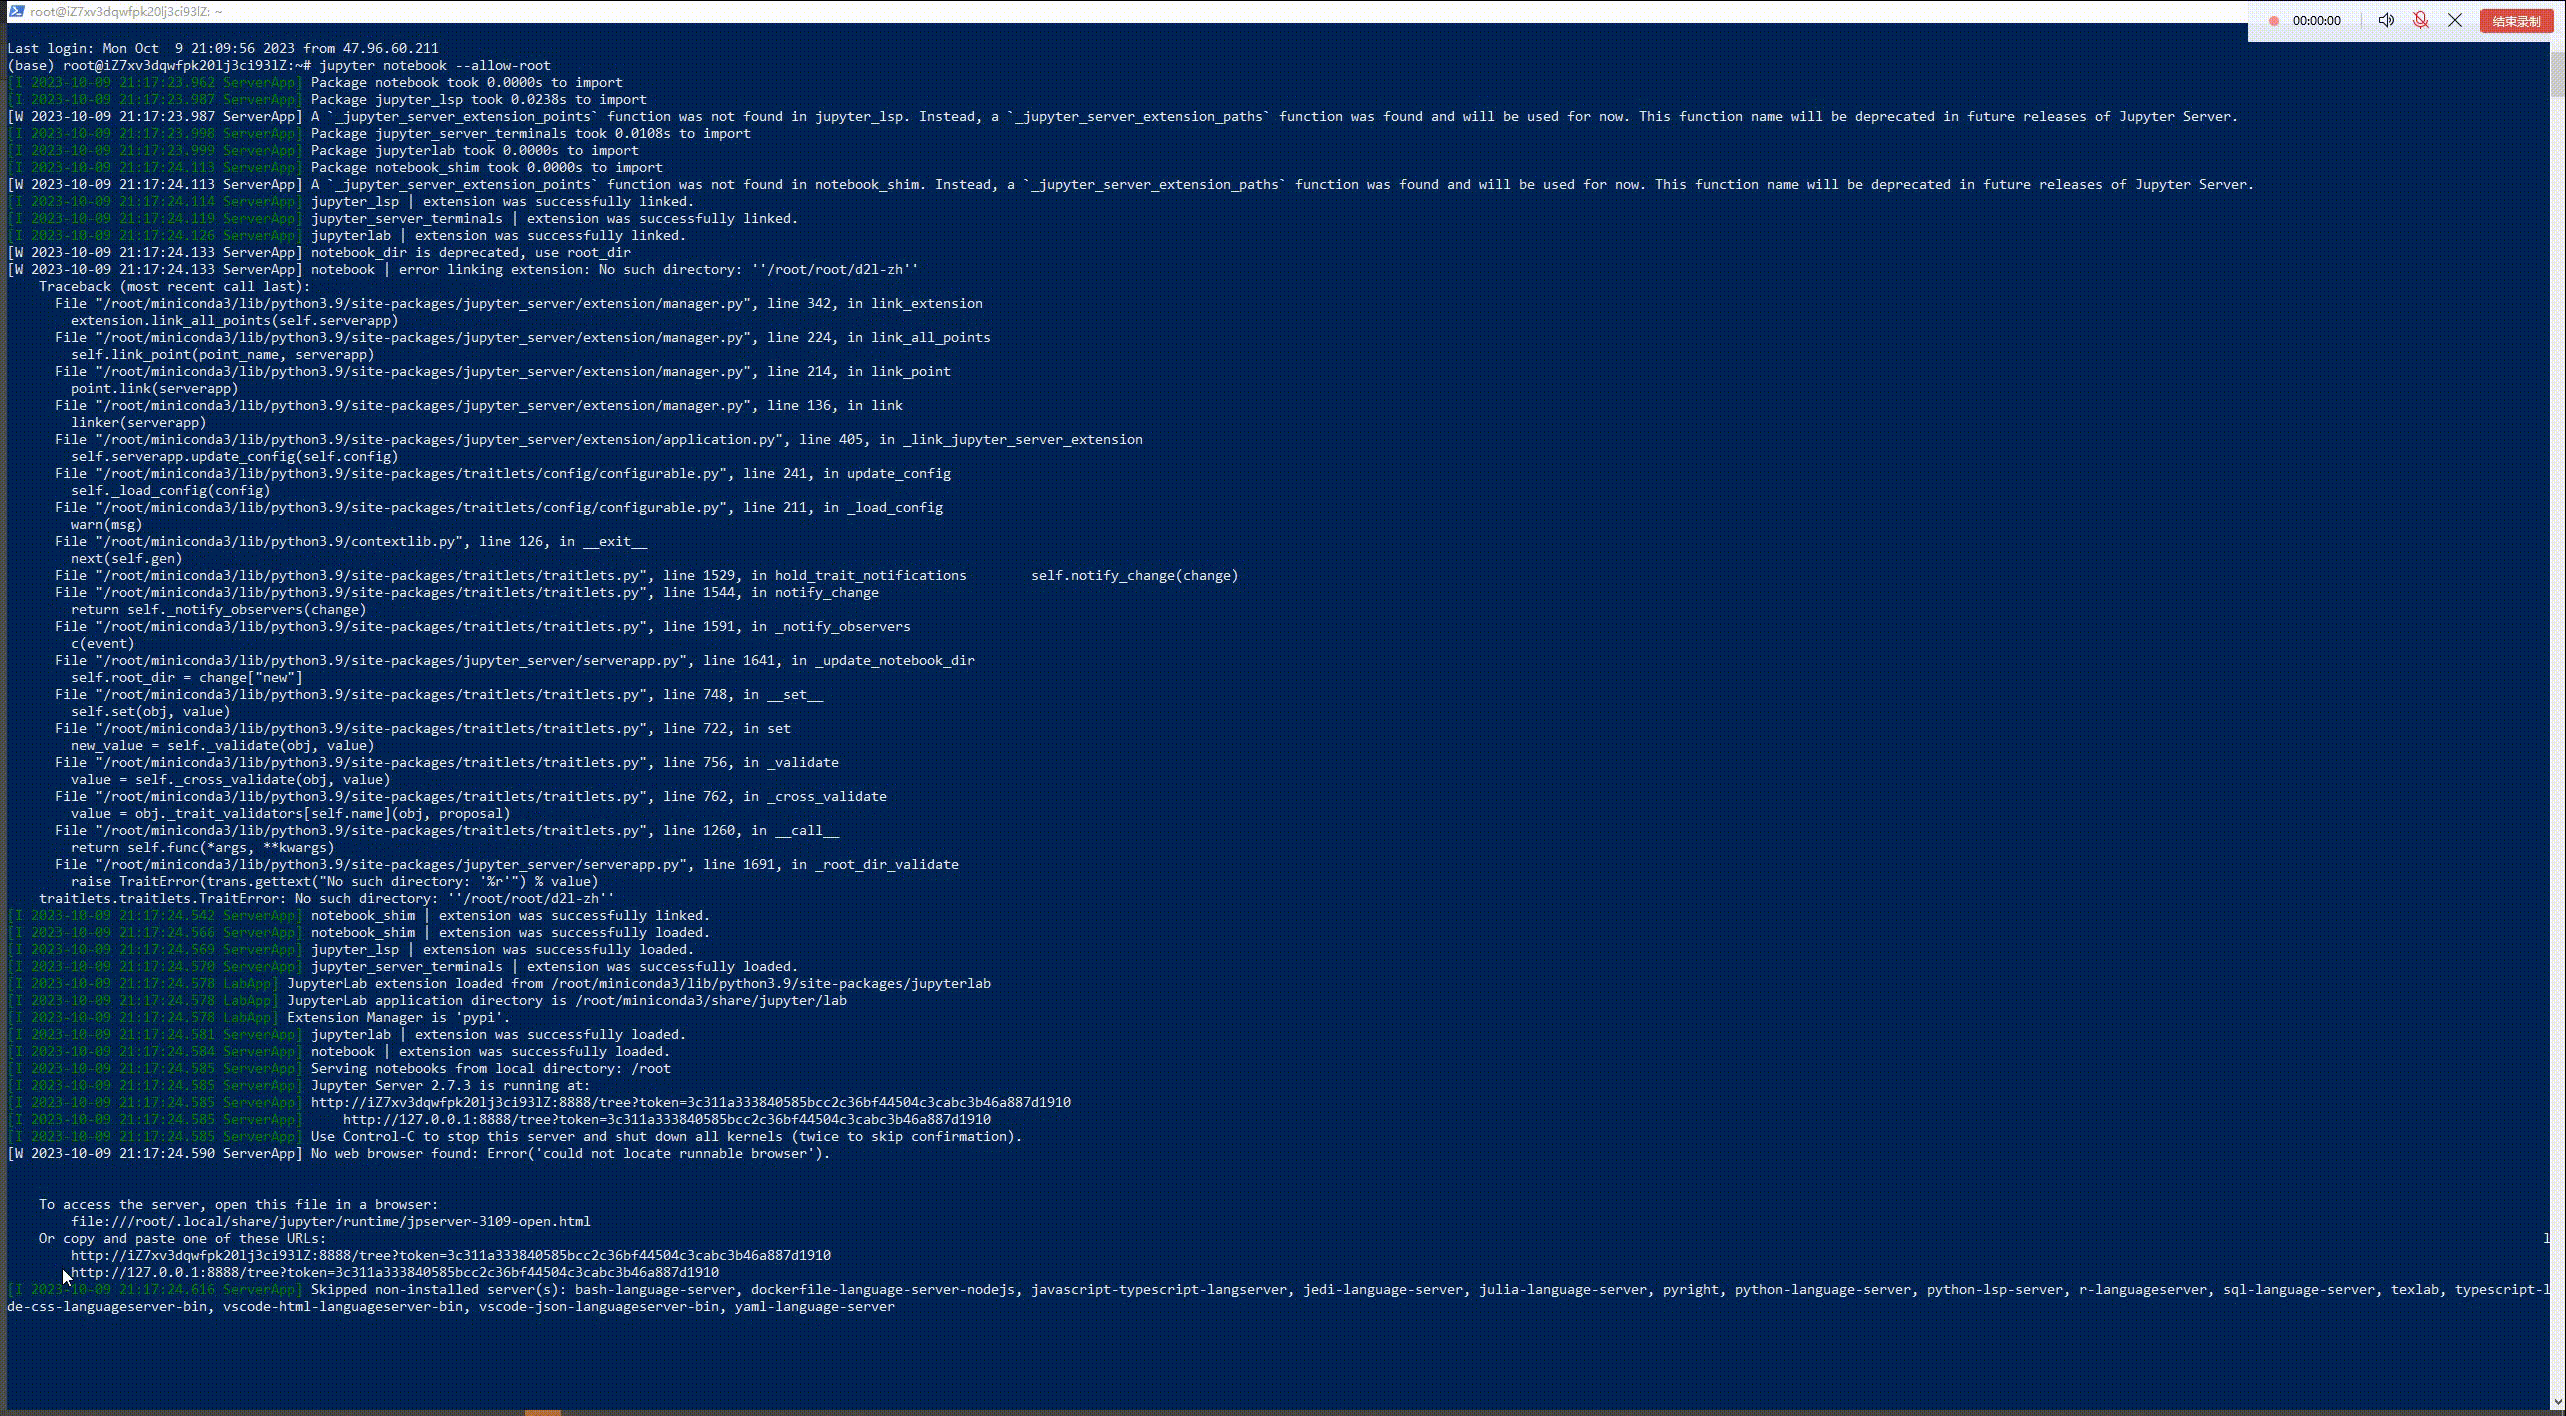
接着键入jupyter notebook --allow-root在弹出的url中复制进浏览器便可打开了


 201
201


 被折叠的 条评论
为什么被折叠?
被折叠的 条评论
为什么被折叠?
 到【灌水乐园】发言


