


1、下载地址
清华rpm 源 下载地址:
Index of /zabbix/zabbix/6.0/rhel/7/x86_64/ | 清华大学开源软件镜像站 | Tsinghua Open Source Mirror
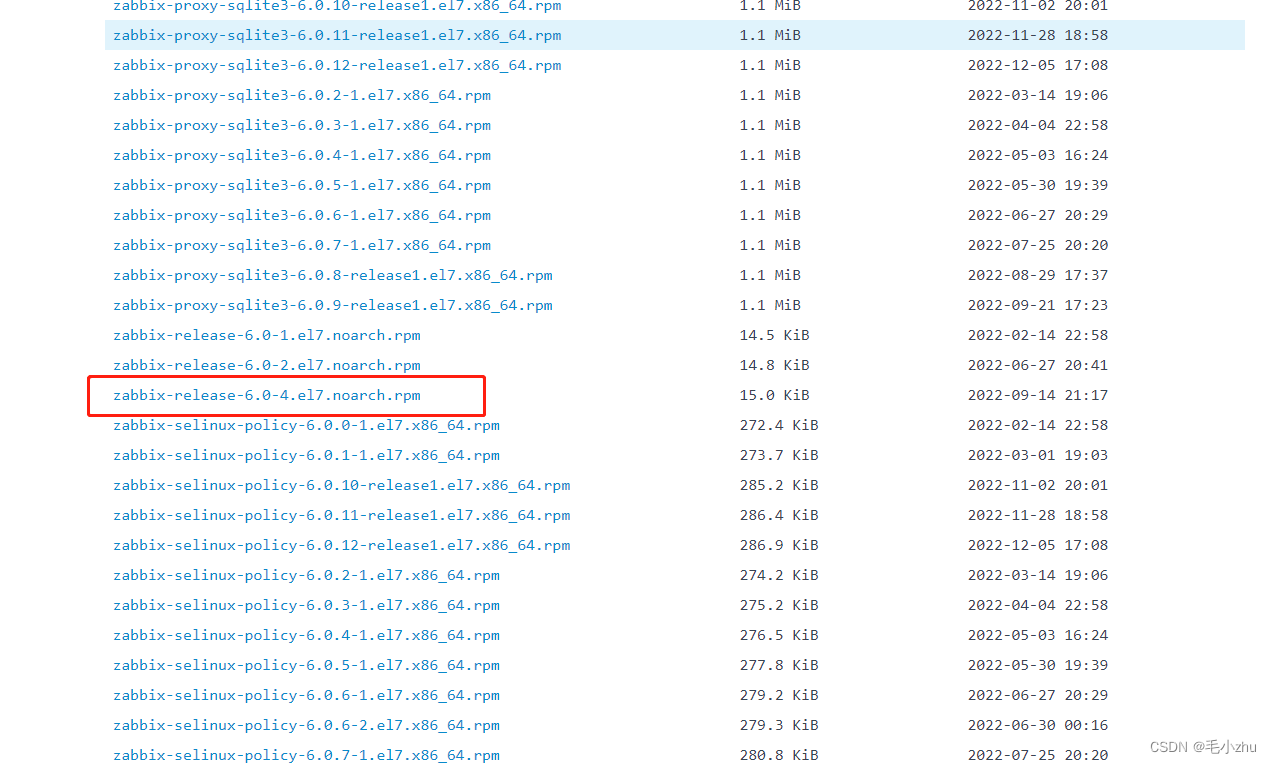
rpm -ivh https://mirrors.tuna.tsinghua.edu.cn/zabbix/zabbix/6.0/rhel/7/x86_64/zabbix-release-6.0-4.el7.noarch.rpm
2、修改 /etc/yum.repos.d/zabbix.repo 源,改成清华的源。 下载速度快。
vim /etc/yum.repos.d/zabbix.repo[zabbix]
name=Zabbix Official Repository - $basearch
#baseurl=https://repo.zabbix.com/zabbix/6.0/rhel/7/$basearch/
#清华源
baseurl=https://mirrors.tuna.tsinghua.edu.cn/zabbix/zabbix/6.0/rhel/7/$basearch/
enabled=1
gpgcheck=1
gpgkey=file:///etc/pki/rpm-gpg/RPM-GPG-KEY-ZABBIX-A14FE591
3、检查包
yum list | grep zabbix-agent2
执行安装命令
yum install zabbix-agent2 -y
4、安装成功后,修改服务配置文件
grep '^[a-Z]' /etc/zabbix/zabbix_agent2.conf[root@centos79 zabbix]# grep '^[a-Z]' /etc/zabbix/zabbix_agent2.conf
PidFile=/run/zabbix/zabbix_agent2.pid
LogFile=/var/log/zabbix/zabbix_agent2.log
LogFileSize=0
Server=127.0.0.1
ListenPort=10050
ServerActive=127.0.0.1
Hostname=Zabbix server
Include=/etc/zabbix/zabbix_agent2.d/*.conf
ControlSocket=/tmp/agent.sock
Include=./zabbix_agent2.d/plugins.d/*.conf
修改 Server 地址为: zabbix-server 服务器所在的IP地址
5、启动服务
systemctl start zabbix-agent2.service systemctl status zabbix-agent2.service6、agent-server web 页面添加主机

能检测到,安装客户端成功


 5423
5423


 被折叠的 条评论
为什么被折叠?
被折叠的 条评论
为什么被折叠?
 到【灌水乐园】发言


