


目录
2、下载 list_landmarks_celeba.txt
整个文件夹的目录如下:
CelebA
img_celeba.7z
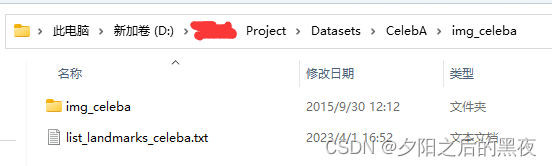
img_celeba
img_celeba
list_landmarks_celeba.txt
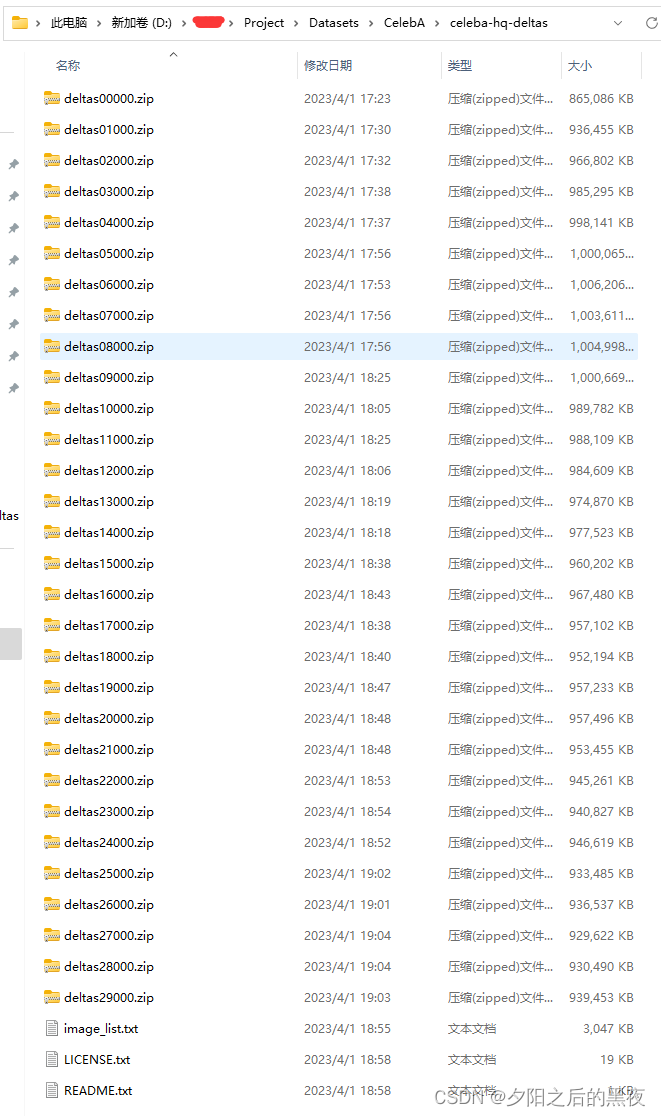
celeba-hq-deltas
CelebA-HQ
celeba-64
celeba-128
celeba-256
celeba-512
celeba-1024
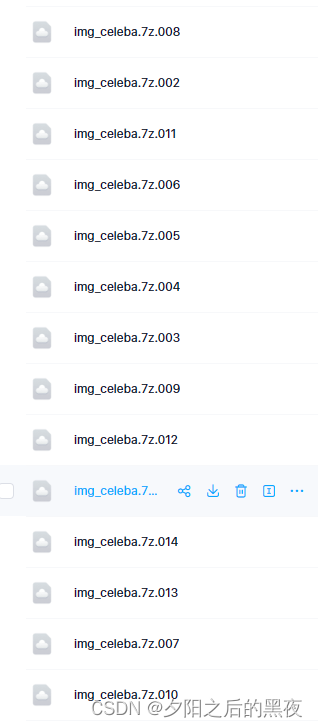
1、下载img_celeba.7z
链接: https://pan.baidu.com/s/1GfcwgzAr2HJYH68nLqDssg 提取码: 7ryr 。下载完后全部解压到一个文件夹中。
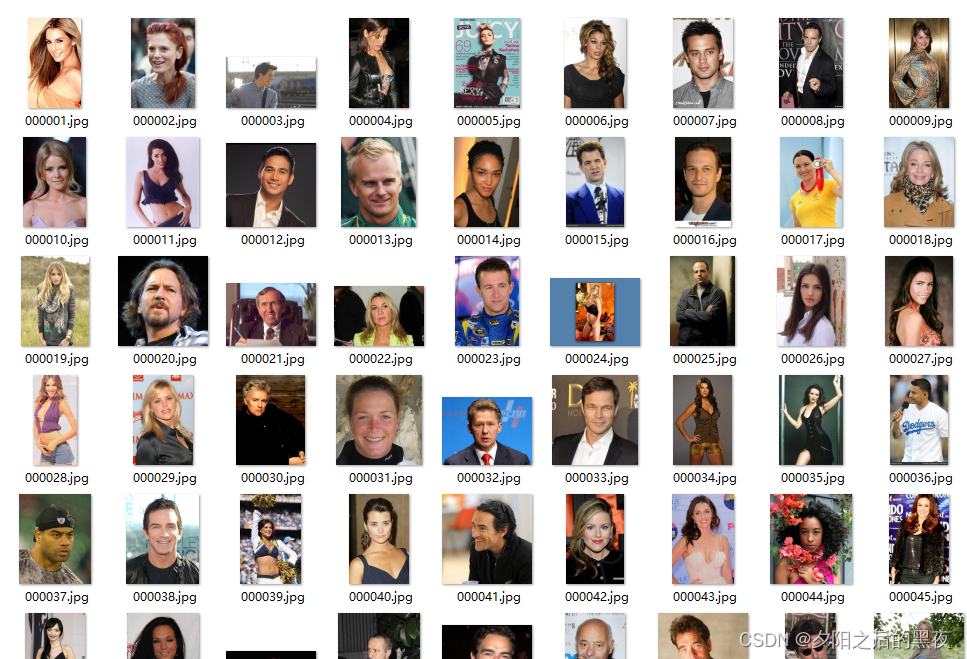
2、下载 list_landmarks_celeba.txt
链接: https://pan.baidu.com/s/13l-Z8exetF4p7gkoPqMYxQ 提取码: ckn5。下载好后把此txt文件放入img_celeba文件夹中。
3、下载celeba-hq-deltas文件夹
链接: https://pan.baidu.com/s/1Gb7nDHcOnuoWGukfO5fsKA 提取码: 4hcx 。下载完后不用管了,压缩包不要解压!!
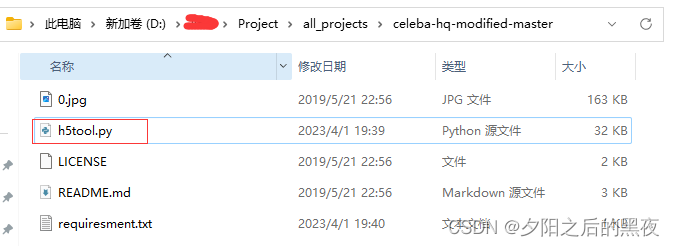
4、下载python文件
首先,在anaconda创建一个python是2.7的虚拟环境
conda create -n python2.7 python=2.7
下载依赖包
# 激活虚拟环境
conda activate python2.7

pip install numpy
pip install scipy
pip install pillow
pip install h5py
pip install cryptography
下载生成图像的python文件
链接: https://pan.baidu.com/s/1y65nWRylR6OMOvNL2W3jtw 提取码: iavg 。
对里面的一些代码进行修改:1、修改list_landmarks_celeba.txt文件的读取地址;2、修改生成的HQ图像的保存地址(celeba-64这些几个文件夹需要在运行代码前创建好,程序不会自动创建)。
# 把中间的Anno删掉
with open(os.path.join(celeba_dir, 'list_landmarks_celeba.txt'), 'rt') as file:
# 修改生成的celeba-hq图像的保存地址
# Save all generated images.
root_path = '~/Project/Datasets/CelebA/CelebA-HQ'
with ThreadPool(num_threads) as pool:
for orig_fn, aimg64, aimg128, aimg256, aimg512, aimg1024 in pool.process_items_concurrently(fields['idx'], process_func=process_func, max_items_in_flight=num_tasks):
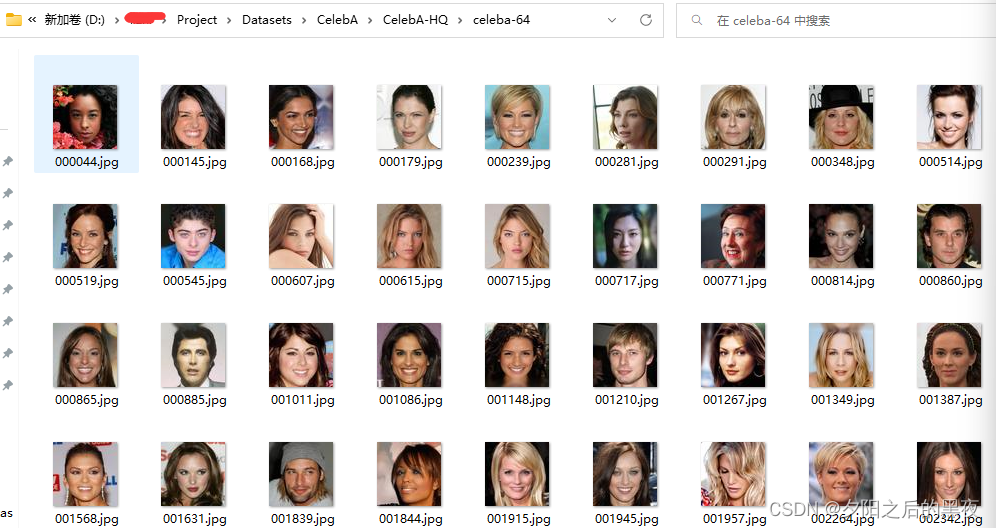
aimg64.save(root_path+'/celeba-64/'+str(orig_fn))
aimg128.save(root_path+'/celeba-128/'+str(orig_fn))
aimg256.save(root_path+'/celeba-256/'+str(orig_fn))
aimg512.save(root_path+'/celeba-512/'+str(orig_fn))
aimg1024.save(root_path+'/celeba-1024/'+str(orig_fn))
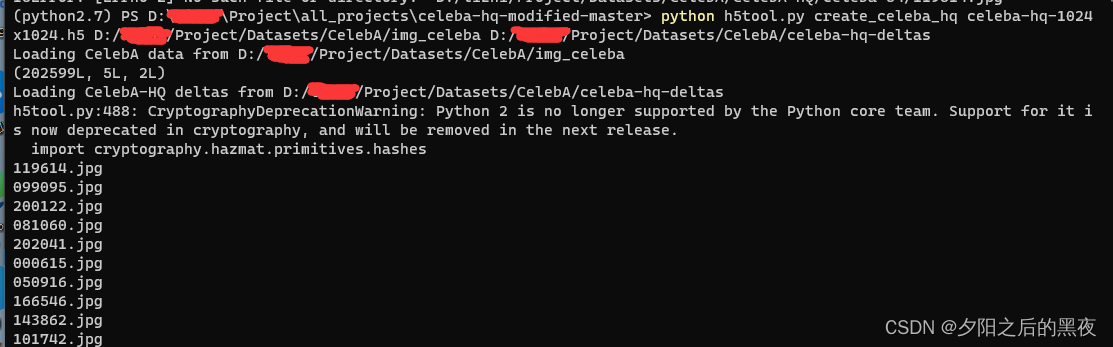
print(orig_fn)5、在命令行里面运行程序生成图像
cd ~/celeba-hq-modified-master

python h5tool.py create_celeba_hq celeba-hq-1024x1024.h5 ~/CelebA/img_celeba ~/CelebA/celeba-hq-deltas
程序要运行很久,放着就行。


 1万+
1万+

 被折叠的 条评论
为什么被折叠?
被折叠的 条评论
为什么被折叠?
 到【灌水乐园】发言


