


效果图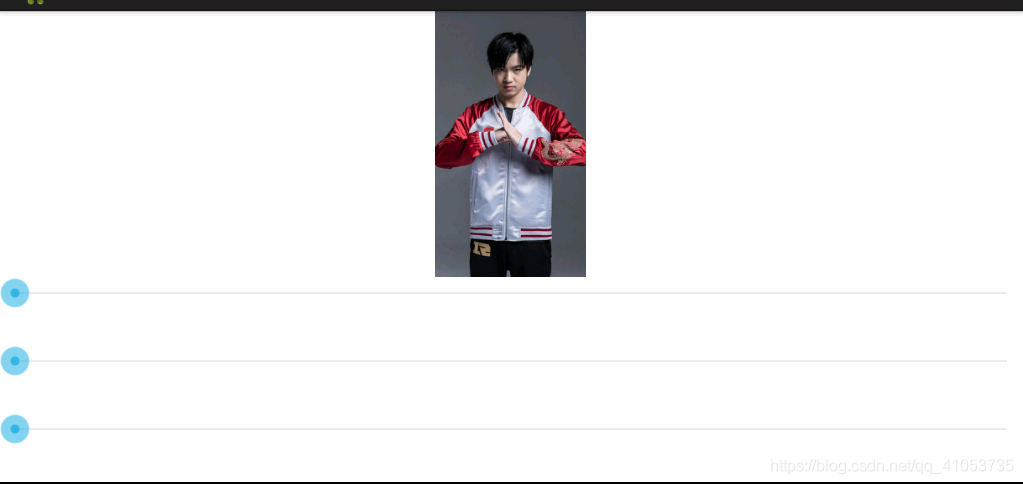

效果是不是很炫酷呢
那我们来看看我们要怎么实现它们吧
首先
我们来看一下我们的布局
<LinearLayout xmlns:android="http://schemas.android.com/apk/res/android"
    xmlns:tools="http://schemas.android.com/tools"
    android:layout_width="match_parent"
    android:layout_height="match_parent"
    android:orientation="vertical"
    tools:context=".MainActivity" >

    <LinearLayout
        android:layout_width="match_parent"
        android:layout_height="0dp"
        android:layout_weight="1.30"
        android:gravity="center"
        android:orientation="horizontal" >

            <ImageView
        android:id="@+id/mImageView"
        android:layout_width="wrap_content"
        android:layout_height="wrap_content"

        android:src="@drawable/letme" />

    </LinearLayout>

    <LinearLayout
        android:layout_width="match_parent"
        android:layout_height="0dp"
        android:layout_weight="1"
        android:orientation="vertical" >

        <LinearLayout
            android:layout_width="match_parent"
            android:layout_height="0dp"
            android:layout_weight="1"
            android:orientation="vertical" >
              <SeekBar
        android:id="@+id/sb_Hue"
        android:layout_width="match_parent"
        android:layout_height="wrap_content"
 />


        </LinearLayout>

        <LinearLayout
            android:layout_width="match_parent"
            android:layout_height="0dp"
            android:layout_weight="1"
            android:orientation="vertical" >

              <SeekBar
        android:id="@+id/sb_Sat"
        android:layout_width="match_parent"
        android:layout_height="wrap_content" />
        </LinearLayout>

        <LinearLayout
            android:layout_width="match_parent"
            android:layout_height="0dp"
            android:layout_weight="1"
            android:orientation="vertical" >

            <SeekBar
                android:id="@+id/sb_Lum"
                android:layout_width="match_parent"
                android:layout_height="wrap_content" />

        </LinearLayout>
    </LinearLayout>

</LinearLayout>
话不多说上源码
 private Bitmap handleImageEffect(Bitmap bm, float hue, float saturation, float lum) {
        /**
         * Android系统不允许直接修改原图,
         * 必须通过原图创建一个同样大小的bitmap,
         * 并将原图绘制到该Bitmap中,
         * 以一个副本的形式来修改图像
         */
        Bitmap bmp = Bitmap.createBitmap(bm.getWidth(), bm.getHeight(), Bitmap.Config.ARGB_8888);
        Canvas c = new Canvas(bmp);
        Paint p = new Paint();

        //色调矩阵
        ColorMatrix hueMatrix = new ColorMatrix();
        hueMatrix.setRotate(0, hue);//红
        hueMatrix.setRotate(1, hue);//绿
        hueMatrix.setRotate(2, hue);//蓝

        //饱和度矩阵
        ColorMatrix saturationMatrix = new ColorMatrix();
        saturationMatrix.setSaturation(saturation);

        //亮度矩阵
        ColorMatrix lumMatrix = new ColorMatrix();
        lumMatrix.setScale(lum, lum, lum, 1);


        //图片矩阵
        ColorMatrix imageMatrix = new ColorMatrix();
        imageMatrix.postConcat(hueMatrix);
        imageMatrix.postConcat(saturationMatrix);
        imageMatrix.postConcat(lumMatrix);

        p.setColorFilter(new ColorMatrixColorFilter(imageMatrix));
        c.drawBitmap(bm, 0, 0,p);

        return bmp;

    }
看懂了上面的接下来的操作就简单了(看代码吧)
 public void onProgressChanged(SeekBar seekBar, int progress,
            boolean fromUser) {

        switch (seekBar.getId()) {
        case R.id.sb_Hue:
            hue = (progress - MID_VALIE) * 1.0F / MID_VALIE * 180;
            break;
        case R.id.sb_Lum:
            saturation = progress * 1.0F / MID_VALIE;
            break;
        case R.id.sb_Sat:
            lum = progress * 1.0F / MID_VALIE;
            break;
        }

        img.setImageBitmap(handleImageEffect(bm, hue, saturation, lum));
    }
好了到这里就大功告成了,还有些初始化的代码我就不一一罗列了,写出核心代码足矣。
有兴趣的可以点击这里查看


 1022
1022


 被折叠的 条评论
为什么被折叠?
被折叠的 条评论
为什么被折叠?
 到【灌水乐园】发言


