


手动配置swagger
1.引入依赖
我当前的spring boot版本为2.3.7
<!--导入原生的swagger依赖-->
<dependency>
    <groupId>io.springfox</groupId>
    <artifactId>springfox-swagger2</artifactId>
    <version>2.8.0</version>
</dependency>
2.配置swagger工具类
import org.springframework.context.annotation.Bean;
import springfox.documentation.builders.ApiInfoBuilder;
import springfox.documentation.builders.PathSelectors;
import springfox.documentation.builders.RequestHandlerSelectors;
import springfox.documentation.service.ApiInfo;
import springfox.documentation.service.Contact;
import springfox.documentation.spi.DocumentationType;
import springfox.documentation.spring.web.plugins.Docket;

//表示这是一个配置类
@Configuration
//开启swagger,这里加了这个注解那么启动类那里就不用再加注解了
@EnableSwagger2
public class SwaggerConfig {
    @Bean
    public Docket createRestApi() {
        return new Docket(DocumentationType.SWAGGER_2)
                // 指定构建api文档的详细信息的方法:apiInfo()
                .apiInfo(apiInfo())
                .select()
                // 指定要生成api接口的包路径,这里把controller作为包路径,生成controller中的所
                //有接口
                .apis(RequestHandlerSelectors.basePackage("com.swagger.demo"))
                .paths(PathSelectors.any())
                .build();
    }

    /**
     * 构建api文档的详细信息
     * @return
     */
    private ApiInfo apiInfo() {
        return new ApiInfoBuilder()
                // 设置页面标题
                .title("Spring Boot集成Swagger2接口总览")
                // 设置接口描述
                .description("Swagger接口学习")
                // 设置联系方式
                .contact(new Contact("lxp","http://localhost:80/","123456@qq.com"))
                // 设置版本
                .version("1.0")
                // 构建
                .build();
    }
}
3.swagger中的常用注解
- @Api
- @ApiOperation
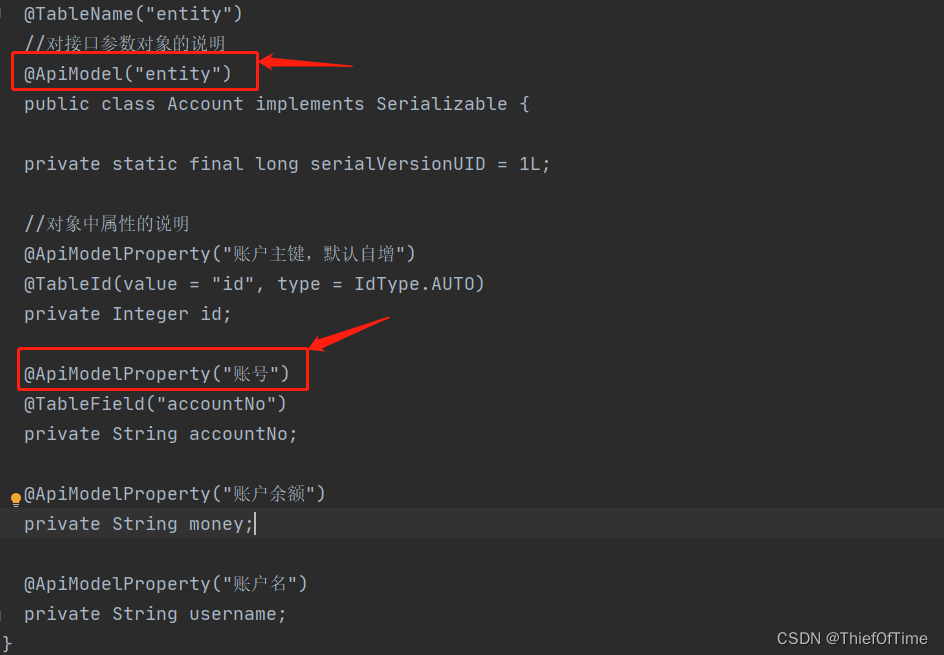
- @ApiModel
- @ApiModelProperty
用法:接口上(controller上)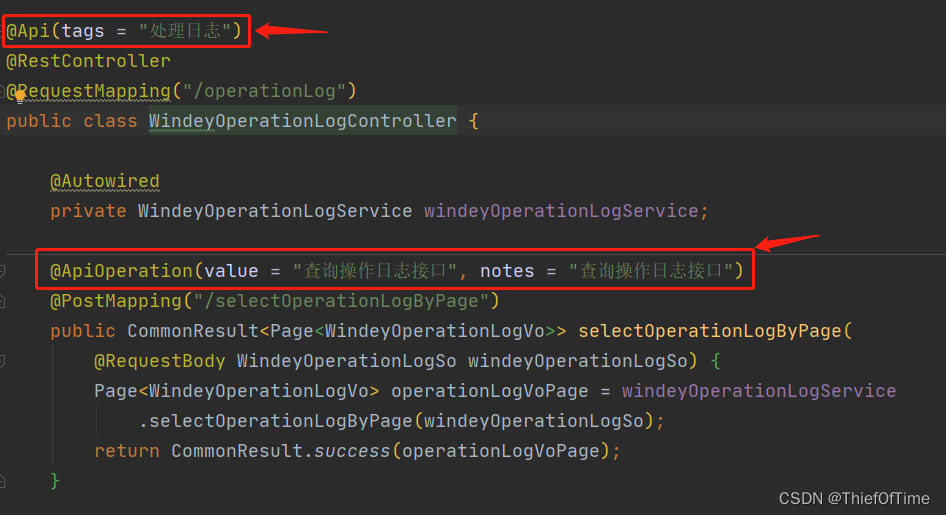
实体类上
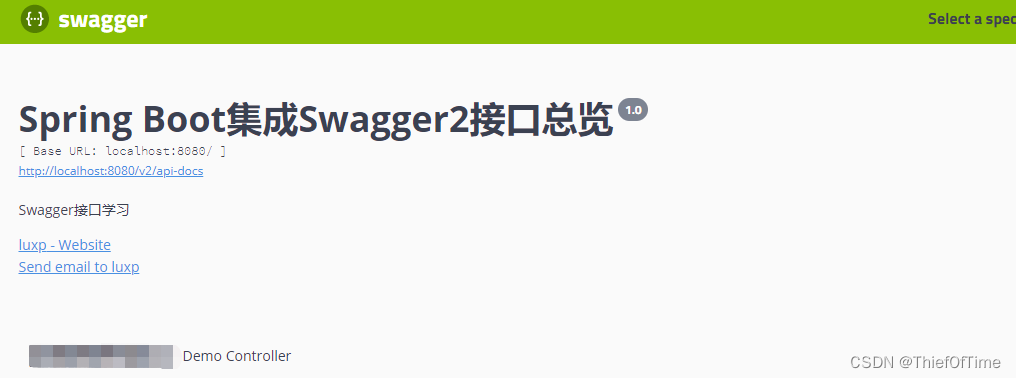
4.结果展示
在浏览器中输入地址 http://localhost/swagger-ui.html
5.给swagger换肤
因为有很多同行说是这个界面不友好,所以有大神也是提供了换肤的依赖,这里我用的是第一种,还有其他几种可以根据自己的个人习惯配置其中一个即可,但是注意每种方式访问的路径都不同!!!
//1.http://localhost:8080/doc.html
<dependency>
    <groupId>com.github.xiaoymin</groupId>
    <artifactId>swagger-bootstrap-ui</artifactId>
    <version>1.9.6</version>
</dependency>
//2.请求地址为:http://localhost:8080/document.html
<!--<dependency>
    <groupId>com.zyplayer</groupId>
    <artifactId>swagger-mg-ui</artifactId>
    <version>1.0.6</version>
</dependency>-->
//3.请求地址为:http://localhost:8080/docs.html
<!--<dependency>
    <groupId>com.github.caspar-chen</groupId>
    <artifactId>swagger-ui-layer</artifactId>
    <version>1.1.3</version>
</dependency>-->
注意:此时访问的地址为http://localhost/doc.html ,不然会报异常
换好后的界面如下: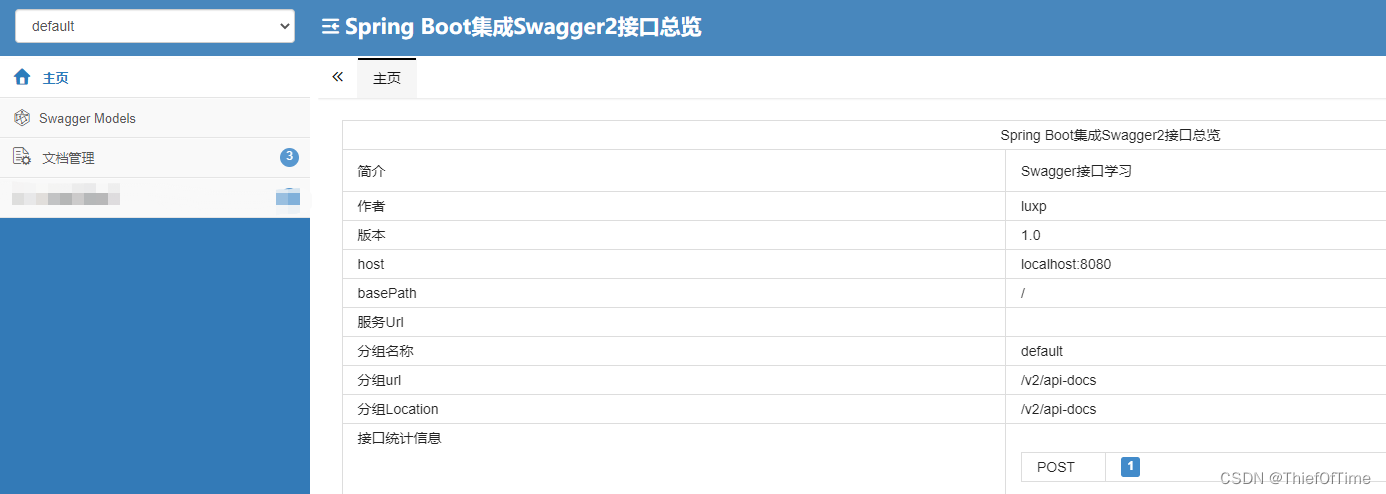
注意:界面上显示的接口(controller)中至少要存在一个方法才会在界面目录中显示这个接口。
说明:以上内容笔者亲测有效,如果有不当的地方,希望大神能不吝指教,笔者定当虚心受教,谢谢!


 5934
5934


 被折叠的 条评论
为什么被折叠?
被折叠的 条评论
为什么被折叠?
 到【灌水乐园】发言


