


 本文介绍了如何在VSCode中集成EditorConfig配置、使用Prettier格式化代码、ESLint进行代码质量检查,并利用Husky和Commitizen确保团队提交一致性。还讨论了gitHusky对eslint校验的应用和git commit规范。
统一代码风格
前置条件:IDE:VScode,node>=14.17.1
一、集成editorconfig配置
# 告诉EditorConfig插件,这是根文件,不用继续往上查找
root = true

# 匹配全部文件
[*]
# 设置字符集
charset = utf-8
# 缩进风格,可选space、tab
indent_style = space
# 缩进的空格数
indent_size = 2
# 结尾换行符,可选lf、cr、crlf
end_of_line = lf
# 在文件结尾插入新行
insert_final_newline = true
# 删除一行中的前后空格
trim_trailing_whitespace = true

# 匹配md结尾的文件
[*.md]
insert_final_newline = false
trim_trailing_whitespace = false
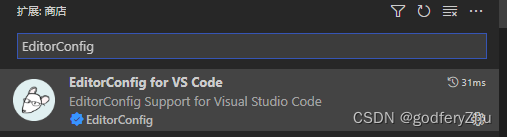
VSCode需要安装一个插件:EditorConfig for VS Code
二、使用prettier工具
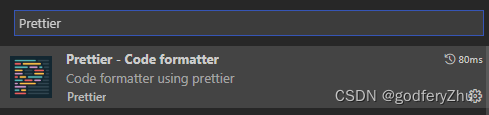
1、在vsocde中安装prettier插件
2、在vscode中打开设置–>打开工作区–>进入设置
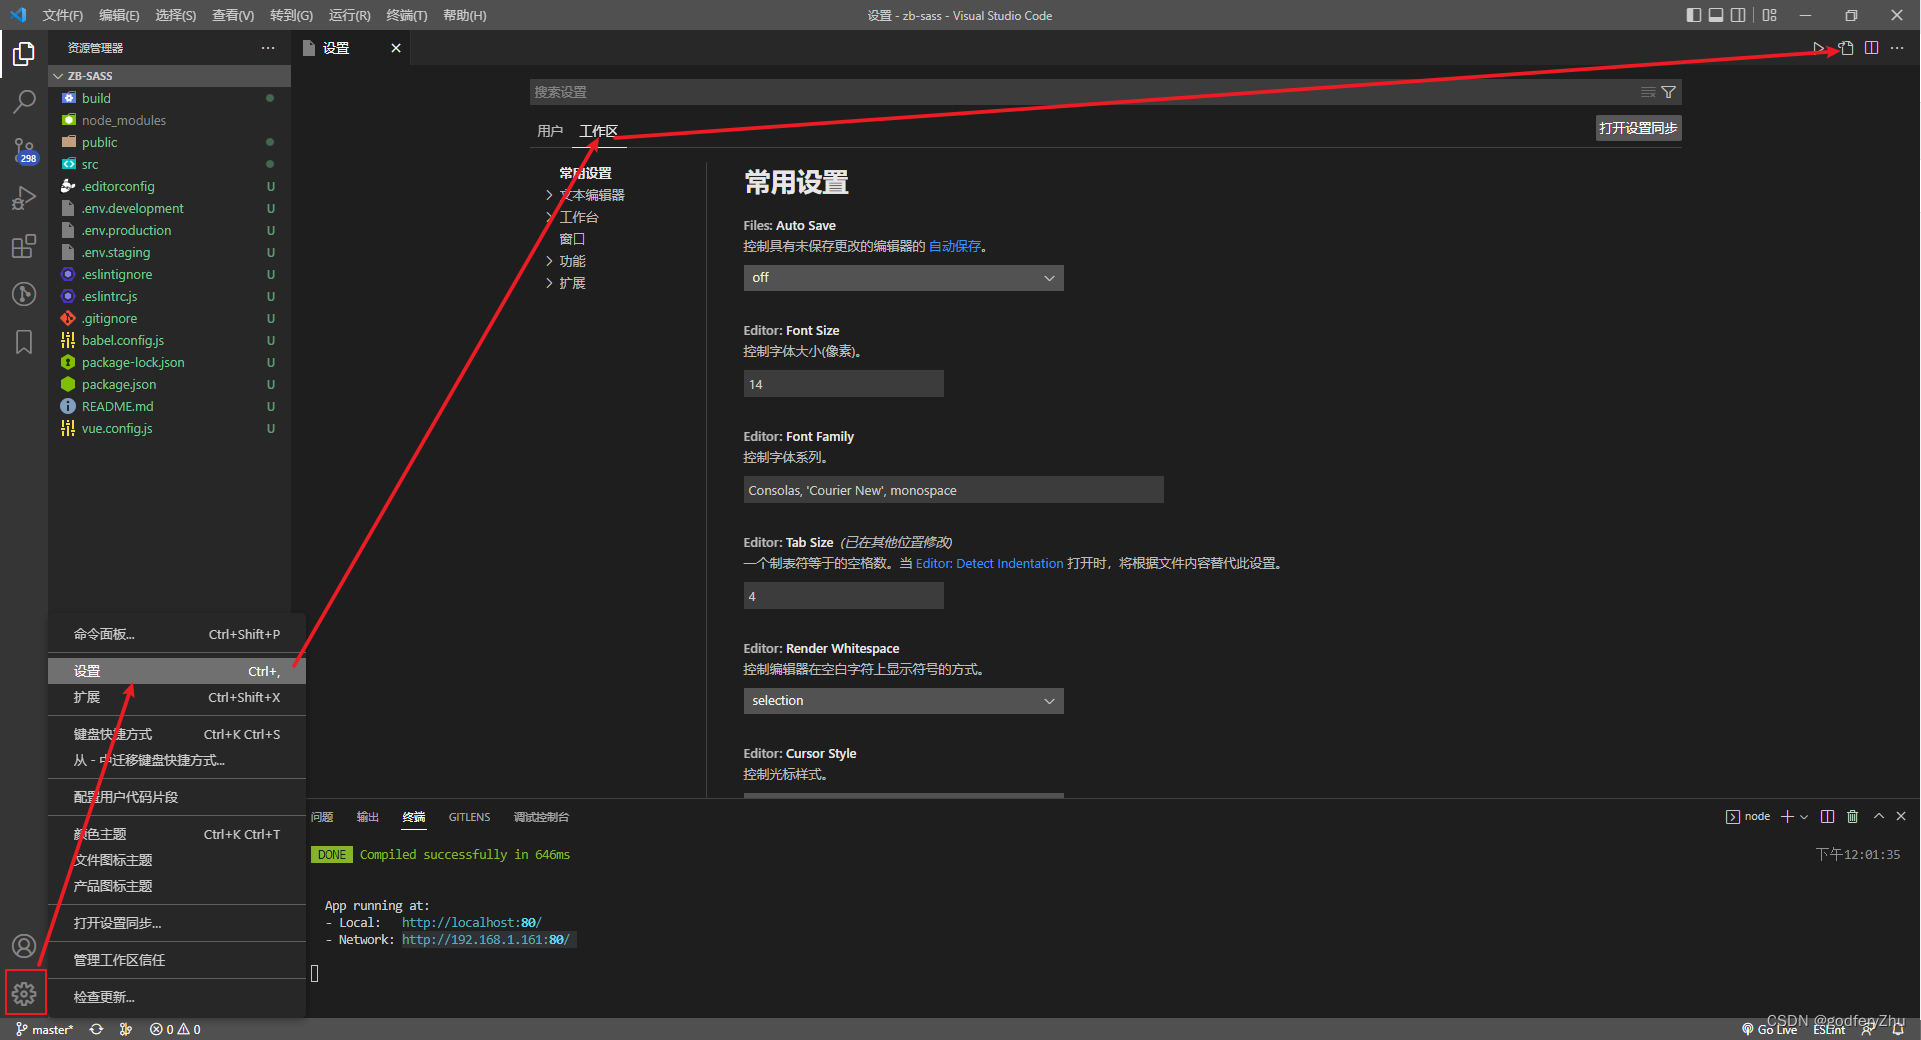
复制这段配置,到工作区中的settings.json
{
  "editor.defaultFormatter": "esbenp.prettier-vscode",
  "editor.formatOnSave": true,
  "[javascript]": {
    "editor.defaultFormatter": "esbenp.prettier-vscode"
  },
  "[vue]": {
    "editor.defaultFormatter": "esbenp.prettier-vscode"
  },
  "[html]": {
    "editor.defaultFormatter": "esbenp.prettier-vscode"
  },
  "[typescript]": {
    "editor.defaultFormatter": "esbenp.prettier-vscode"
  },
  "editor.codeActionsOnSave": {
    "source.fixAll": true,
    "source.fixAll.eslint": true
  }
}
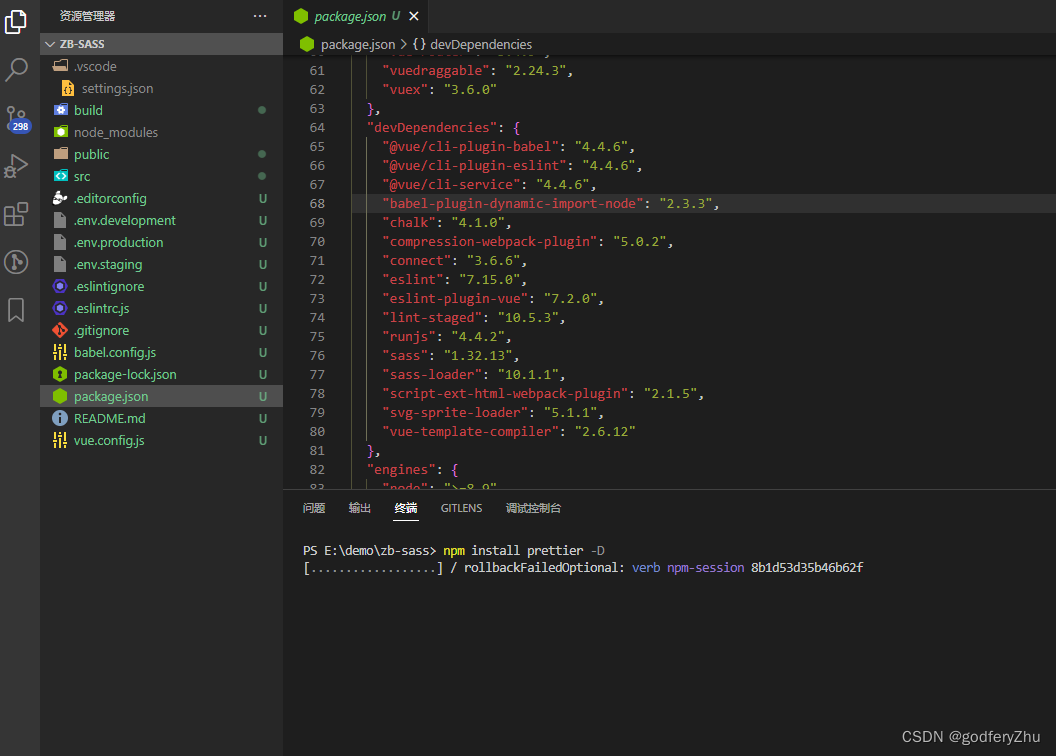
3、项目中安装 npm install prettier -D
4、在项目中增加忽略配置+自定义格式规则
4.1 .prettierrc 自定义格式规则
{
  "semi": false,
  "printWidth": 200,
  "trailingComma": "none",
  "singleQuote": true,
  "useTabs": false,
  "tabWidth": 2
}
4.2 .prettierignore 忽略配置
/dist/*
.local
.output.js
/node_modules/**

**/*.svg
**/*.sh

/public/*
4.3 package.json中添加脚本 配置一次性修改的命令 “prettier”: “prettier --write .”
  "scripts": {
    "dev": "vue-cli-service serve",
    "build:prod": "vue-cli-service build",
    "build:stage": "vue-cli-service build --mode staging",
    "preview": "node build/index.js --preview",
    "lint": "eslint --ext .js,.vue src",
    "prettier": "prettier --write ."
  },
三、使用ESLint检测
1.在创建项目的时候,我们就选择了ESLint,所以Vue会默认帮助我们配置需要的ESLint环境。
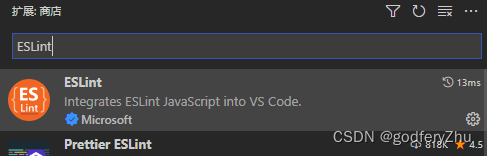
2.VSCode需要安装ESLint插件
3.解决eslint和prettier冲突的问题
  "eslint-config-prettier": "^7.2.0",  // 禁用掉了一些不必要的以及和 Prettier 相冲突的 ESLint 规则
  "eslint-plugin-prettier": "^3.4.1",  // 将 prettier 作为 ESLint 的规则来使用,代码不符合 Prettier 的标准时,会报一个 ESLint 错误,同时也可以通过 eslint --fix 来进行格式化
  "@vue/eslint-config-prettier": "^7.0.0",
3、在.eslintrc.js中extends最后一项添加’@vue/prettier’,‘plugin:prettier/recommended’ 【记得重启一下vscode】
// ESlint 检查配置
module.exports = {
  root: true,
  parserOptions: {
    parser: 'babel-eslint',
    sourceType: 'module'
  },
  env: {
    browser: true,
    node: true,
    es6: true
  },
  extends: ['plugin:vue/recommended', 'eslint:recommended', '@vue/prettier','plugin:prettier/recommended'],

  // add your custom rules here
  //it is base on https://github.com/vuejs/eslint-config-vue
  rules: {
  	"prettier/prettier": "error",
    'vue/max-attributes-per-line': [
      2,
      {
        singleline: 10,
        multiline: {
          max: 1,
          allowFirstLine: false
        }
      }
    ],
   }
 }
四、git Husky和eslint
虽然我们已经要求项目使用eslint了,但是不能保证组员提交代码之前都将eslint中的问题解决掉了:
-
也就是我们希望保证代码仓库中的代码都是符合eslint规范的;
-
那么我们需要在组员执行
git commit命令的时候对其进行校验,如果不符合eslint规范,那么自动通过规范进行修复;
那么如何做到这一点呢?可以通过Husky工具:
- husky是一个git hook工具,可以帮助我们触发git提交的各个阶段:pre-commit、commit-msg、pre-push
如何使用husky呢?
这里我们可以使用自动配置命令:
npx husky-init && npm install
执行完成之后,会在项目中增加一个.husky文件,我们对里面的pre-commit 进行一些调整
调整之前由于采用的的是 lint-staged 标准,所以需要先装一下这个包
npm install lint-staged -D

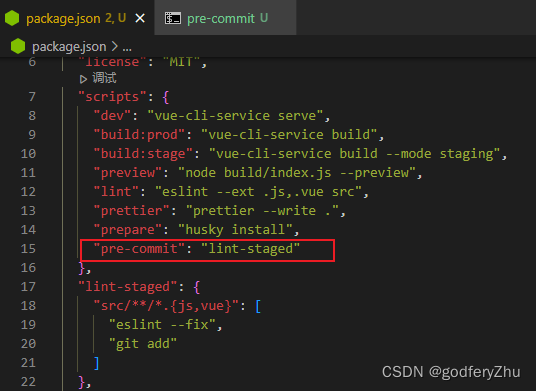
这个时候我们执行git commit的时候会自动对代码进行lint校验。
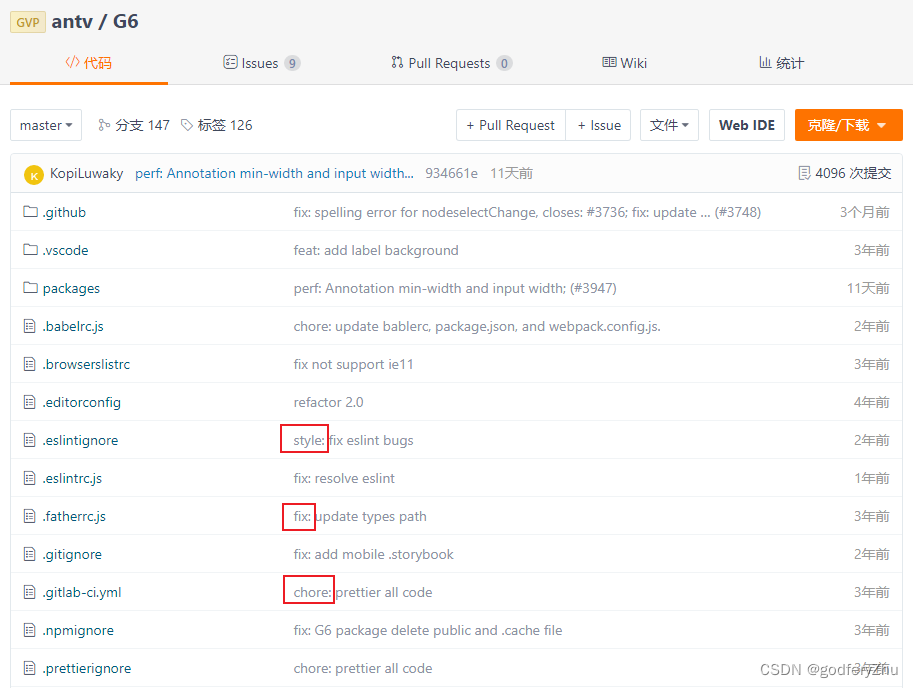
五、git commit规范
通常我们的git commit会按照统一的风格来提交,这样可以快速定位每次提交的内容,方便之后对版本进行控制。
但是如果每次手动来编写这些是比较麻烦的事情,我们可以使用一个工具:Commitizen
- Commitizen 是一个帮助我们编写规范 commit message 的工具;
1.安装Commitizen
npm install commitizen -D
2.安装cz-conventional-changelog,并且初始化cz-conventional-changelog:
npx commitizen init cz-conventional-changelog --save-dev --save-exact
这个时候我们提交代码需要使用 npx cz:
- 第一步是选择type,本次更新的类型
| Type | 作用 |
|---|---|
| feat | 新增特性 (feature) |
| fix | 修复 Bug(bug fix) |
| docs | 修改文档 (documentation) |
| style | 代码格式修改(white-space, formatting, missing semi colons, etc) |
| refactor | 代码重构(refactor) |
| perf | 改善性能(A code change that improves performance) |
| test | 测试(when adding missing tests) |
| build | 变更项目构建或外部依赖(例如 scopes: webpack、gulp、npm 等) |
| ci | 更改持续集成软件的配置文件和 package 中的 scripts 命令,例如 scopes: Travis, Circle 等 |
| chore | 变更构建流程或辅助工具(比如更改测试环境) |
| revert | 代码回退 |
- 第二步选择本次修改的范围(作用域)
- 第三步选择提交的信息
- 第四步提交详细的描述信息
- 第五步是否是一次重大的更改
- 第六步是否影响某个open issue
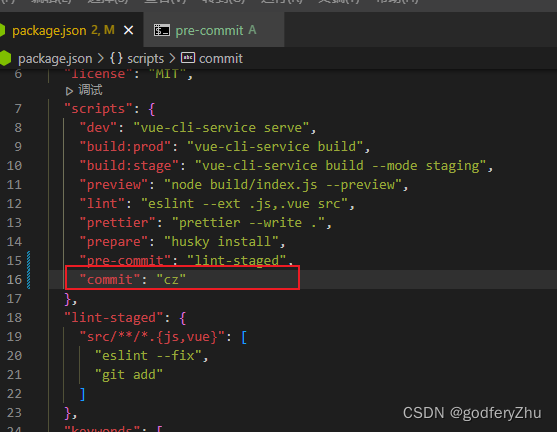
我们也可以在scripts中构建一个命令来执行 cz:
六、 代码提交验证
如果我们按照cz来规范了提交风格,但是依然有同事通过 git commit 按照不规范的格式提交应该怎么办呢?
- 我们可以通过commitlint来限制提交;
1.安装 @commitlint/config-conventional 和 @commitlint/cli
npm i @commitlint/config-conventional @commitlint/cli -D
2.在根目录创建commitlint.config.js文件,配置commitlint
module.exports = {
  extends: ['@commitlint/config-conventional']
}
3.使用husky生成commit-msg文件,验证提交信息:
npx husky add .husky/commit-msg "npx --no-install commitlint --edit $1"
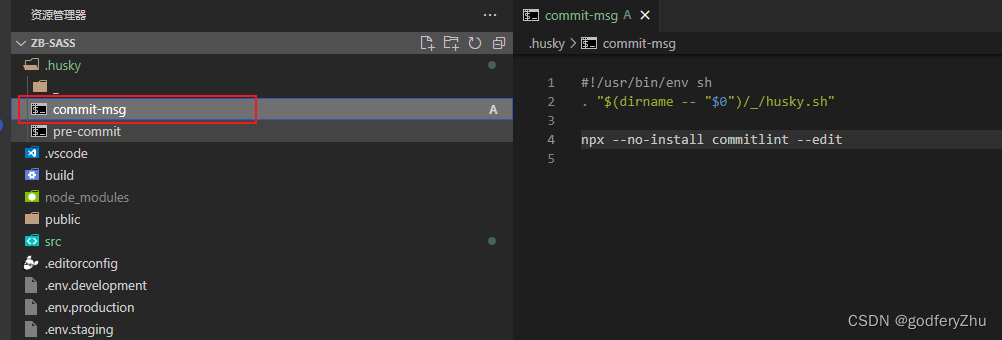
#!/usr/bin/env sh
. "$(dirname -- "$0")/_/husky.sh"

npx --no-install commitlint --edit


 1739
1739

 被折叠的 条评论
为什么被折叠?
被折叠的 条评论
为什么被折叠?
 到【灌水乐园】发言


