


历史小剧场
崇祯很勤政,崇祯并非王国之君,弘光很昏庸,弘光活该倒霉,几百年来,我们都这样认为。
但我们之所以一直这样认为,只是因为有人这样告诉我们。
之所以有人这样告诉我们,是因为他们希望我们这样认为。 ---- 《明朝那些事儿》
app.directive
作用:注册自定义指令
自定义指令
指令钩子函数
- created: 在绑定元素的attribute前或事件监听器前调用;
- beforeMount: 在元素插入到DOM前调用;
- mounted: 在绑定元素的父组件及它自己的所有子节点都挂载完成后调用(常用)
- beforeUpdate: 绑定元素的父组件更新前调用
- updated: 在绑定元素的父组件及它自己的所有子节点都更新后调用(常用)
- beforeUnmount: 绑定元素的父组件卸载前调用
- unmounted: 绑定元素的父组件卸载后调用
钩子参数
案例
export default {
    mounted(el: any, binding: any, vnode: any, prevNode: any) {
        console.log("tab mounted", el, binding, vnode, prevNode)
        const { activeClass, curIndex } = binding.value;
        const buttonList = el.querySelectorAll("button");
        buttonList[curIndex].classList.add(activeClass);
    },
    updated(el: any, binding: any, vnode: any, prevNode: any) {
        console.log("tab updated", el, binding, vnode, prevNode)
        const buttonList = el.querySelectorAll("button");
        let { activeClass, curIndex } = binding.oldValue;
        buttonList[curIndex].classList.remove(activeClass);
        activeClass = binding.value.activeClass;
        curIndex = binding.value.curIndex;
        buttonList[curIndex].classList.add(activeClass);
    }
}
- el: 指定绑定到的元素。
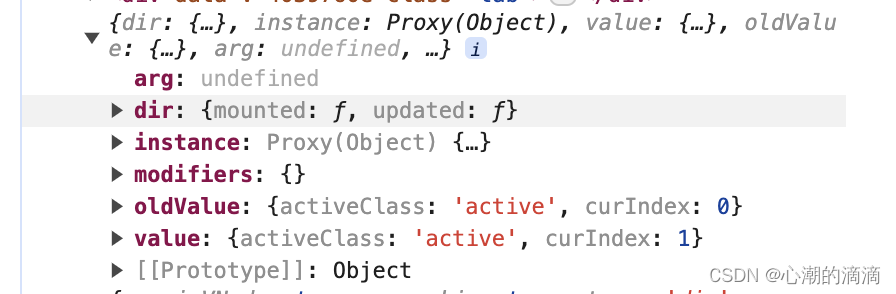
- binding: 对象,通常包含如下属性
- value: 传递给指令的值
- oldValue: 之前的值,仅在 beforeUpdate 和 updated 中可用
- arg: 传递给指令的参数
- modifers: 一个包含修饰符的对象
- instance: 使用该指令的组件实例
- dir: 指令的定义对象
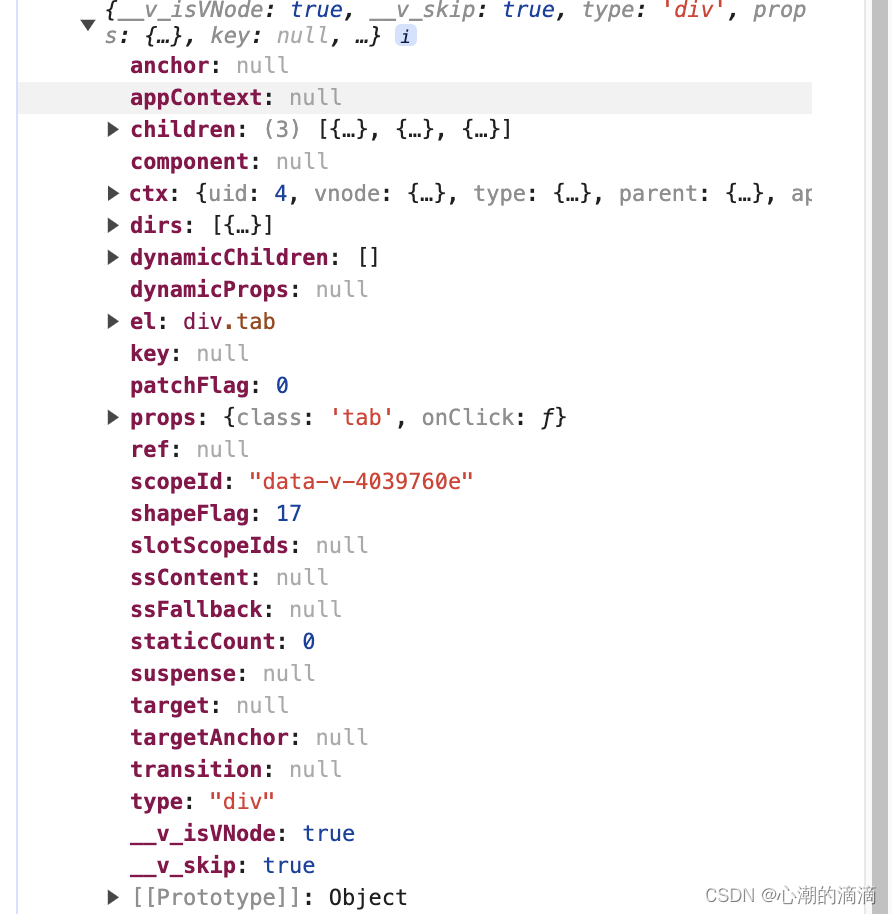
- vnode: 代表绑定元素的底层VNode
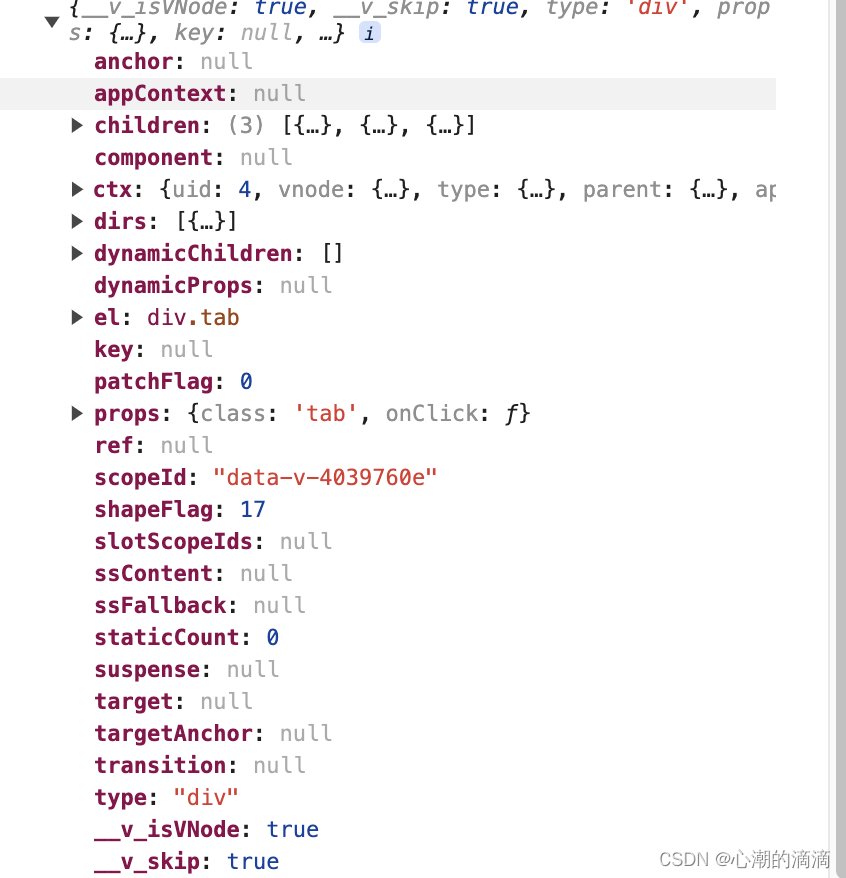
- prevNode: 代表之前的渲染中指定所绑定元素的VNode。仅在 beforeUpdate 和 updated 钩子中可用
使用
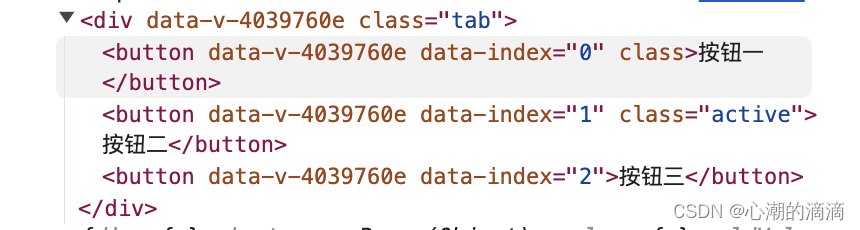
这里,我们封装一个自定义v-tab指令来处理按钮点击切换样式变幻问题
定义一个组件 TestDirective.vue
<!-- TestDirective.vue -->
<template>
    <div>
        <div class="tab"
        @click="handleClick($event)"
        v-tab="{
            activeClass: 'active',
            curIndex
        }">
            <button data-index="0">按钮一</button>
            <button data-index="1">按钮二</button>
            <button data-index="2">按钮三</button>
        </div>
    </div>
</template>

<script lang="ts">
import { ref } from 'vue'
import { tab } from '../directives'

export default {
    name: 'TestDirective',
    directives: {
        tab
    },
    setup() {
        const curIndex = ref<number>(0)
        const handleClick = (event: MouseEvent) => {
            const tar = event.target as HTMLElement
            const className = tar.className

            if (Object.is(className, '')) {
                const index = parseInt(tar.dataset?.index ?? "")
                curIndex.value = index
            }
        }

        return {
            handleClick,
            curIndex
        }
    }
}
</script>

<style lang="scss" scoped>
.tab {
    .active {
         background-color: skyblue;
         border: 2px solid slategrey;
         color: white;
    }
}
</style>
在src下面创建directives文件夹来存放自定义指令
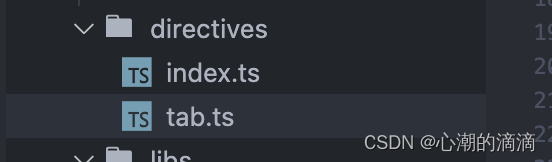
index.ts
import tab from './tab'

export {
    tab
}
tab.ts
export default {
    mounted(el: any, binding: any, vnode: any, prevNode: any) {
        console.log("tab mounted", el, binding, vnode, prevNode)
        const { activeClass, curIndex } = binding.value;
        const buttonList = el.querySelectorAll("button");
        buttonList[curIndex].classList.add(activeClass);
    },
    updated(el: any, binding: any, vnode: any, prevNode: any) {
        console.log("tab updated", el, binding, vnode, prevNode)
        const buttonList = el.querySelectorAll("button");
        let { activeClass, curIndex } = binding.oldValue;
        buttonList[curIndex].classList.remove(activeClass);
        activeClass = binding.value.activeClass;
        curIndex = binding.value.curIndex;
        buttonList[curIndex].classList.add(activeClass);
    }
}
运行之后,我们可以鼠标点击按钮切换样式

app.use
安装插件。 必须带一个install()方法
封装插件
这里,我们自己封装一个MyUI插件,且在插件里有两个自定义组件:MyButton 和 MyInput
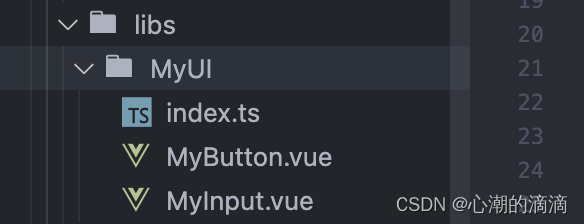
MyButton.vue
<!-- MyButton.vue -->
<template>
    <div>
        <button class="my-button"><slot></slot></button>
    </div>
</template>

<script lang="ts">
export default {
    name: 'MyButton',
}
</script>

<style lang="scss" scoped>
    .my-button {
        background-color: #41b883;
        color: #fff;
        border: none;
        border-radius: 10px;
        width: 80px;
    }
</style>
MyInput.vue
<!--  -->
<template>
    <div>
        <input class="my-input" type="text" placeholder="placeholderText" />
    </div>
</template>

<script lang="ts">
export default {
    name: 'MyInput',
    props: {
        placeholderText: {
            type: String,
            default: 'This is my input'
        }
    }
}
</script>

<style lang="scss" scoped>
    .my-input {
        width: 180px;
        border: 1px solid #ccc;
        border-radius: 4px;
        padding: 4px;
    }
</style>
index.ts
import MyButton from './MyButton.vue'
import MyInput from './MyInput.vue'

const componentsPool: Map<String, any> = new Map()
componentsPool.set(MyButton?.name ?? "", MyButton)
componentsPool.set(MyInput?.name ?? "", MyInput)

export default {

    install(app: any, options: any) {
        console.log("options => ", options)
        console.log("componentsPool => ", componentsPool)
        if (options?.components.length > 0) {
            // 按需加载
            options.components.map((com: String) => {
                componentsPool.has(com) && app.component(com, componentsPool.get(com))
            })
        } else {
            // 全部加载
            for (let [name, com] of componentsPool.entries()) {
                app.component(name, com)
            }
        }
    }
}
注意:在插件加载逻辑中,我们实现了按需加载。就是,如果我们在app.use()方法的第二个参数中传入components数组且长度大于0就进行按需加载,优化性能,否则的话,全部加载。
注册
我们在程序入口文件main.ts中进行注册
import MyUI from './libs/MyUI'
app.use(MyUI, {
    components: ['MyButton', 'MyInput']
})
使用
然后,我们创建一个TestUse.vue
<!--  -->
<template>
    <div>
        <my-button>测试按钮</my-button>
        <my-input></my-input>
    </div>
</template>

<script lang="ts">
export default {
    name: "TestUse",
}
</script>

<style lang="scss" scoped>

</style>
按照上面我们运行结果则是两个都可以展示

如果,我们在注册的时候只加载按钮
app.use(MyUI, {
    components: ['MyButton']
})
则只展示按钮


 1439
1439

 被折叠的 条评论
为什么被折叠?
被折叠的 条评论
为什么被折叠?
 到【灌水乐园】发言


