


Background
今天在使用python向excel中插入图片中,插入到哪个单元格,图片的边框就会覆盖单元格的边框,于是想着能不能稍微偏移一点,经过一番查找,最终在Stack Overflow上找到了,上面有偏移位置的计算方法,但我没看太懂,也嫌麻烦,偏移量以万为单位进行微调也比较简单使用,再者我这也不需要那么精确哈。
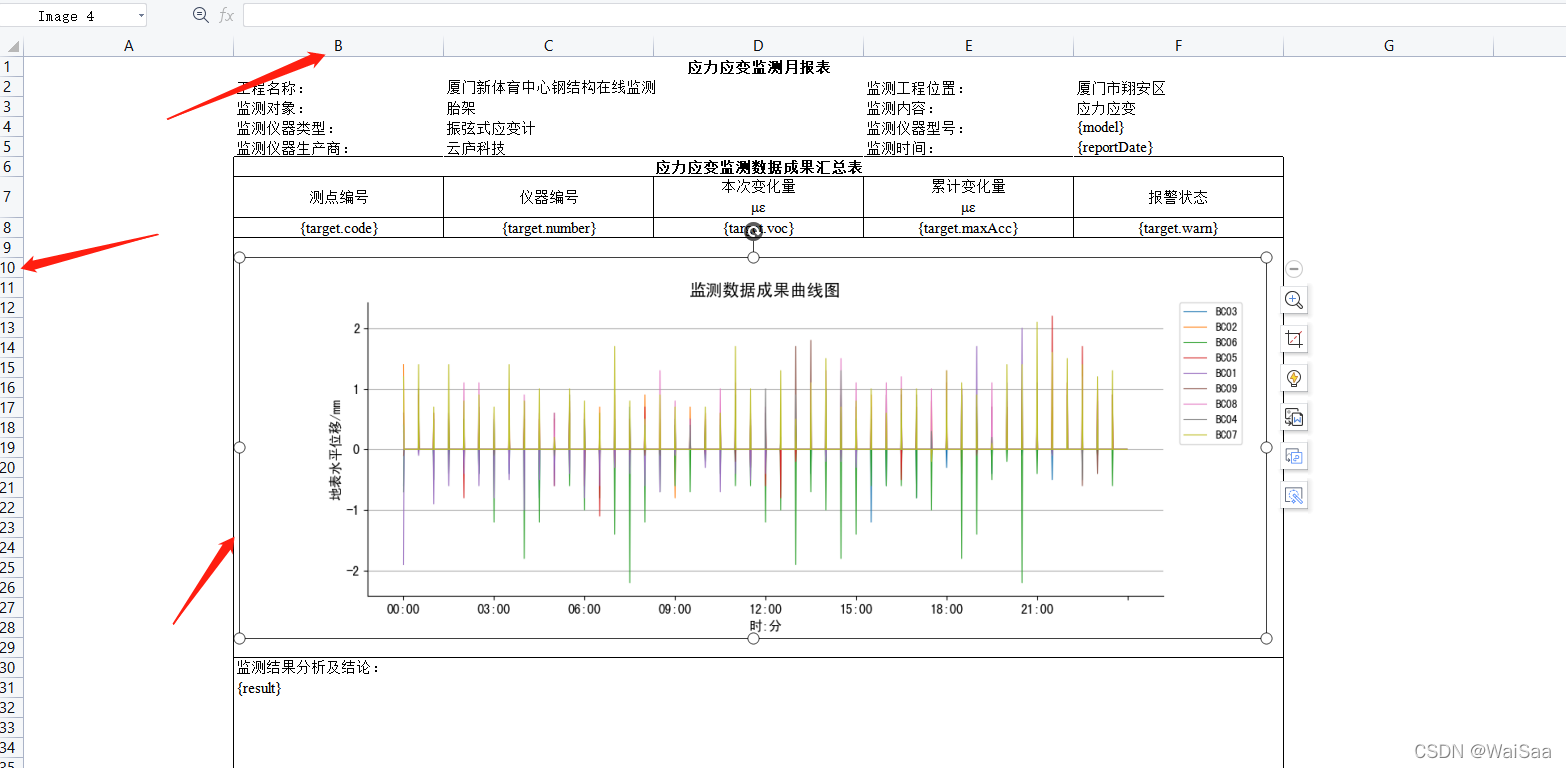
1、先看下效果哈
2、安装OpenPyXL
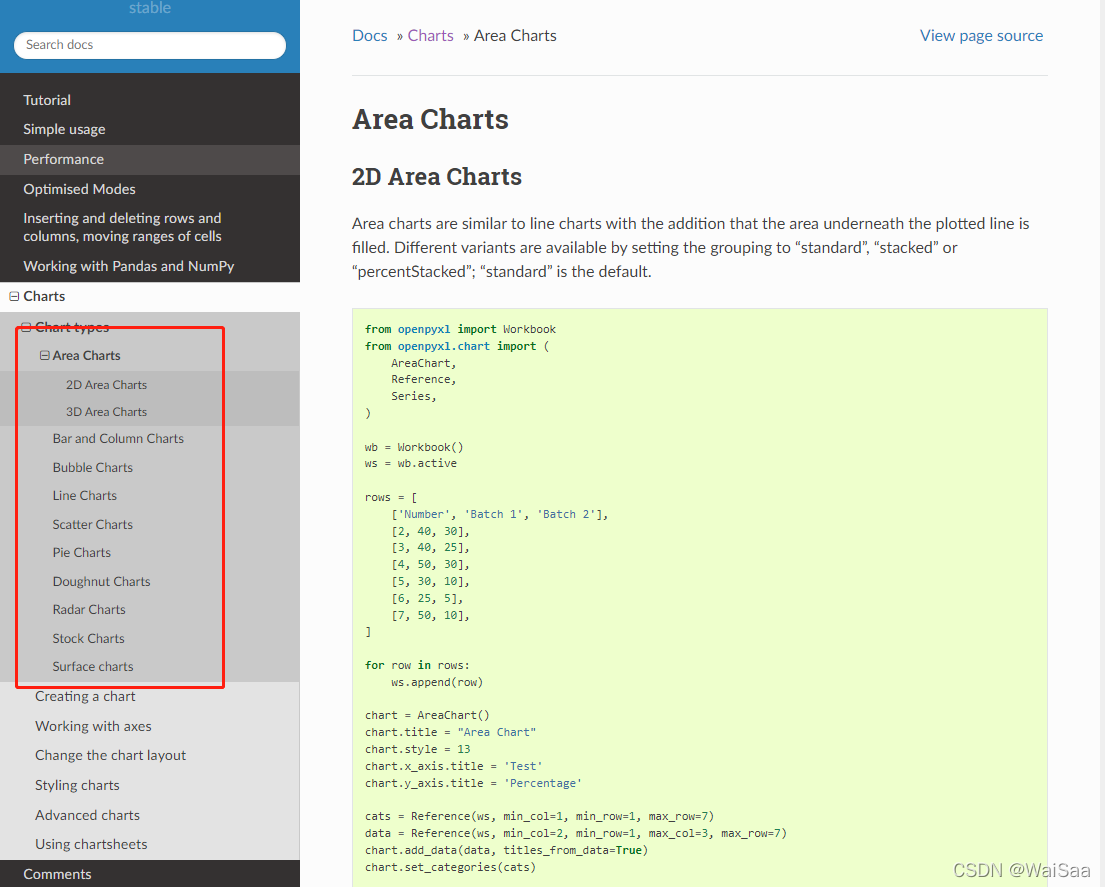
有兴趣的可以研究下OpenPyXL官方文档哈
pip install openpyxl
3、源码
from openpyxl import load_workbook
from openpyxl.drawing.image import Image
from openpyxl.drawing.spreadsheet_drawing import AnchorMarker, OneCellAnchor
from openpyxl.drawing.xdr import XDRPositiveSize2D
from openpyxl.utils.units import pixels_to_EMU


def offset_img(img):
    """精确设置图片位置,偏移量以万为单位进行微调吧,具体计算公式太麻烦了
    row column 的索引都是从0开始的,我这里要把图片插入到单元格B10
    """
    p2e = pixels_to_EMU
    h, w = img.height, img.width
    size = XDRPositiveSize2D(p2e(w), p2e(h))
    marker = AnchorMarker(col=1, colOff=60000, row=9, rowOff=0)
    img.anchor = OneCellAnchor(_from=marker, ext=size)


def save_to_excel(file, fig):
    """把图片插入到excel文件中的指定位置
    插入到指定单元格然后向右偏移一点距离,目的是不让图片的边框和单元格的边框重合
    :param file: excel文件
    :param fig: 图片
    :return:
    """
    # 获取模板 excel 的操作对象
    wb = load_workbook(filename=file)
    # 根据 Sheet1 这个名字来获取 Sheet1
    sheet1 = wb['应力应变']
    # sheet1 = wb[subject]
    img = Image(fig)
    # 设置图片的宽和高
    cnt = 81
    img.width, img.height = (12.7 * cnt, 4.7 * cnt)
    offset_img(img)
    # 将图片添加到excel中
    sheet1.add_image(img)
    wb.save(file)


if __name__ == '__main__':
    src_file = 'D:/test/project-reportDate日报表.xlsx'
    src_img = 'D:/test/img.png'
    save_to_excel(src_file, src_img)
感叹
之前做图表的时候没发现OpenPyXL也可以做各种图表呢,看样子也挺简单的,上面的图我是用matplotlib模块画的,要复杂一点,以后有机会研究下这个。


 2377
2377

 被折叠的 条评论
为什么被折叠?
被折叠的 条评论
为什么被折叠?
 到【灌水乐园】发言


