


 本文主要介绍了新手在使用Android的ConstraintLayout时遇到的两个常见问题:1) layout_margin属性不生效的原因及解决办法,指出需要设置约束对象才能使margin生效;2) wrap_content在不同情况下的表现,解释了为何设置margin后效果不理想,并提供了解决方案。通过理解ConstraintLayout的约束原理,可以避免这些坑并提升布局设计的效率。
【前言】
对于之前常用
LinearLayout、RelativeLayout布局的小伙伴,初次使用ContraintLayout,因为之前使用习惯的问题,很容易出现各种意想不到的问题的,下面主要列举一下新手常见的坑
一、layout_marginXXX属性不生效
布局文件如下:
<?xml version="1.0" encoding="utf-8"?>
<androidx.constraintlayout.widget.ConstraintLayout xmlns:android="http://schemas.android.com/apk/res/android"
    xmlns:app="http://schemas.android.com/apk/res-auto"
    xmlns:tools="http://schemas.android.com/tools"
    android:layout_width="match_parent"
    android:layout_height="match_parent"
    tools:context=".MainActivity">

    <TextView
        android:layout_width="wrap_content"
        android:layout_height="wrap_content"
        android:text="白墙黛瓦,枕水江南,千年水乡又一次迎来高光时刻。11月9日至11日,以“共建网络世界 共创数字未来——携手构建网络空间命运共同体”为主题的2022年世界互联网大会乌镇峰会,在浙江乌镇举行"
        app:layout_constraintTop_toTopOf="parent"
        app:layout_constraintStart_toStartOf="parent"
        android:layout_marginEnd="50dp"
        android:layout_marginTop="50dp"/>
</androidx.constraintlayout.widget.ConstraintLayout>
运行效果:
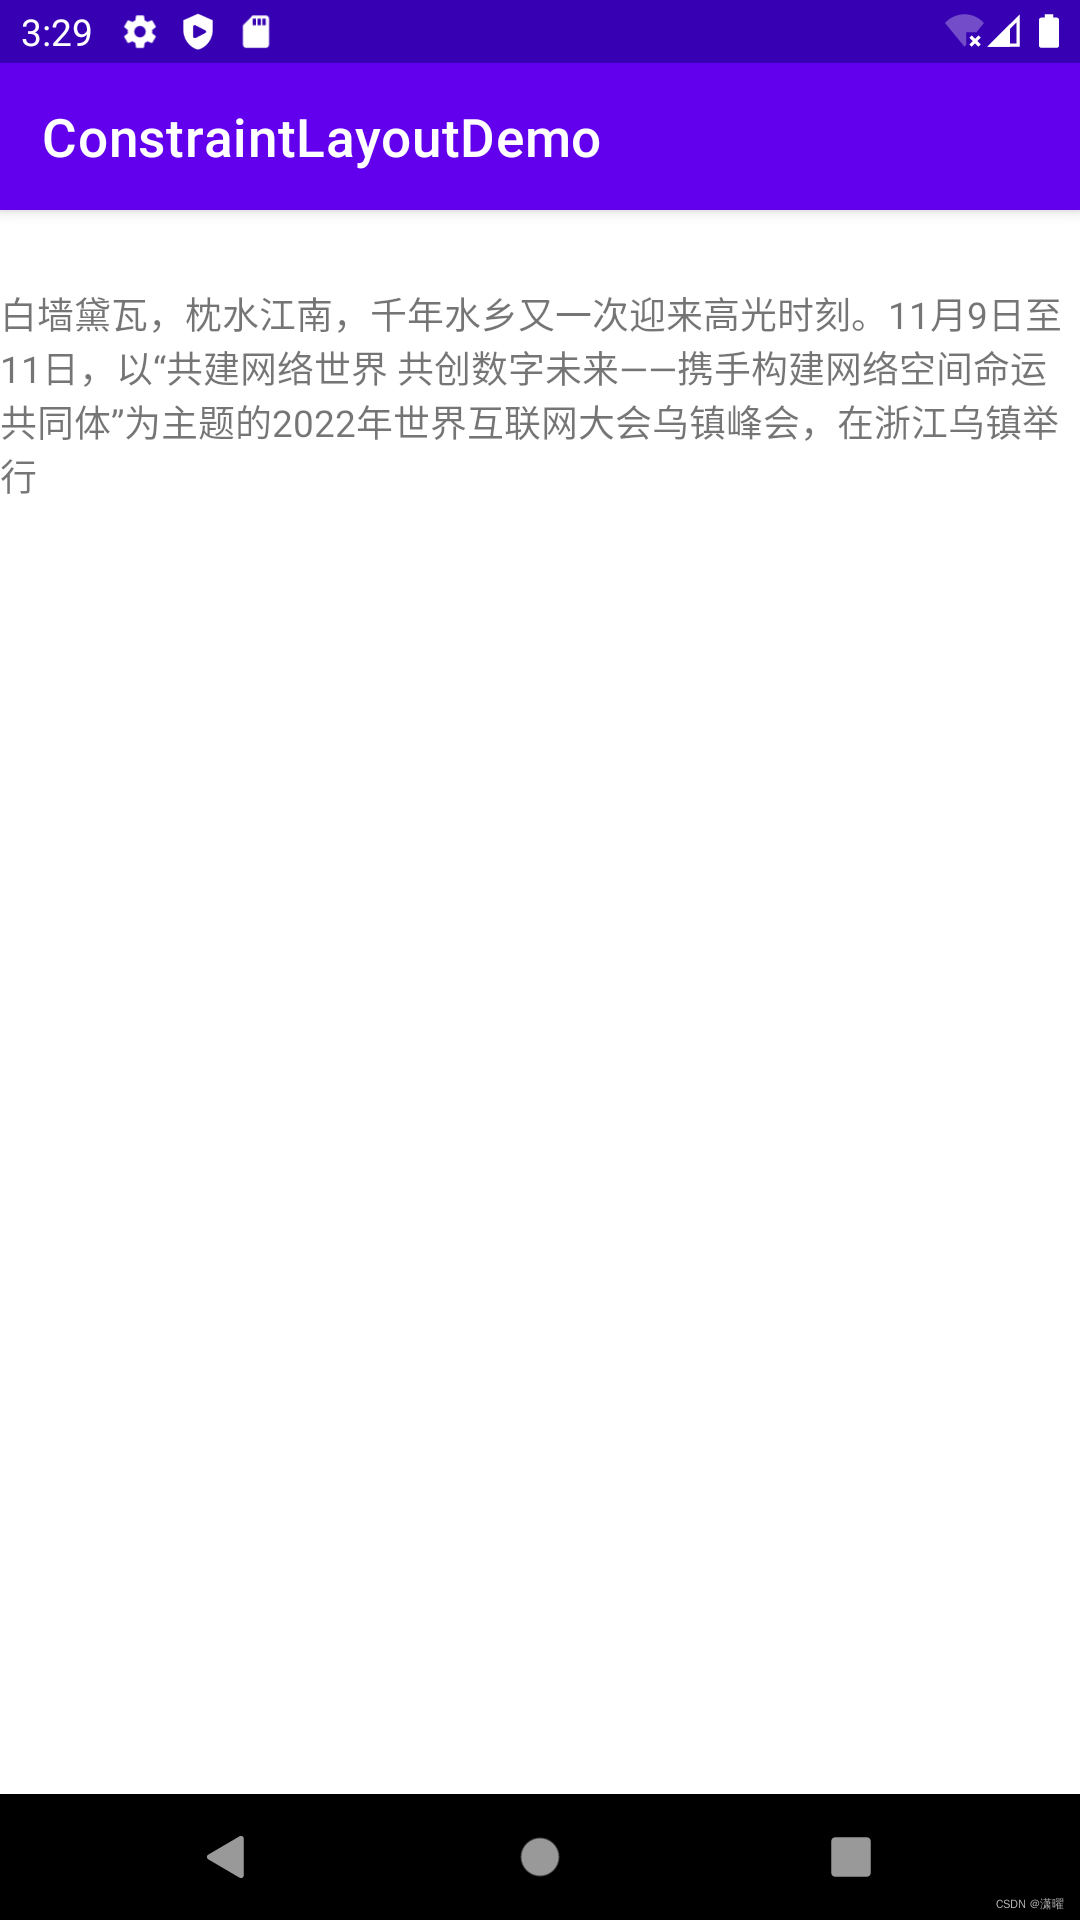
细心的你会发现,上面的布局layout_marginTop设置之后可以生效,但是layout_marginEnd设置之后却没效果?这会新手司机就会很抓狂了,心里想:明明以前使用LinearLayout、RelativeLayout布局时候,这样设置都是可以生效的,为啥到了ConstraintLayout这里就不起作用了呢?那是因为LinearLayout、RelativeLayout布局里的控件默认是以父控件的边界为约束,但是ConstraintLayout并没有默认以父控件的边界为约束,而是四边都需要手动设置约束对象之后,对应那一边的margin属性才会生效,比如上面例子中,因为有设置app:layout_constraintTop_toTopOf="parent",也就是顶部的约束对象是父控件,因而设置layout_marginTop是控件顶部相对于父控件的距离,而由于没有设置控件尾部的约束是哪个对象,所以layout_marginEnd这个属性没法计算距离,只需加上尾部的约束对象就能生效了
app:layout_constraintEnd_toEndOf="parent"
二、错用wrap_content
布局文件如下:
<?xml version="1.0" encoding="utf-8"?>
<androidx.constraintlayout.widget.ConstraintLayout xmlns:android="http://schemas.android.com/apk/res/android"
    xmlns:app="http://schemas.android.com/apk/res-auto"
    xmlns:tools="http://schemas.android.com/tools"
    android:layout_width="match_parent"
    android:layout_height="match_parent"
    tools:context=".MainActivity">

    <TextView
        android:layout_width="wrap_content"
        android:layout_height="wrap_content"
        android:text="白墙黛瓦,枕水江南,千年水乡又一次迎来高光时刻。11月9日至11日"
        app:layout_constraintTop_toTopOf="parent"
        app:layout_constraintStart_toStartOf="parent"
        app:layout_constraintEnd_toEndOf="parent"
        android:textSize="40sp"
        android:layout_marginEnd="50dp"
        android:layout_marginTop="20dp"
        android:background="@color/purple_700"/>

    <TextView
        android:layout_width="0dp"
        android:layout_height="wrap_content"
        android:text="白墙黛瓦,枕水江南,千年水乡又一次迎来高光时刻。11月9日至11日"
        app:layout_constraintTop_toTopOf="parent"
        app:layout_constraintStart_toStartOf="parent"
        app:layout_constraintEnd_toEndOf="parent"
        app:layout_constraintBottom_toBottomOf="parent"
        android:textSize="40sp"
        android:layout_marginEnd="50dp"
        android:background="@color/purple_700"/>
</androidx.constraintlayout.widget.ConstraintLayout>
运行效果:

细心的你会发现,第一个Textview的layout_width的设置为wrap_content,设置 android:layout_marginEnd="50dp"之后,实际距离父控件右侧并没有50dp,同时还向左偏移了一段距离,整体效果就是整个Textview向左偏移了25dp,这显然不是我们想要的;再看看第二个Textview的layout_width的设置为0dp,设置 android:layout_marginEnd="50dp"之后,右边确实是距离父控件右侧50dp,而且左边也没出现往左侧偏移的情况,完美!那么第一种情况还能挽救吗?当然,你加上以下设置,就是一样效果了
app:layout_constrainedWidth="true"
你以为事情到这里就结束了吗?并没有,当你设置文字只有两个字的时候,就会变成下面这样:
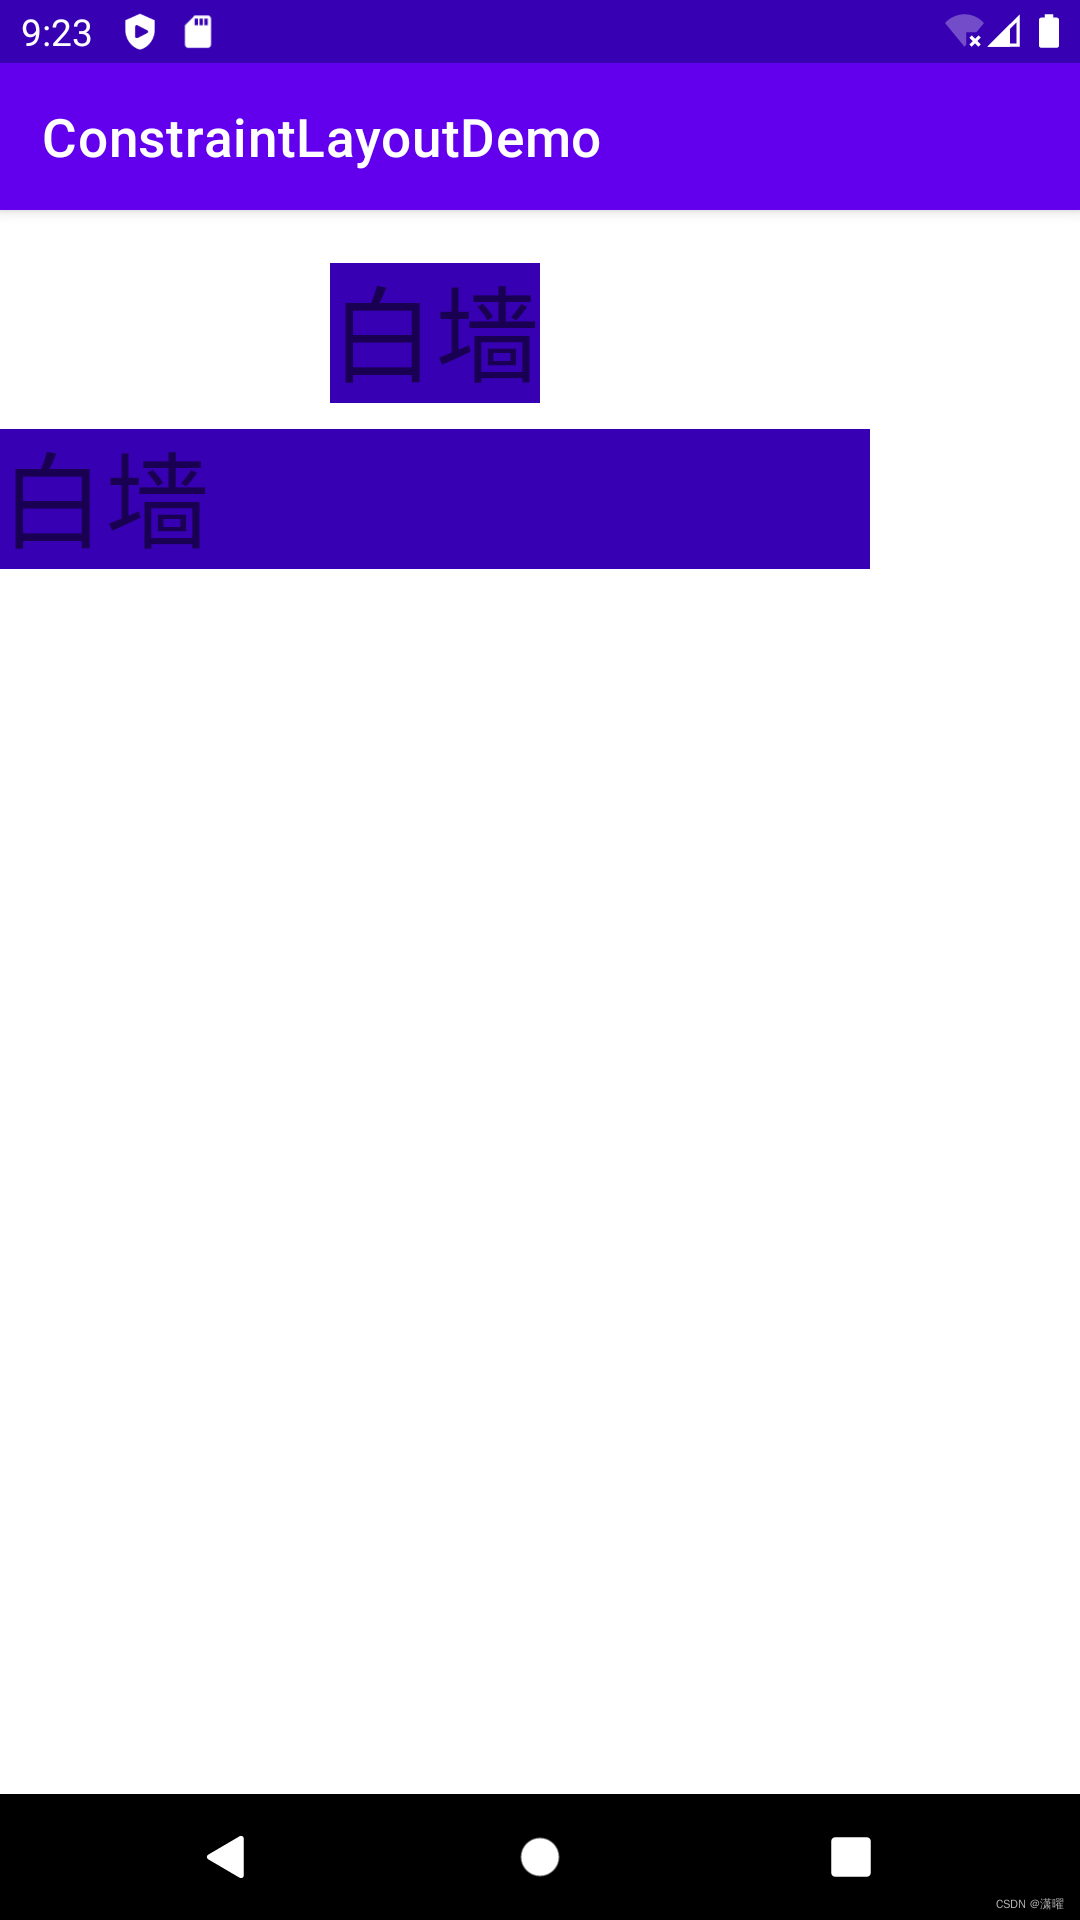 这时你会发现,两个
TextView的效果都不是自己想要的,首先第一个Textview的大小是符合预期的,但是位置却是居中显示,并不是自己预想的从左侧开始显示;然后第二个Textview虽然是从左侧开始显示,但是大小却是占满了整个符合约束的空间,显然也不是想要的效果
第一个TextView增加设置相对父控件距离的长度为父控件的宽度0倍的位置即可
app:layout_constraintHorizontal_bias="0"
其中app:layout_constraintHorizontal_bias默认取值为0.5,也就是居中显示的效果
第二个TextView,除了增加上述设置,还需要增加以下设置:
app:layout_constraintWidth_default="wrap"
因为app:layout_constraintWidth_default默认取值为spread,也就是铺满所有符合约束的空间 , 而wrap则是匹配内容大小但不超过约束限制,这个才是完美匹配内容大小的解决方案


 2170
2170

 被折叠的 条评论
为什么被折叠?
被折叠的 条评论
为什么被折叠?
 到【灌水乐园】发言


