


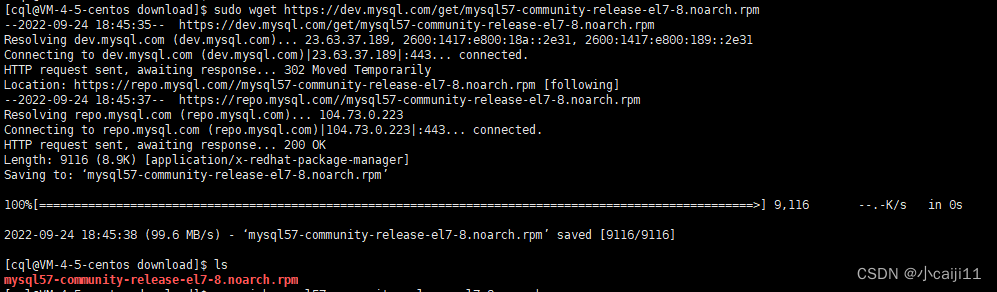
1、下载mysql:
sudo wget https://dev.mysql.com/get/mysql57-community-release-el7-8.noarch.rpm
2、解压
rpm -ivh mysql57-community-release-el7-8.noarch.rpm
3、cd /etc/yum.repos.d/ ,进入目录进行安装
4、如果直接 yum -y install mysql-serve 会报错,错误如下

应该 输入 sudo rpm --import https://repo.mysql.com/RPM-GPG-KEY-mysql-2022,之后再
最后sudo yum -y install mysql-server,最后便可以安装成功
5、获取临时密码:sudo grep ‘temporary password’ /var/log/mysqld.log
6、 mysql -uroot -p,输入临时密码即可
#mysql额外操作
1、mysqld --initialize --user=mysql; mysql初始化
查看临时密码tail -f /var/log/mysqld.log
sudo cat /etc/mysql/debian.cnf 查看Mysql用户和密码
Sudo apt-get install libmysqlclient-dev,才能调用#include<mysql/mysql.h>
在服务器创建mysql:
create user ‘admin’@‘localhost’ identified by ‘123456’;
将权限都赋值给这个用户:grant all privileges on . to ‘admin’@‘localhost’ identified by ‘Aa.123456’;
grant all privileges on . to ‘admin’@‘localhost’ identified by “123456” with grant option;
grant all privileges on . to ‘admin’@‘localhost’ identified by ‘123456’;
项目问题记录:
Mysql :账号 admin,密码:rootroot
root,密码:My_new_password@123!
数据库地址:
#mysql头文件存放的目录
MYSQLINCL = -I/usr/include/mysql
#mysql库文件存放的目录
MYSQLLIB = -L/usr/lib64/mysql
alter table girls change name name varchar(30) character set utf8;
更改表内容,UPDATE girls SET id=replace(id,5,2);5是替换内容,2是想要的内容,可能要加双引号。
#最简单安装
1、sudo yum install mysql-server
2、sudo vim /etc/my.cnf ,添加 skip-grant-tables,这样可以不用密码登录
mysql,如果后面3,4、5不能执行就要下面三句话
mysql> set global read_only=0;
Query OK, 0 rows affected (0.00 sec)
mysql> flush privileges;
Query OK, 0 rows affected (0.05 sec)
mysql> show variables like ‘%read_only%’;
±-----------------±------+
| Variable_name | Value |
±-----------------±------+
| innodb_read_only | OFF |
| read_only | OFF |
| tx_read_only | OFF |
±-----------------±------+
3 rows in set (0.00 sec)
3、sudo systemctl start mysqld,启动mysql服务不然会出现socket问题
4、mysql ,进入mysql,set password for ‘root’@‘localhost’ = password(‘admin’);
为root设置密码
5、sudo vim /etc/my.cnf,注释掉 skip-grant-tables
sudo systemctl start mysqld;
mysql -uroot -p passwd,
6、创建用户:create user ‘admin’@‘localhost’ identified by ‘root’
grant all privileges on . to ‘admin’@‘localhost’ identified by ‘123456’;
flush privileges;//这个不用也可以


 549
549


 被折叠的 条评论
为什么被折叠?
被折叠的 条评论
为什么被折叠?
 到【灌水乐园】发言


