


texlive2023+vscode安装与配置(简洁版)
texlive2023安装
直接从清华镜像下载texlive2023.iso ,下载成功后双击打开,找到install-tl-windows.bat文件,以管理员身份打开即可。安装过程中取消勾选安装texworks前端,按需调整安装目录,一直next即可。
vscode安装
直接从官网下载安装最新版.用管理员身份打开,除了自定义安装位置,一直next安装即可。
配置vscode
1.安装拓展:可以直接安装我的5个拓展,其中Chinese language、code spell checker、latex workshop是必须的。
2.配置json.
先按下图顺序找到json,
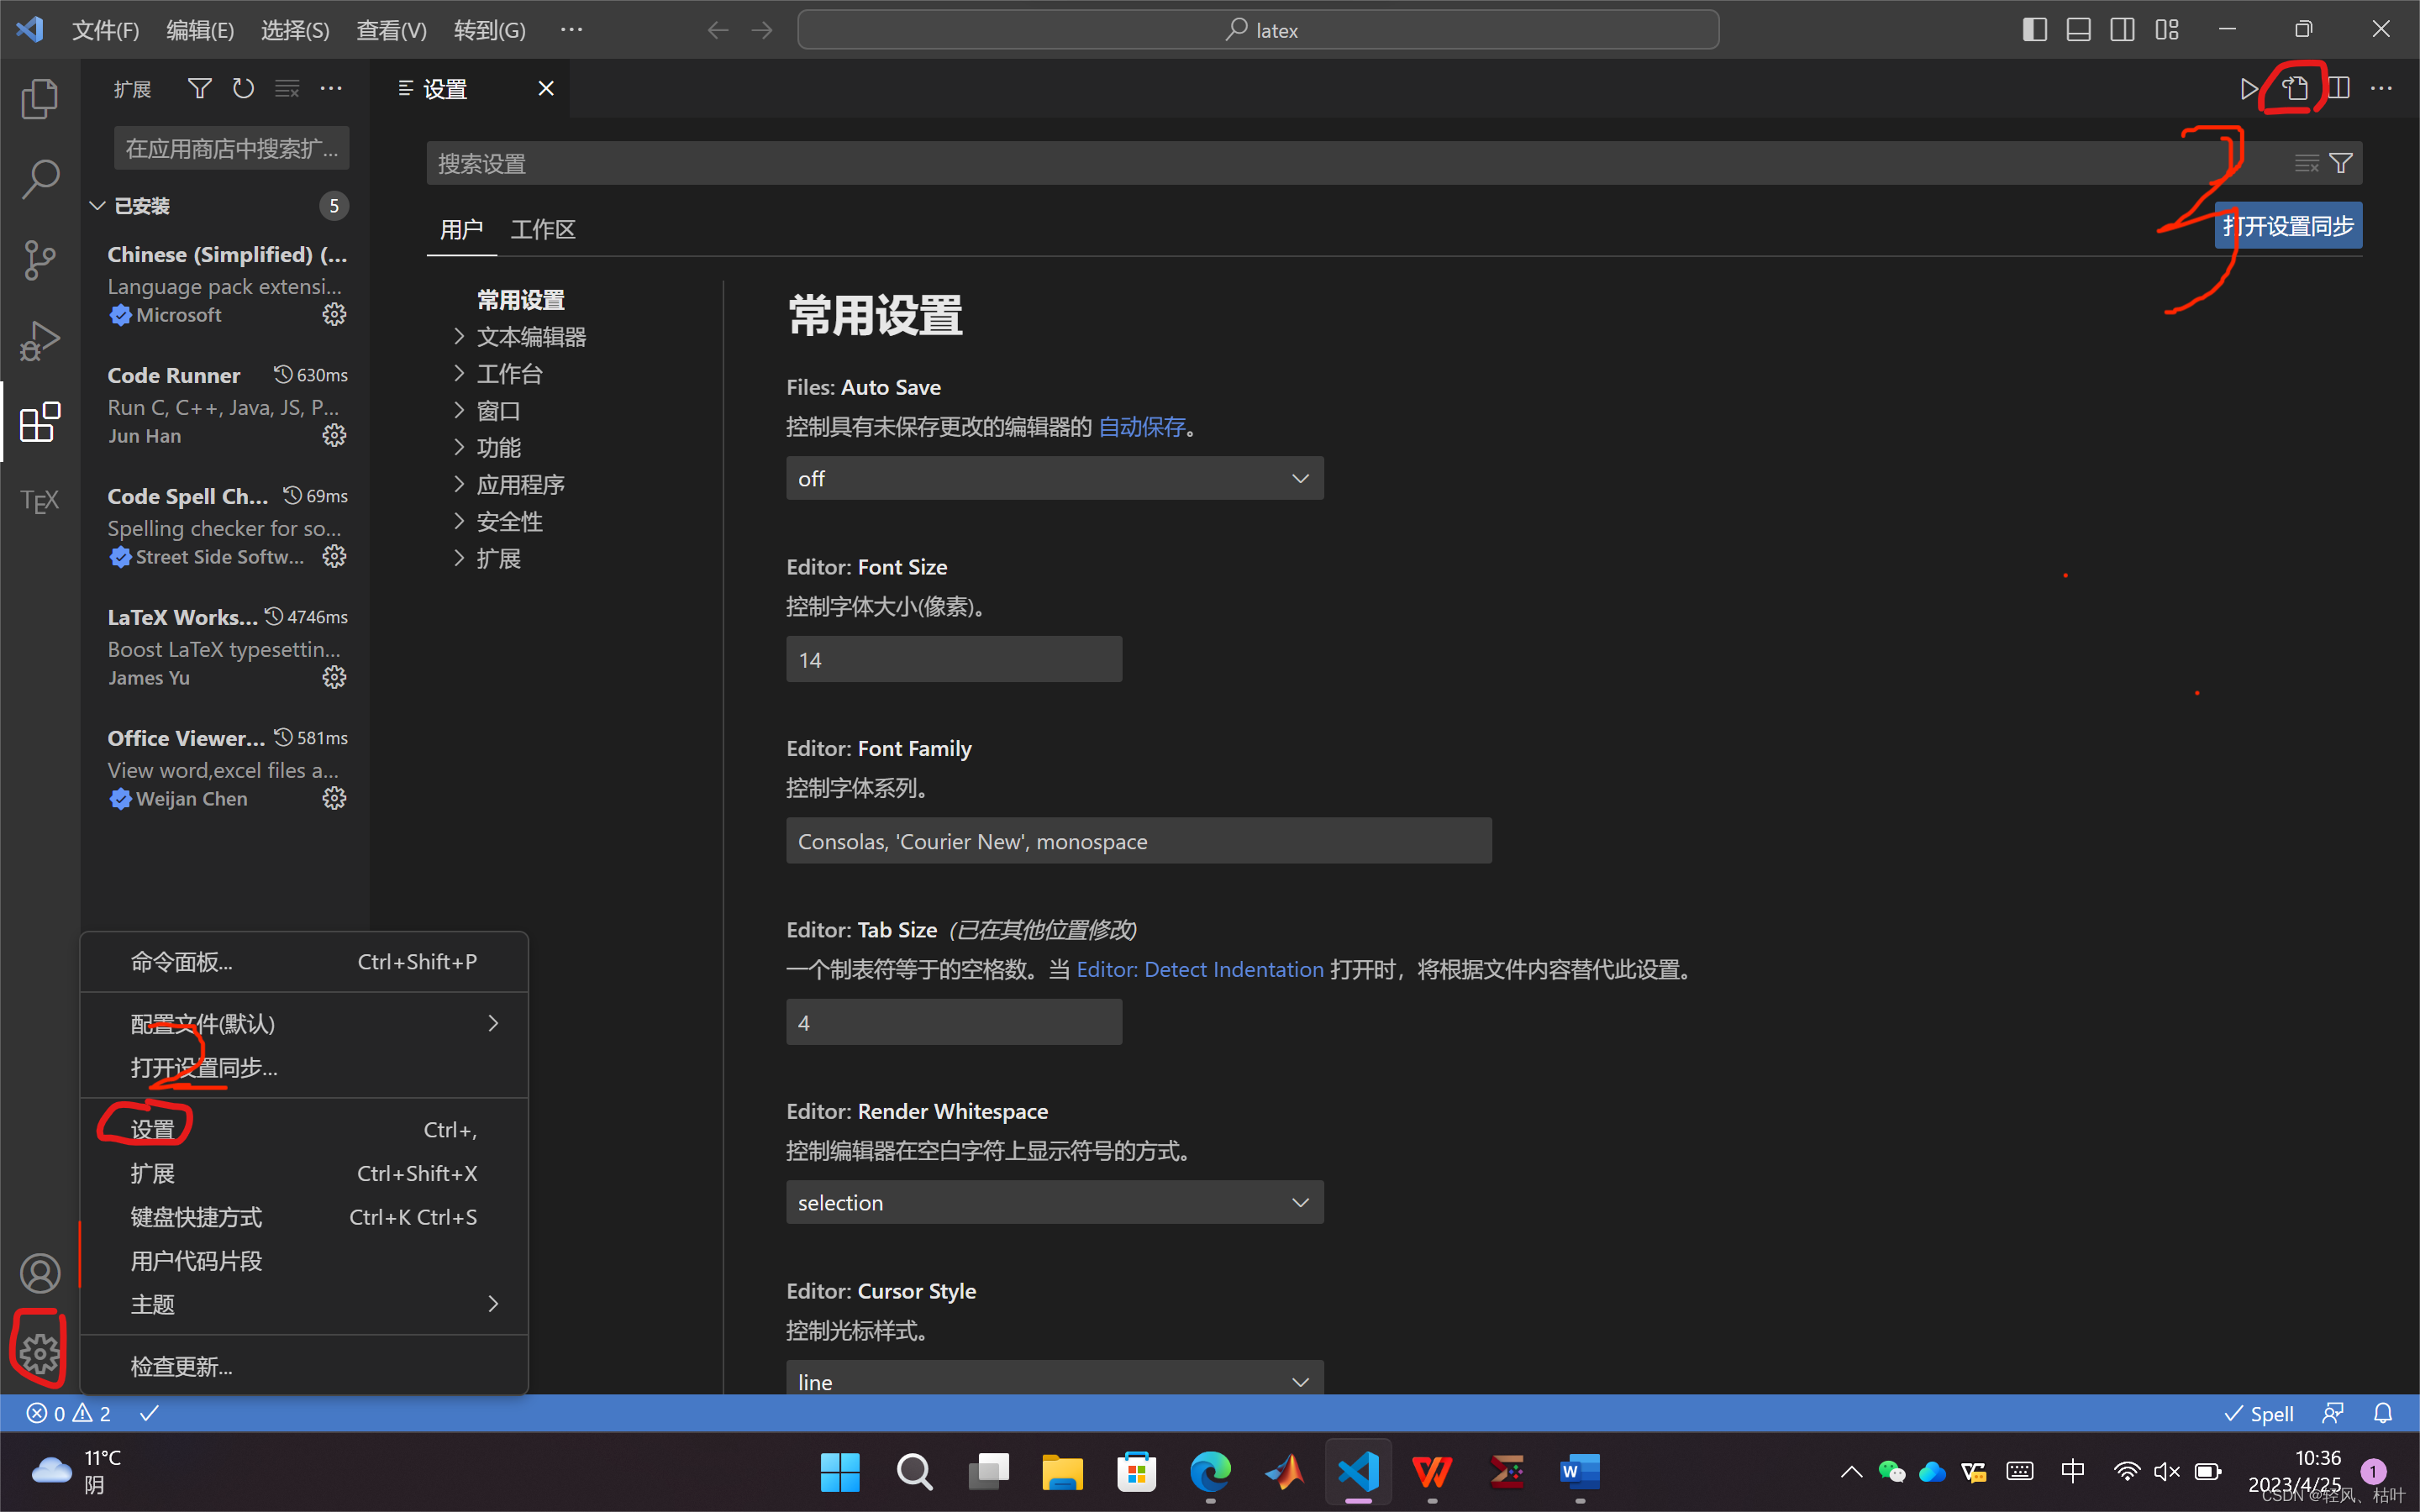
再把下面代码块完全替换原代码
{
    //------------------------------LaTeX 配置----------------------------------
       // 设置是否自动编译
       "latex-workshop.latex.autoBuild.run":"never",
       //右键菜单
       "latex-workshop.showContextMenu":true,
       //从使用的包中自动补全命令和环境
       "latex-workshop.intellisense.package.enabled": true,
       //编译出错时设置是否弹出气泡设置
       "latex-workshop.message.error.show": false,
       "latex-workshop.message.warning.show": false,
       // 编译工具和命令
       "latex-workshop.latex.tools": [
           {
               "name": "xelatex",
               "command": "xelatex",
               "args": [
                   "-synctex=1",
                   "-interaction=nonstopmode",
                   "-file-line-error",
                   "%DOCFILE%"
               ]
           },
           {
               "name": "pdflatex",
               "command": "pdflatex",
               "args": [
                   "-synctex=1",
                   "-interaction=nonstopmode",
                   "-file-line-error",
                   "%DOCFILE%"
               ]
           },


           {
            "name": "latexmk",
            "command": "latexmk",
            "args": [
              "-synctex=1",
              "-interaction=nonstopmode",
              "-file-line-error",
              "-pdf",
              "-outdir=%OUTDIR%",
              "%DOC%"
            ],
            "env": {}
          },

          {
            "name": "lualatex",
            "command": "lualatex",
            "args": [
                "-synctex=1",
                "-interaction=nonstopmode",
                "-file-line-error",
                "-shell-escape",//这个命令行在网上的Latex Workshop设置里一般没有,所以直接recipe会报错
                "%DOCFILE%"
            ]
        },

           {
               "name": "bibtex",
               "command": "bibtex",
               "args": [
                   "%DOCFILE%"
               ]
           }
       ],
       // 用于配置编译链
       "latex-workshop.latex.recipes": [
        {
            "name": "PDFLaTeX",
            "tools": [
                "pdflatex"
            ]
        },
        {
            "name": "LuaLaTeX",
            "tools": [
                "lualatex"
            ]
        },
           {
               "name": "XeLaTeX",
               "tools": [
                   "xelatex"
               ]
           },
           {
               "name": "BibTeX",
               "tools": [
                   "bibtex"
               ]
           },
           {
               "name": "LaTeXmk",
               "tools": [
                   "latexmk"
               ]
           },
           {
               "name": "xelatex -> bibtex -> xelatex*2",
               "tools": [
                   "xelatex",
                   "bibtex",
                   "xelatex",
                   "xelatex"
               ]
           },
           {
               "name": "pdflatex -> bibtex -> pdflatex*2",
               "tools": [
                   "pdflatex",
                   "bibtex",
                   "pdflatex",
                   "pdflatex"
               ]
           }
       ],
       //文件清理。此属性必须是字符串数组
       "latex-workshop.latex.clean.fileTypes": [
           "*.aux",
           "*.bbl",
           "*.blg",
           "*.idx",
           "*.ind",
           "*.lof",
           "*.lot",
           "*.out",
           "*.toc",
           "*.acn",
           "*.acr",
           "*.alg",
           "*.glg",
           "*.glo",
           "*.gls",
           "*.ist",
           "*.fls",
           "*.log",
           "*.fdb_latexmk"
       ],
       //设置为onFaild 在构建失败后清除辅助文件
       "latex-workshop.latex.autoClean.run": "onFailed",
       // 使用上次的recipe编译组合
    "latex-workshop.latex.recipe.default": "lastUsed",
       //使用 SumatraPDF 预览编译好的PDF文件
       // 设置VScode内部查看生成的pdf文件
       "latex-workshop.view.pdf.viewer": "tab",
       // PDF查看器用于在\ref上的[View on PDF]链接
    "latex-workshop.view.pdf.ref.viewer": "auto",
    "editor.wordWrap": "on",
    "editor.renderControlCharacters": false,
 }
测试
重启vscode,打开一个文件夹或者tex文件,也可以新建一个tex文件,例如:
%导言区
\documentclass[12pt,a4paper]{article}% 文档格式
\usepackage{ctex,hyperref}% 输出汉字
\usepackage{amsmath, amsthm, amssymb, graphicx}
\title{一个简单的\LaTeX测试}
\author{轻风、枯叶}
%正文区
\begin{document}
\maketitle
这是一个laTeX测试。
\end{document}
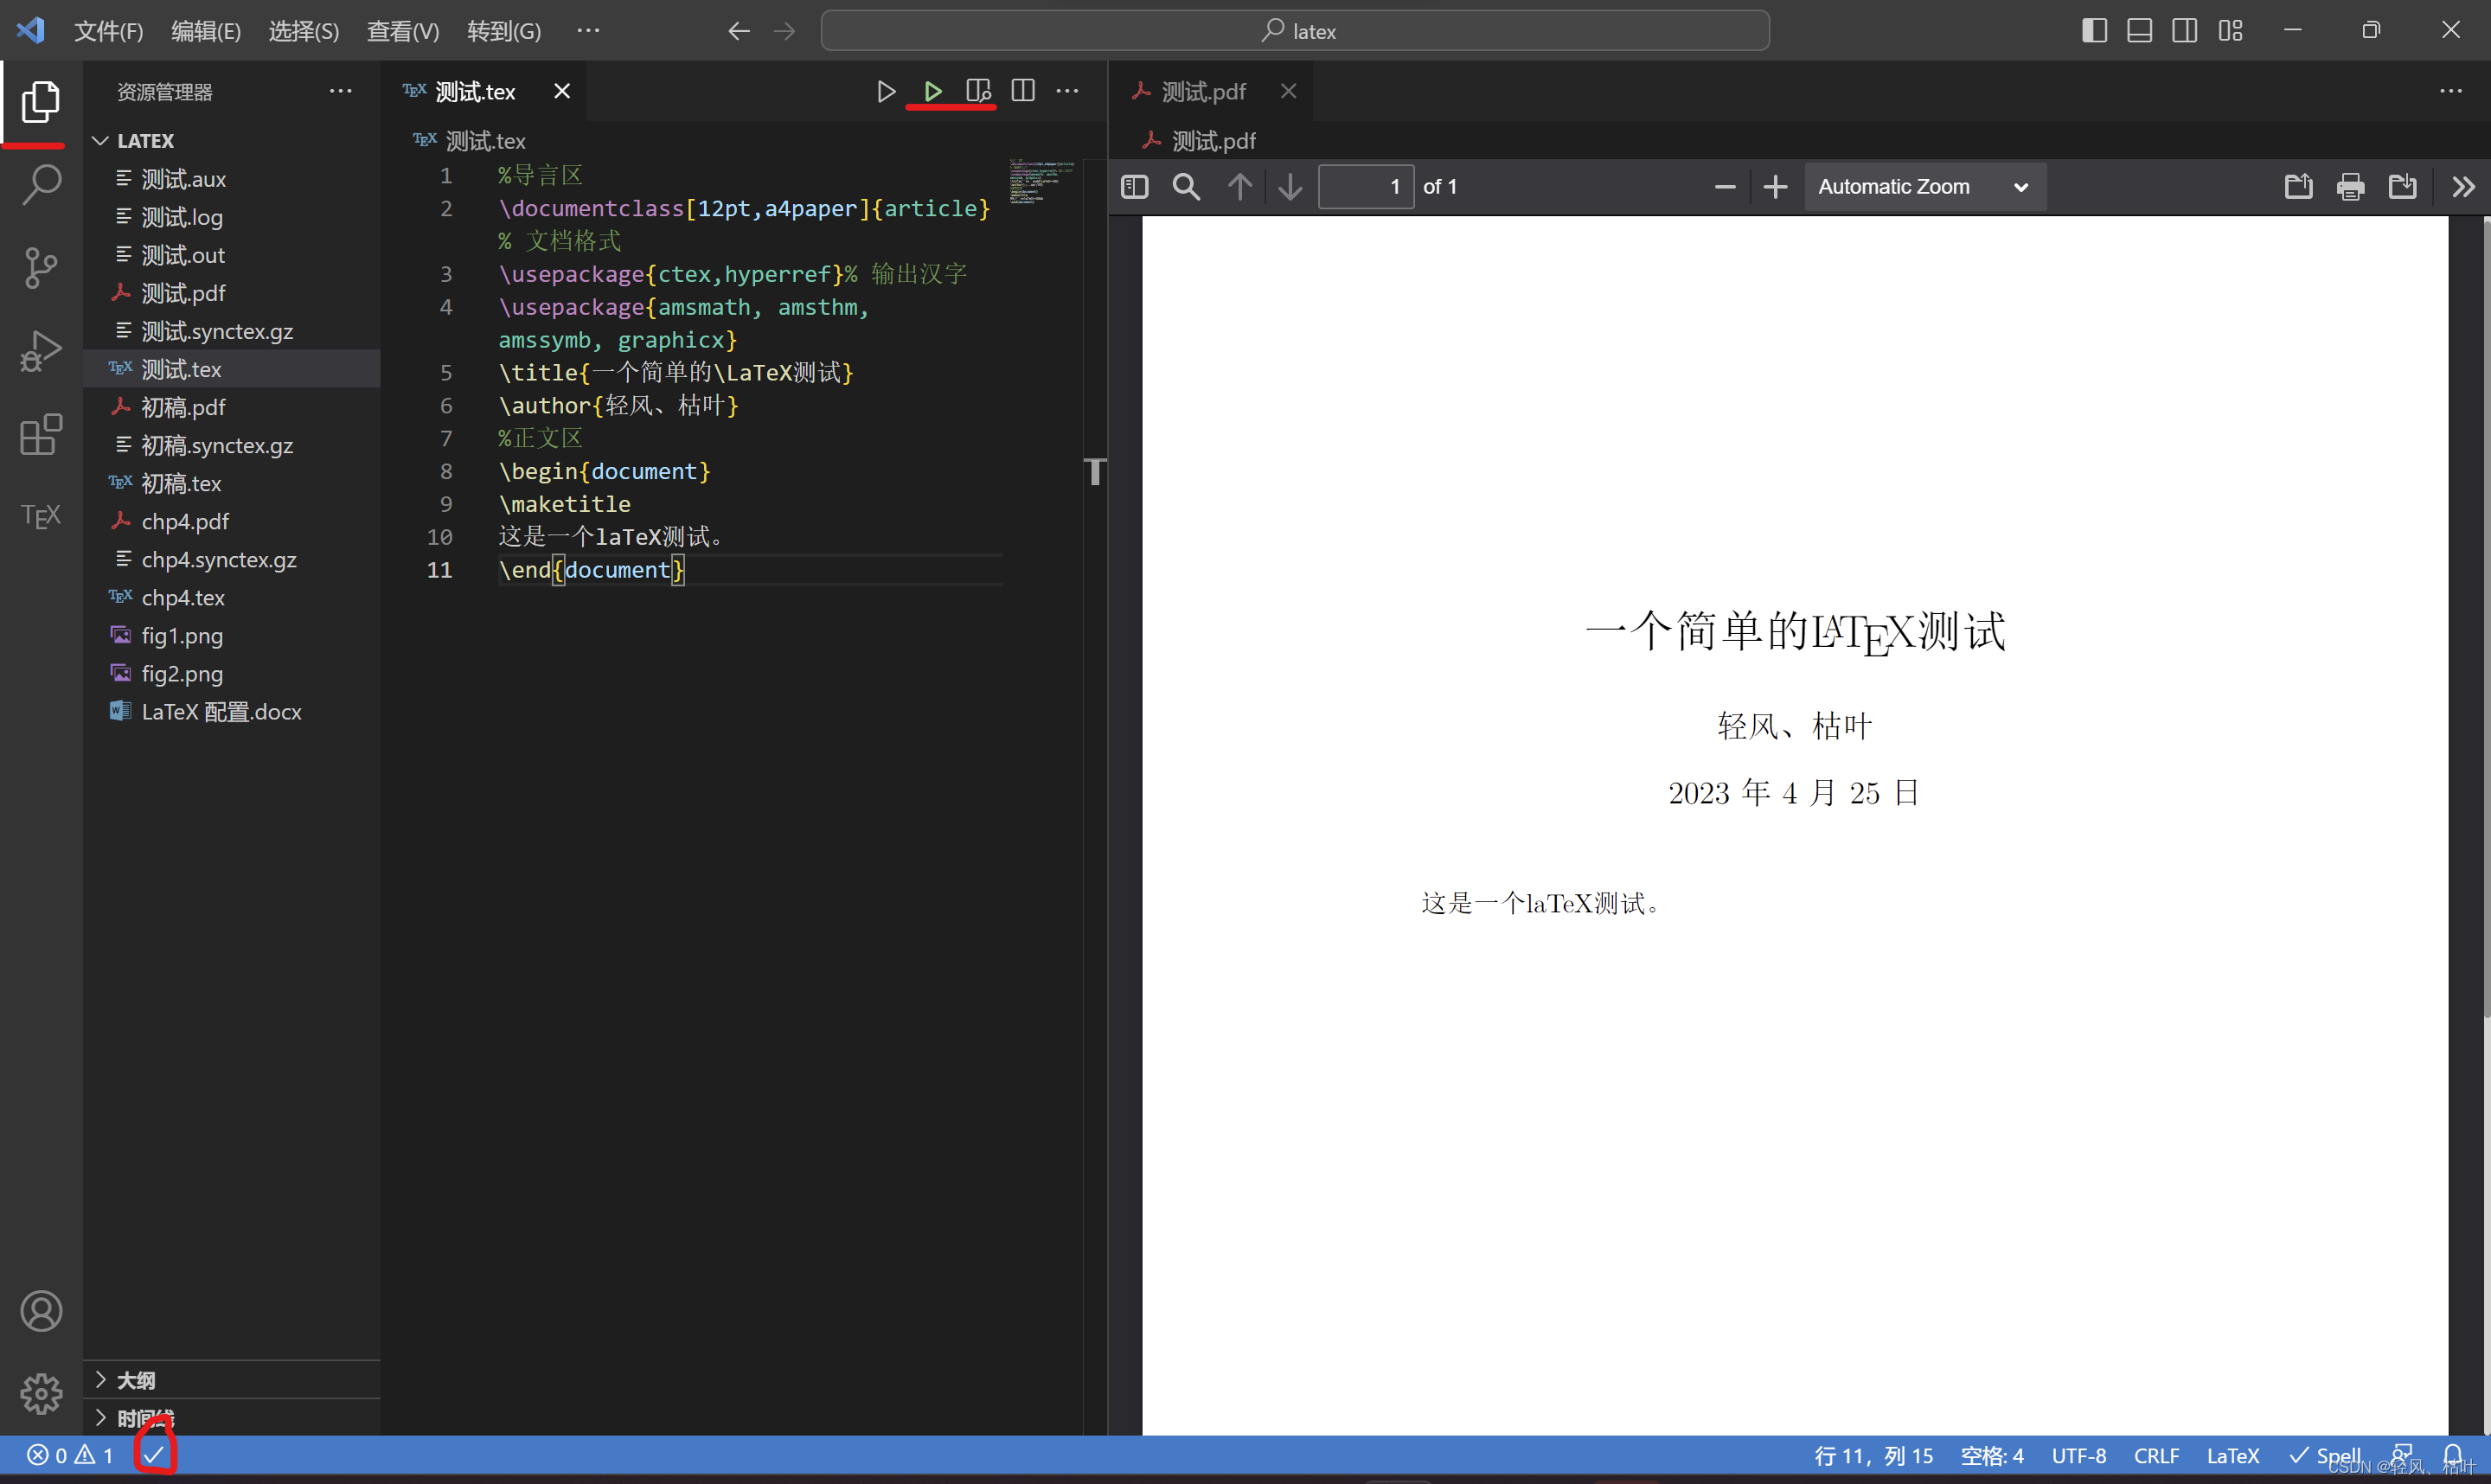
保存,然后运行(右上角绿色三角表示运行),可以看到左下角 √ 表示终端运行成功。
然后预览pdf,在运行右边第一个。如图


 784
784


 被折叠的 条评论
为什么被折叠?
被折叠的 条评论
为什么被折叠?
 到【灌水乐园】发言


