Cesium(三):vue+cesium实现飞行管理

超图官网效果:

在这里插入图片描述


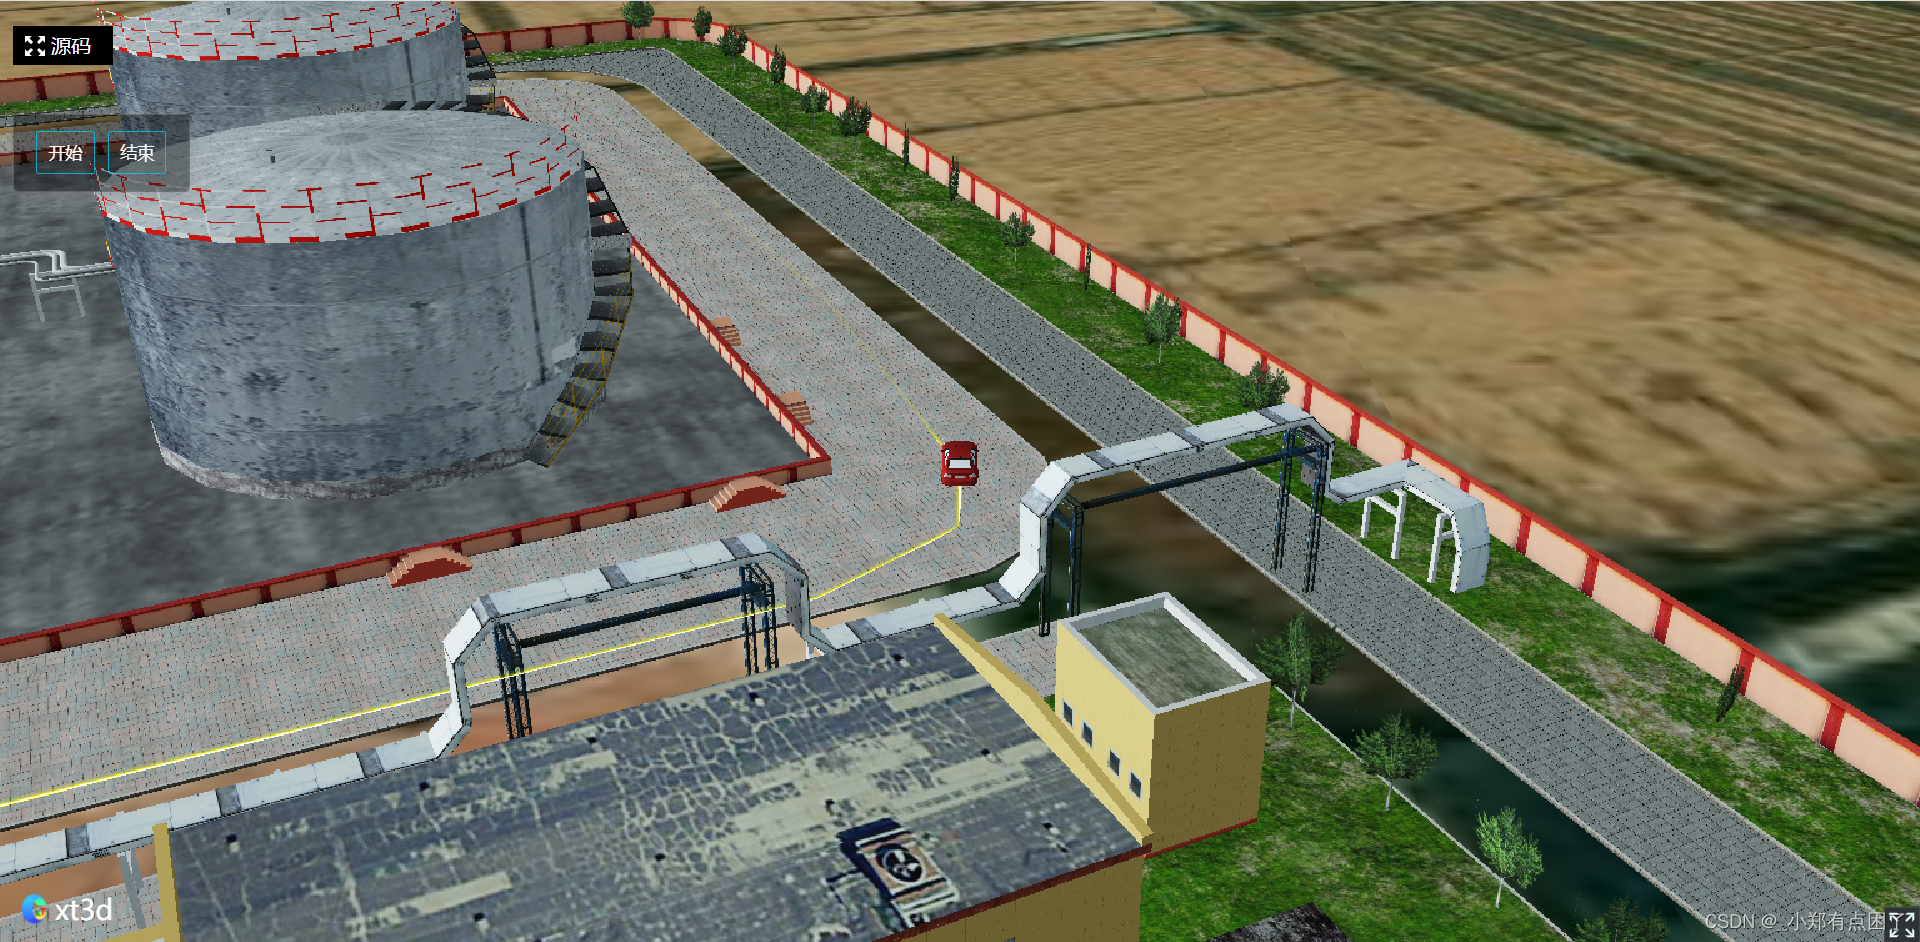
Xt3d效果:他这里叫第一人称漫游,原理应该都是一样的

在这里插入图片描述


背景:

看过超图官网飞行案例和xt3d的案例,感觉很酷炫,想用原生实现,参考大佬的案例实现,学到了学到了。3维地图打点,连线,形成飞行轨迹,以第一人称视角还原飞行过程。
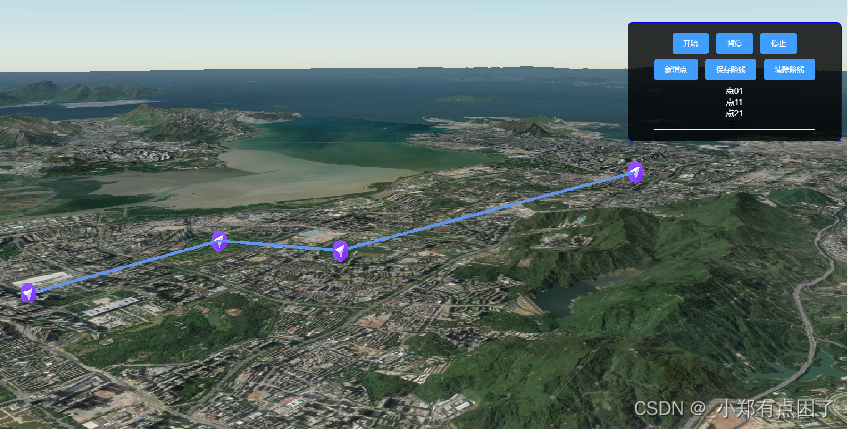

效果图:

在这里插入图片描述


实现原理:

实现原理:利用cesium的entity实体进行绘制坐标点,并将相邻两点连线,记录每个点打点时的俯仰角和航向角等,从一个点移动至另一个点的过程中,将视角也转向至另一个点的位置,从而实现第一人称飞行效果

实现代码:

vue:

<template>
  <div class="home">
    <div id="cesiumContainer"></div>
    <div class="fly-control">
      <div class="header" style="width: 100%;height: 50px;">
        <el-button @click="start" type="primary">开始</el-button>
        <el-button @click="pause"  type="primary">暂停</el-button>
        <el-button @click="stop"  type="primary">停止</el-button>
      </div>

      <div class="header" style="width: 100%;height: 50px;">
        <el-button @click="add_point" type="primary">新增点</el-button>
        <el-button type="primary">保存路线</el-button>
        <el-button type="primary" @click="remove_line">清除路线</el-button>
      </div>

      <el-scrollbar style="width: 100%" >
        <div  style="width: 100%;">
          <span style="color: #fff;display: block" v-for="item in temp_point_arr" >{
   {
   item.id}}</span>
        </div>
      </el-scrollbar>


    </div>
  </div>
</template>

<script>
import {
   Fly_NZC} from './model/flyManager'
let flightTool = ''
export default {
   
  name: "draw",
  data() {
   
    return {
   
      _viewer: undefined,
      tempEntities: [],
      pointArr:[],
      paramObj : {
   
        position: [114.0595, 22.539, 10], 
        heading: 0, // 方位角(heading)
        pitch: 0, // 俯仰角(pitch) 旋转角度
        roll: 360, // 滚动角(roll)
        destination:[114.0595, 22.539, 50],//相机视角
        orientation: {
      
            heading : 0.0, 
            pitch : 0.0, 
            roll : 0.0                           
        }
      },
      options: [{
   
        value: [],
        label: '路线1'
      },],
      curValue: '',

      temp_point_arr:[]
    };
  },
  mounted() {
   
    this.initMap();
  },
  methods: {
   
    initMap(){
   
        // 设置静态资源目录
        // buildModuleUrl.setBaseUrl('../../static/Cesium/')
        this._viewer = new Cesium.Viewer('cesiumContainer', {
   
          baseLayerPicker: false,  // 影像切换
          shouldAnimate: true, // 启用动画
          selectionIndicator: false, //禁用选择指示器
          animation: false,  //是否显示动画控件
          timeline: true, //是否显示时间线控件
          infoBox: false, //是否显示点击要素之后显示的信息
          geocoder: false, //是否显示地名查找控件
          sceneModePicker: false, //是否显示3D/2D选择器
          homeButton: false,//是否展示home键
          navigationHelpButton: false, //是否显示帮助信息控件
          terrainProvider: new Cesium.CesiumTerrainProvider({
      // 加载地形信息
              url: 'https://www.supermapol.com/realspace/services/3D-stk_terrain/rest/realspace/datas/info/data/path',
              requestVertexNormals: true
          }),
          // terrainProvider: Cesium.createWorldTerrain(),
        })

        //设置相机视角  上下调整
        this._viewer.camera.setView({
   
            destination: Cesium.Cartesian3.fromDegrees(this.paramObj.destination[0], this.paramObj.destination[1], this.paramObj.destination[2]),
            orientation: {
          //设置视角
                heading: Cesium.Math.toRadians(this.paramObj.orientation.heading), // east, default value is 0.0 (north)左右摆头
                pitch: Cesium.Math.toRadians(this.paramObj.orientation.pitch),    // default value (looking down)上下抬头 -90俯视 0平视 90仰视(默认俯视)
                roll: this.paramObj.orientation.roll                          // default value
            
  • 0
    点赞
  • 8
    收藏
    觉得还不错? 一键收藏
  • 打赏
    打赏
  • 1
    评论
根据提供的引用内容,Cesium是一个开源的JavaScript库,用于创建WebGL应用程序,可以用于创建维地球和其他地球空间可视化应用程序。Vue.js是一个流行的JavaScript框架,用于构建用户界面和单页应用程序。在这里,我们可以使用CesiumVue.js实现维风场和风速热力图。 以下是实现步骤: 1.安装CesiumVue.js 在终端中运行以下命令来安装CesiumVue.js: ```shell npm install cesium vue --save ``` 2.创建Vue.js应用程序 在Vue.js应用程序中,我们需要使用Cesium Viewer组件来创建维地球。在App.vue文件中,我们可以使用以下代码来创建Cesium Viewer组件: ```vue <template> <div id="cesiumContainer"></div> </template> <script> import * as Cesium from 'cesium/Cesium' export default { name: 'App', mounted () { const viewer = new Cesium.Viewer('cesiumContainer') } } </script> ``` 3.添加风场数据 我们可以使用Cesium的ParticleSystem组件来添加风场数据。在mounted()方法中,我们可以使用以下代码来添加风场数据: ```javascript const particleSystem = viewer.scene.primitives.add(new Cesium.ParticleSystem({ image: 'path/to/particle/image.png', startColor: Cesium.Color.RED, endColor: Cesium.Color.YELLOW, startScale: 1.0, endScale: 0.0, minimumSpeed: 5.0, maximumSpeed: 10.0, lifetime: 10.0, emitter: new Cesium.SphereEmitter(0.5), rate: 1000, bursts: [ new Cesium.ParticleBurst({ time: 0.0, minimum: 100, maximum: 200 }), new Cesium.ParticleBurst({ time: 1.0, minimum: 100, maximum: 200 }) ] })) ``` 4.添加风速热力图 我们可以使用Cesium的HeatmapImageryProvider组件来添加风速热力图。在mounted()方法中,我们可以使用以下代码来添加风速热力图: ```javascript const heatmapImageryProvider = new Cesium.HeatmapImageryProvider({ canvasSize: new Cesium.Cartesian2(2048, 2048), data: 'path/to/heatmap/data.json', gradientStops: [ { stop: 0.0, color: Cesium.Color.TRANSPARENT }, { stop: 0.2, color: Cesium.Color.BLUE }, { stop: 0.4, color: Cesium.Color.GREEN }, { stop: 0.6, color: Cesium.Color.YELLOW }, { stop: 0.8, color: Cesium.Color.ORANGE }, { stop: 1.0, color: Cesium.Color.RED } ] }) viewer.imageryLayers.addImageryProvider(heatmapImageryProvider) ``` 5.完整代码 以下是完整的App.vue文件代码: ```vue <template> <div id="cesiumContainer"></div> </template> <script> import * as Cesium from 'cesium/Cesium' export default { name: 'App', mounted () { const viewer = new Cesium.Viewer('cesiumContainer') const particleSystem = viewer.scene.primitives.add(new Cesium.ParticleSystem({ image: 'path/to/particle/image.png', startColor: Cesium.Color.RED, endColor: Cesium.Color.YELLOW, startScale: 1.0, endScale: 0.0, minimumSpeed: 5.0, maximumSpeed: 10.0, lifetime: 10.0, emitter: new Cesium.SphereEmitter(0.5), rate: 1000, bursts: [ new Cesium.ParticleBurst({ time: 0.0, minimum: 100, maximum: 200 }), new Cesium.ParticleBurst({ time: 1.0, minimum: 100, maximum: 200 }) ] })) const heatmapImageryProvider = new Cesium.HeatmapImageryProvider({ canvasSize: new Cesium.Cartesian2(2048, 2048), data: 'path/to/heatmap/data.json', gradientStops: [ { stop: 0.0, color: Cesium.Color.TRANSPARENT }, { stop: 0.2, color: Cesium.Color.BLUE }, { stop: 0.4, color: Cesium.Color.GREEN }, { stop: 0.6, color: Cesium.Color.YELLOW }, { stop: 0.8, color: Cesium.Color.ORANGE }, { stop: 1.0, color: Cesium.Color.RED } ] }) viewer.imageryLayers.addImageryProvider(heatmapImageryProvider) } } </script> ```

“相关推荐”对你有帮助么?

  • 非常没帮助
  • 没帮助
  • 一般
  • 有帮助
  • 非常有帮助
提交
评论 1
添加红包

请填写红包祝福语或标题

红包个数最小为10个

红包金额最低5元

当前余额3.43前往充值 >
需支付:10.00
成就一亿技术人!
领取后你会自动成为博主和红包主的粉丝 规则
hope_wisdom
发出的红包

打赏作者

_小郑有点困了

你的鼓励将是我创作的最大动力

¥1 ¥2 ¥4 ¥6 ¥10 ¥20
扫码支付:¥1
获取中
扫码支付

您的余额不足,请更换扫码支付或充值

打赏作者

实付
使用余额支付
点击重新获取
扫码支付
钱包余额 0

抵扣说明:

1.余额是钱包充值的虚拟货币,按照1:1的比例进行支付金额的抵扣。
2.余额无法直接购买下载,可以购买VIP、付费专栏及课程。

余额充值