


⚠申明: 未经许可,禁止以任何形式转载,若要引用,请标注链接地址。 全文共计10449字,阅读大概需要20分钟
🌈更多学习内容, 欢迎👏关注👀【文末】我的个人微信公众号:不懂开发的程序猿
⏰个人网站:https://jerry-jy.co/❗❗❗知识付费,🈲止白嫖,有需要请后台私信或【文末】个人微信公众号联系我
Caffe安装
Caffe安装
任务背景
Caffe是一个深度学习框架,最初开发于加利福尼亚大学伯克利分校。Caffe在BSD许可下开源,使用C++编写,带有Python接口。是贾扬清在加州大学伯克利分校攻读博士期间创建了Caffe项目。项目托管于GitHub,拥有众多贡献者。Caffe应用于学术研究项目、初创原型甚至视觉、语音和多媒体领域的大规模工业应用。所以我们要学会如何使用它。
任务需求
- 在Linux操作系统上搭建一个Caffe并运行它。
任务步骤
- 安装Caffe
- 运行Caffe
任务结果
安装成功运行结果
编程运行结果

任务实施过程
- 安装Caffe
知识点
- Caffe安装
实验目的
- 掌握如何安装Caffe
实验描述
- 完成Caffe在Linux操作系统的安装
实验环境
- Oracle Linux 7.4操作系统
实验步骤
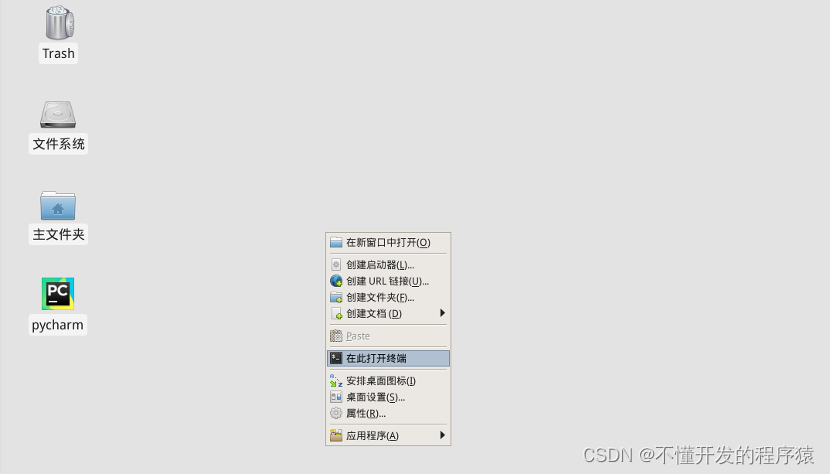
1.打开终端
-
在桌面点击鼠标右键,选择在此打开终端
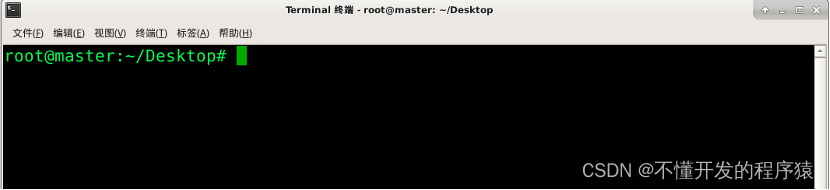
-
打开终端
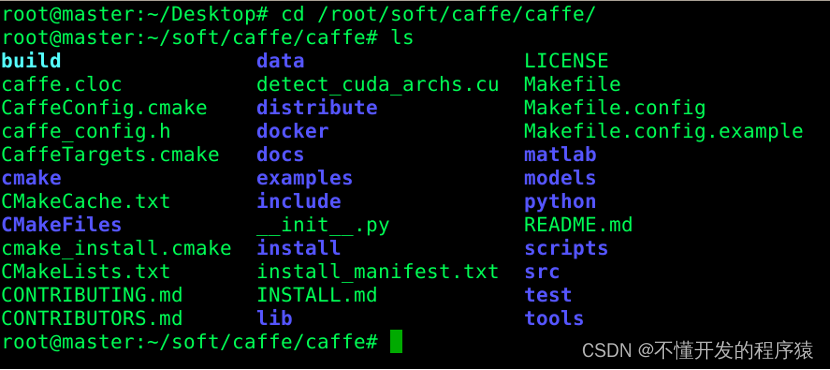
2.安装Caffe
- 进入到文件目录并查看该目录下的文件
cd /root/soft/caffe/caffe
- 运行命令
cmake .
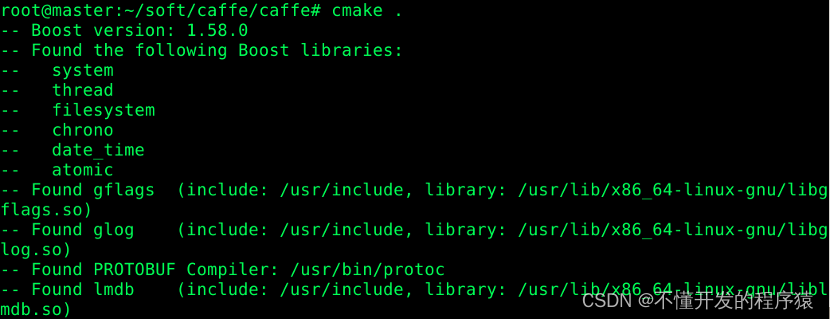
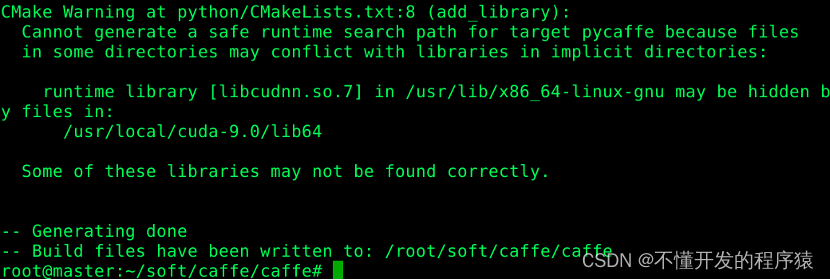
- 运行命令
cmake .
- 创建配置文件(此处也可以cp Makefile.config.example Makefile.config)
vim Makefile.config
- 复制配置命令
## Refer to http://caffe.berkeleyvision.org/installation.html
# Contributions simplifying and improving our build system are welcome!

# cuDNN acceleration switch (uncomment to build with cuDNN).
USE_CUDNN := 1

# CPU-only switch (uncomment to build without GPU support).
# CPU_ONLY := 1

# uncomment to disable IO dependencies and corresponding data layers
# USE_OPENCV := 0
# USE_LEVELDB := 0
# USE_LMDB := 0
# This code is taken from https://github.com/sh1r0/caffe-android-lib
# USE_HDF5 := 0

# uncomment to allow MDB_NOLOCK when reading LMDB files (only if necessary)
#	You should not set this flag if you will be reading LMDBs with any
#	possibility of simultaneous read and write
# ALLOW_LMDB_NOLOCK := 1

# Uncomment if you're using OpenCV 3
# OPENCV_VERSION := 3

# To customize your choice of compiler, uncomment and set the following.
# N.B. the default for Linux is g++ and the default for OSX is clang++
CUSTOM_CXX := g++

# CUDA directory contains bin/ and lib/ directories that we need.
CUDA_DIR := /usr/local/cuda
# On Ubuntu 14.04, if cuda tools are installed via
# "sudo apt-get install nvidia-cuda-toolkit" then use this instead:
# CUDA_DIR := /usr

# CUDA architecture setting: going with all of them.
# For CUDA < 6.0, comment the *_50 through *_61 lines for compatibility.
# For CUDA < 8.0, comment the *_60 and *_61 lines for compatibility.
# For CUDA >= 9.0, comment the *_20 and *_21 lines for compatibility.
CUDA_ARCH := -gencode arch=compute_20,code=sm_20 \
		-gencode arch=compute_20,code=sm_21 \
		-gencode arch=compute_30,code=sm_30 \
		-gencode arch=compute_35,code=sm_35 \
		-gencode arch=compute_50,code=sm_50 \
		-gencode arch=compute_52,code=sm_52 \
		-gencode arch=compute_60,code=sm_60 \
		-gencode arch=compute_61,code=sm_61 \
		-gencode arch=compute_61,code=compute_61

# BLAS choice:
# atlas for ATLAS (default)
# mkl for MKL
# open for OpenBlas
BLAS := atlas
# Custom (MKL/ATLAS/OpenBLAS) include and lib directories.
# Leave commented to accept the defaults for your choice of BLAS
# (which should work)!
# BLAS_INCLUDE := /path/to/your/blas
# BLAS_LIB := /path/to/your/blas

# Homebrew puts openblas in a directory that is not on the standard search path
# BLAS_INCLUDE := $(shell brew --prefix openblas)/include
# BLAS_LIB := $(shell brew --prefix openblas)/lib

# This is required only if you will compile the matlab interface.
# MATLAB directory should contain the mex binary in /bin.
# MATLAB_DIR := /usr/local
# MATLAB_DIR := /Applications/MATLAB_R2012b.app

# NOTE: this is required only if you will compile the python interface.
# We need to be able to find Python.h and numpy/arrayobject.h.
PYTHON_INCLUDE := /usr/include/python2.7 \
		/usr/lib/python2.7/dist-packages/numpy/core/include
# Anaconda Python distribution is quite popular. Include path:
# Verify anaconda location, sometimes it's in root.
# ANACONDA_HOME := $(HOME)/anaconda
# PYTHON_INCLUDE := $(ANACONDA_HOME)/include \
		# $(ANACONDA_HOME)/include/python2.7 \
		# $(ANACONDA_HOME)/lib/python2.7/site-packages/numpy/core/include

# Uncomment to use Python 3 (default is Python 2)
# PYTHON_LIBRARIES := boost_python3 python3.5m
# PYTHON_INCLUDE := /usr/include/python3.5m \
#                 /usr/lib/python3.5/dist-packages/numpy/core/include

# We need to be able to find libpythonX.X.so or .dylib.
PYTHON_LIB := /usr/lib
# PYTHON_LIB := $(ANACONDA_HOME)/lib

# Homebrew installs numpy in a non standard path (keg only)
# PYTHON_INCLUDE += $(dir $(shell python -c 'import numpy.core; print(numpy.core.__file__)'))/include
# PYTHON_LIB += $(shell brew --prefix numpy)/lib

# Uncomment to support layers written in Python (will link against Python libs)
WITH_PYTHON_LAYER := 1

# Whatever else you find you need goes here.
INCLUDE_DIRS := $(PYTHON_INCLUDE) /usr/local/include /usr/include/hdf5/serial
LIBRARY_DIRS := $(PYTHON_LIB) /usr/local/lib /usr/lib /usr/lib/x86_64-linux-gnu /usr/lib/x86_64-linux-gnu/hdf5/serial

# If Homebrew is installed at a non standard location (for example your home directory) and you use it for general dependencies
# INCLUDE_DIRS += $(shell brew --prefix)/include
# LIBRARY_DIRS += $(shell brew --prefix)/lib

# NCCL acceleration switch (uncomment to build with NCCL)
# https://github.com/NVIDIA/nccl (last tested version: v1.2.3-1+cuda8.0)
USE_NCCL := 1

# Uncomment to use `pkg-config` to specify OpenCV library paths.
# (Usually not necessary -- OpenCV libraries are normally installed in one of the above $LIBRARY_DIRS.)
# USE_PKG_CONFIG := 1

# N.B. both build and distribute dirs are cleared on `make clean`
BUILD_DIR := build
DISTRIBUTE_DIR := distribute

# Uncomment for debugging. Does not work on OSX due to https://github.com/BVLC/caffe/issues/171
# DEBUG := 1

# The ID of the GPU that 'make runtest' will use to run unit tests.
TEST_GPUID := 0

# enable pretty build (comment to see full commands)
Q ?= @
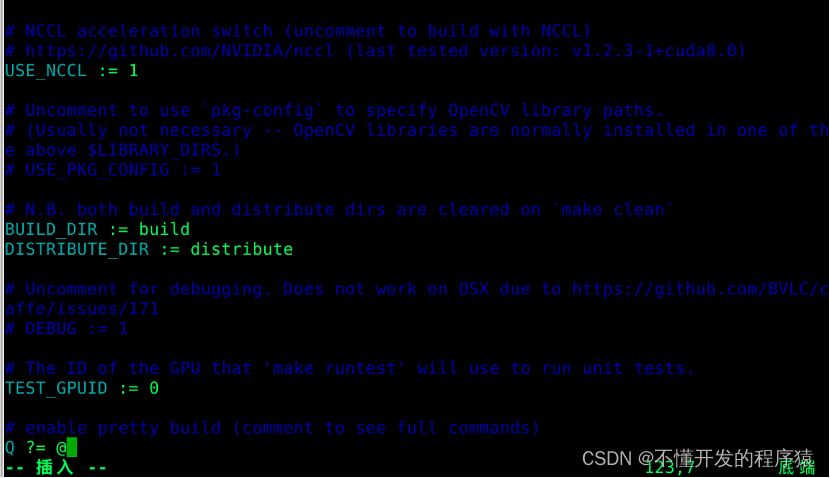
ESC退出编辑模式,输入:wq保存文件
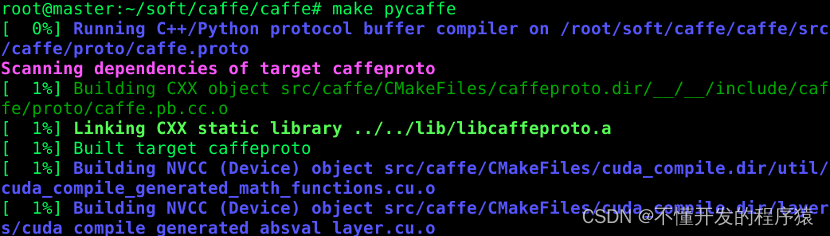
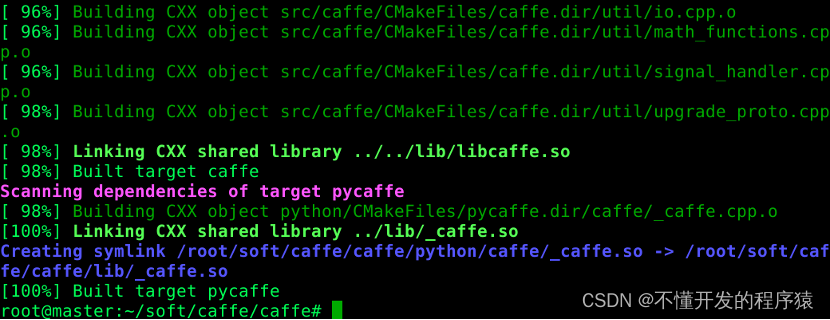
6.运行命令(等待安装)
make pycaffe
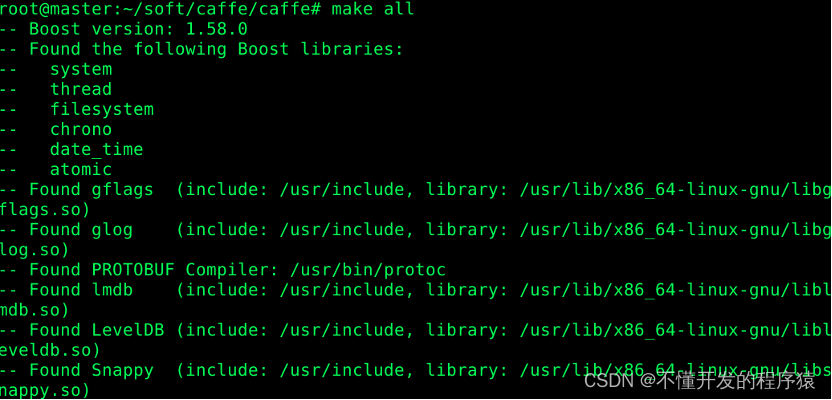
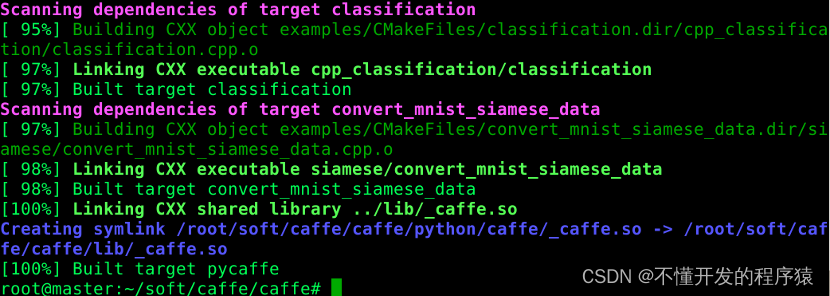
- 运行命令(等待安装)
make all
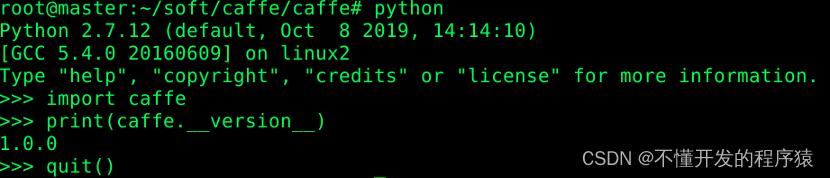
- 进入python交互环境
python

- 引入Caffe模块
import caffe
- 查看Caffe版本
print(caffe.__version__)

- 退出交互环境
quit()

2.训练并验证
知识点
Caffe的简单使用
实验目的
- 掌握Caffe的简单使用
实验描述
- 训练并验证模型。
实验环境
- Caffe1.0.0
- Oracle Linux7.4
实验步骤
实验过程
-
创建Python工程,鼠标点击桌面上的PyCharm图标,打开PyCharm集成开发工具,如下图:
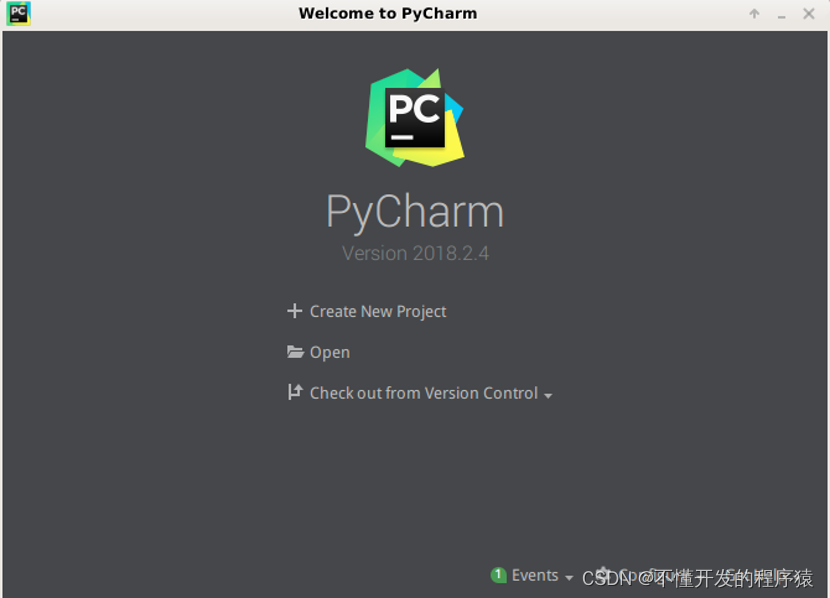
-
选择 Create New Project菜单项,创建一个新的项目工程,如图:
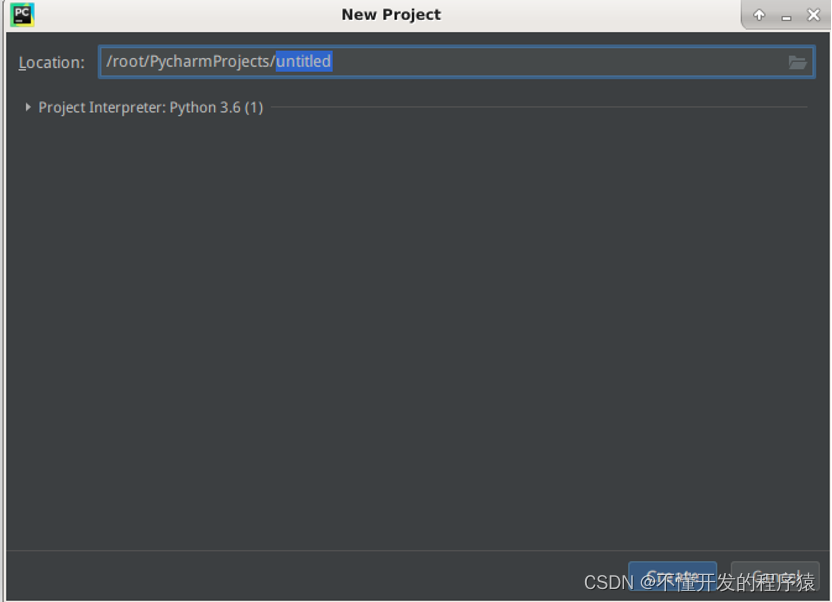
-
输入工程名 project ,如下图:

-
点击Create按钮,如下图:
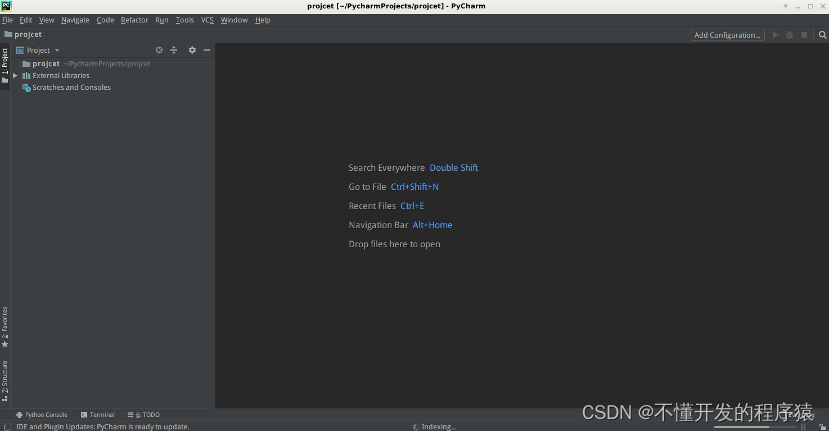
-
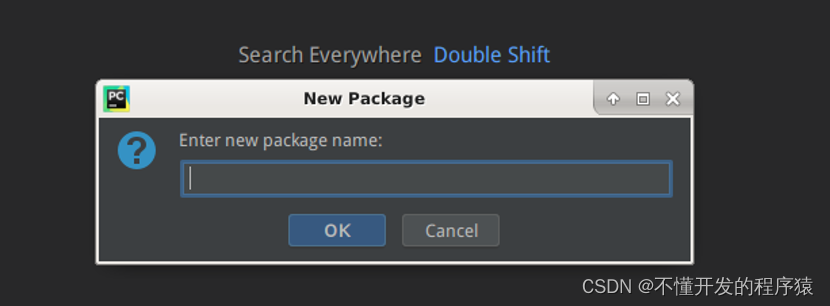
鼠标点击项目中project文件夹,单击右键选择New,子菜单中选择Python Package,如下图所示:
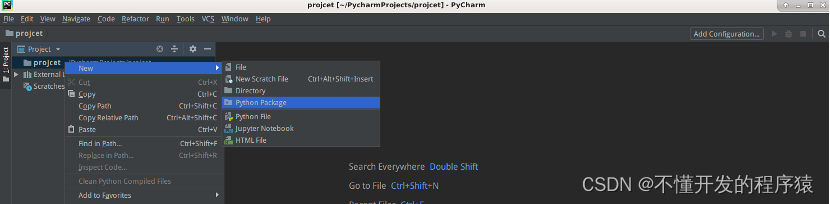
-
弹出对话框,如下图:
-
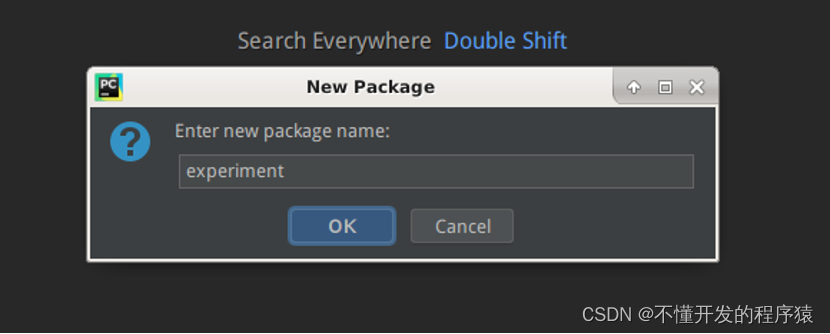
窗口输入框中填写创建的包名experiment,如下图:
-
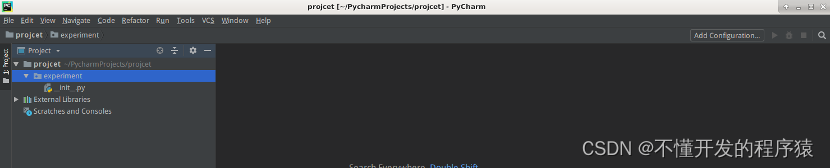
点击按钮OK,如下图:
-
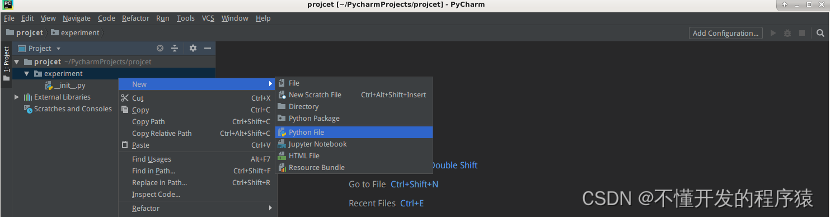
鼠标点击包experiment,单击右键选择New,子菜单中选择Python File,如下图所示:
-
弹出窗口,如下图:
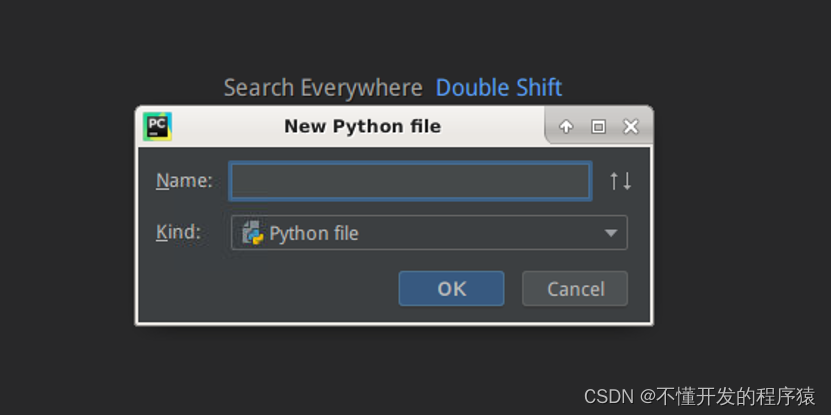
-
弹出窗口中填写类名,如下图:
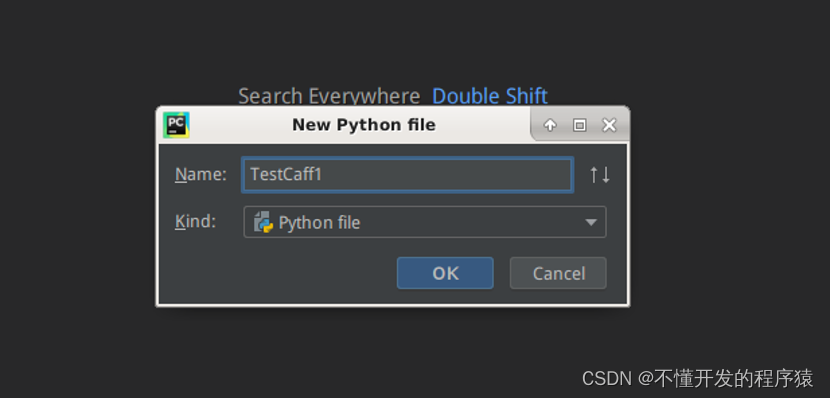
-
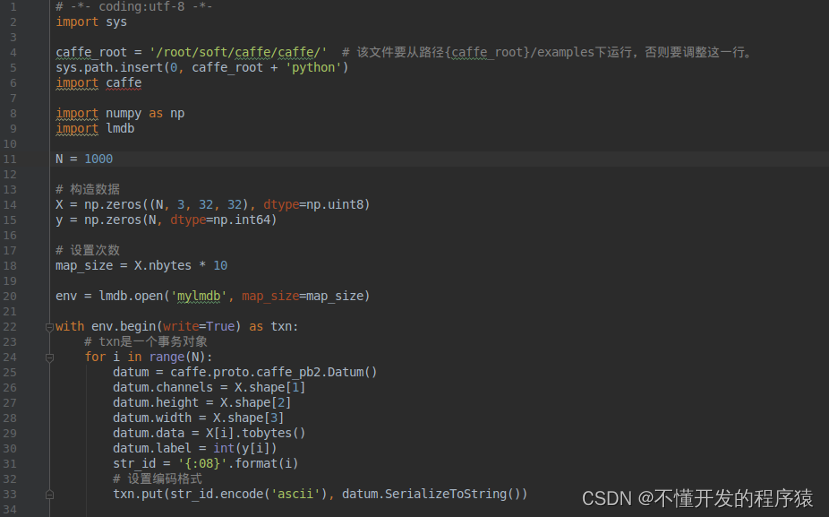
创建的TestCaff1类中,黏贴如下代码
# -*- coding:utf-8 -*-
"""
LMDB 是使用Caffe处理大型数据集时的首选数据库。这是一个关于如何从 Python 创建 LMDB 数据库的教程。首先,让我们看看在 HDF5 上使用 LMDB 的优缺点。
使用 HDF5 的原因:
读/写的简单格式。
使用 LMDB 的原因:
LMDB 使用内存映射文件,提供更好的 I/O 性能。
适用于非常大的数据集。HDF5 文件始终完全读入内存,因此任何 HDF5 文件都不能超出内存容量。不过,您可以轻松地将数据拆分为多个 HDF5 文件(只需h5在文本文件中放置多个文件路径)。再说一次,与 LMDB 的页面缓存相比,I/O 性能几乎没有那么好。
来自 Python 的 LMDB
您将需要 Python 包lmdb以及 Caffe 的 python 包(make pycaffe在 Caffe 中)。LMDB 提供键值存储,其中每个 <key, value> 对将是我们数据集中的一个样本。键将只是一个 ID 值的字符串版本,该值将是DatumCaffe 中类的序列化版本(使用protobuf构建)。
"""
# caffe模块要在Python的路径下;
# 这里我们将把caffe 模块添加到Python路径下.
import sys

caffe_root = '/root/soft/caffe/caffe/'  # 该文件要从路径{caffe_root}/examples下运行,否则要调整这一行。
sys.path.insert(0, caffe_root + 'python')
import caffe

import numpy as np
import lmdb

N = 1000

# 构造数据
X = np.zeros((N, 3, 32, 32), dtype=np.uint8)
y = np.zeros(N, dtype=np.int64)

# 设置次数
map_size = X.nbytes * 10

env = lmdb.open('mylmdb', map_size=map_size)

with env.begin(write=True) as txn:
    # txn是一个事务对象
    for i in range(N):
        datum = caffe.proto.caffe_pb2.Datum()
        datum.channels = X.shape[1]
        datum.height = X.shape[2]
        datum.width = X.shape[3]
        datum.data = X[i].tobytes()
        datum.label = int(y[i])
        str_id = '{:08}'.format(i)
        # 设置编码格式
        txn.put(str_id.encode('ascii'), datum.SerializeToString())
-
弹出窗口中填写类名,如下图:
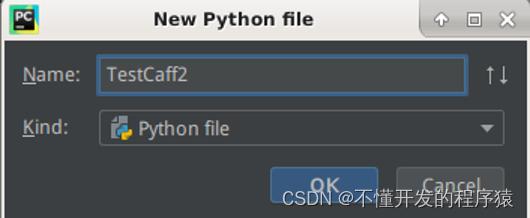
-
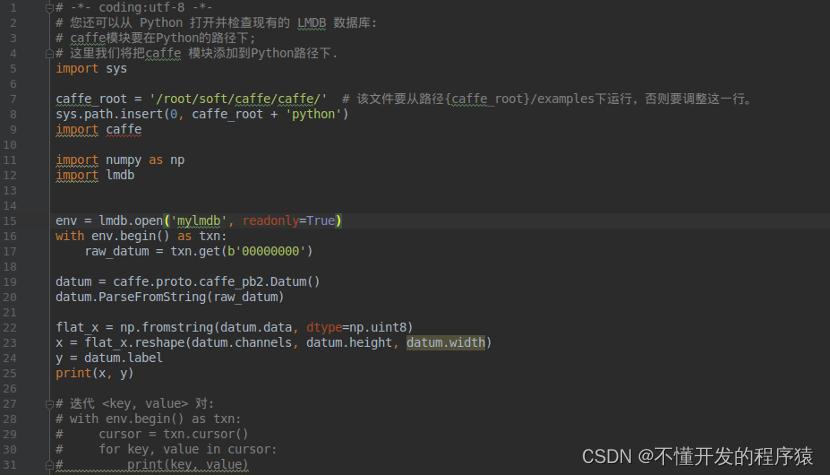
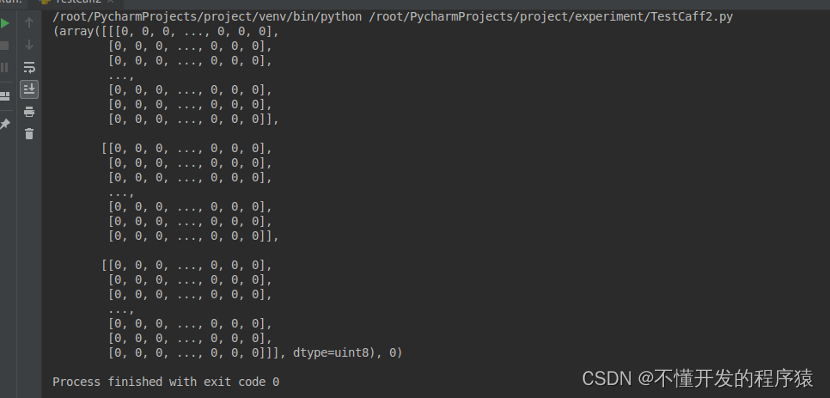
创建的TestCaff2类中,黏贴如下代码
# -*- coding:utf-8 -*-
# 您还可以从 Python 打开并检查现有的 LMDB 数据库:
# caffe模块要在Python的路径下;
# 这里我们将把caffe 模块添加到Python路径下.
import sys

caffe_root = '/root/soft/caffe/caffe/'  # 该文件要从路径{caffe_root}/examples下运行,否则要调整这一行。
sys.path.insert(0, caffe_root + 'python')
import caffe

import numpy as np
import lmdb


env = lmdb.open('mylmdb', readonly=True)
with env.begin() as txn:
    raw_datum = txn.get(b'00000000')

datum = caffe.proto.caffe_pb2.Datum()
datum.ParseFromString(raw_datum)

flat_x = np.fromstring(datum.data, dtype=np.uint8)
x = flat_x.reshape(datum.channels, datum.height, datum.width)
y = datum.label
print(x, y)

# # 迭代 <key, value> 对:
# with env.begin() as txn:
#     cursor = txn.cursor()
#     for key, value in cursor:
#         print(key, value)
-
代码中点击鼠标右键选择Run运行程序,如下图:
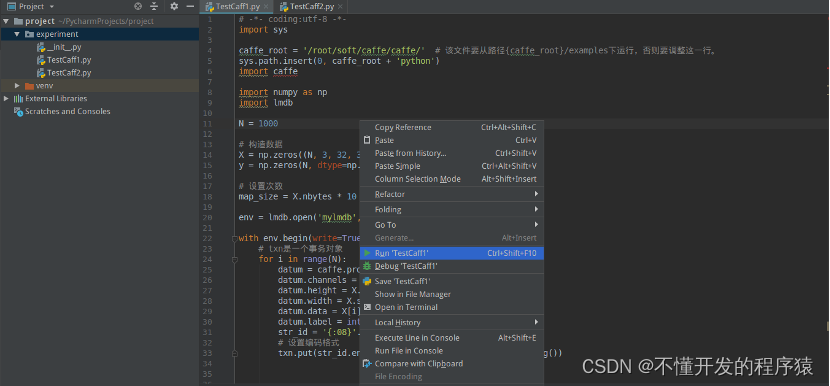
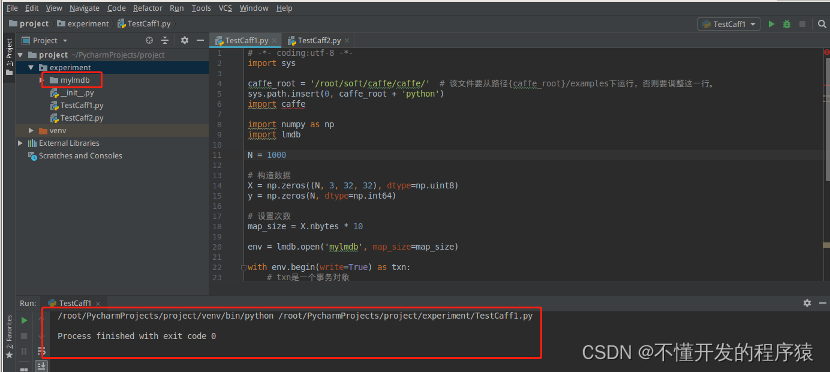
-
执行结果如下图
-
代码中点击鼠标右键选择Run运行程序,如下图:
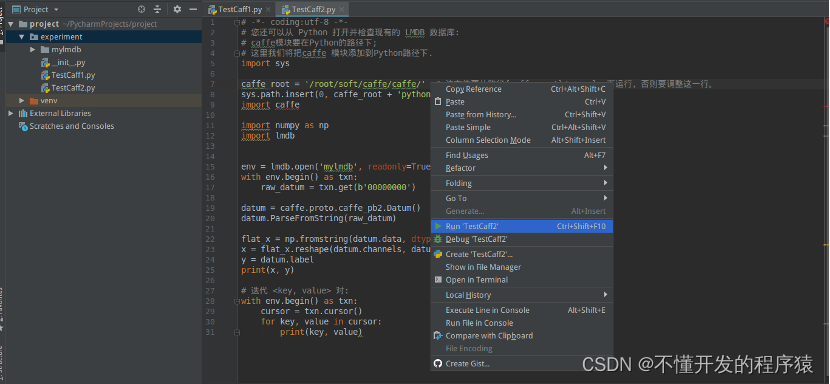
-
执行结果如下图
–end–
说明
本实验(项目)/论文若有需要,请后台私信或【文末】个人微信公众号联系我


 3132
3132


 被折叠的 条评论
为什么被折叠?
被折叠的 条评论
为什么被折叠?
 到【灌水乐园】发言


